

The ENA Driver on Amazon EC2 introduces a specialized network interface designed to provide exceptional throughput, delivering impressive packet per second (PPS) performance and reliably low latencies. This enhancement empowers EC2 instances with the capability to harness a remarkable 20 Gbps of network bandwidth, specifically applicable to select instance types. However, it’s important to remember that this feature is unavailable for activation on T2 Instances.
Most times, when you increase or change the instance type of a server, the adapter changes, and this can cause issues for you. Please refer to these articles on Driver Management on AWS, Windows clients, and servers. “How to remove a Printer from Windows 10 via PowerShell, Windows registry and Print Management, how to configure Windows instance using EC2 Launch for Server 2016, how to launch an EC2 instance, and how to upgrade AWS Network Adapter from Redhat to Citrix PV and then to AWS PV driver.
Here are the steps for installing the ENA Driver:
-Install the driver for the operating system from this link.
– Locate the Operating system relevant to you and right by selecting copy link address![]()
To set up enhanced networking performance, navigate to the browser of your Amazon EC2 instance where you intend to install the ENA Driver. By pasting this link, a zip file encompassing the ENA network adapter will be promptly downloaded.
Enhancing Network Performance with the ENA Driver Installation
To optimize network performance on your Amazon EC2 instance, make sure to install the ENA Driver on Amazon EC2. Begin by opening the command prompt (CLI) and navigating to the directory containing the necessary files. Then, execute the following command: “pnputil -i -a ena.inf”. This step will ensure the proper installation of the ENA Driver, enhancing network capabilities for your EC2 instance.

4. Now stop the instance by shutting it down
5. Enable ENA support on the instance, run this command below
Note: (This step has to be done from your local computer) on on the instance
6. Open the command prompt (CLI)
Type in aws configure and follow the prompt (instruction) and enter your keys
7. Modifying the instance Attribute (AWS-CLI)
aws ec2 modify-instance-attribute –instance-id instance_id –ena-support
And to describe the instance (AWS CLI)
aws ec2 describe-instances --instance-ids instance_id --query "Reservations[].Instances[].EnaSupport"
i.e,
aws ec2 modify-instance-attribute --instance-id i-0fxxxxxx82 --ena-support
aws ec2 describe-instances --instance-ids i-0fxxxxxx682 --query "Reservations[].Instances[].EnaSupport"
Note: At the moment the steps have changed used by AWS but the syntax still remains the same
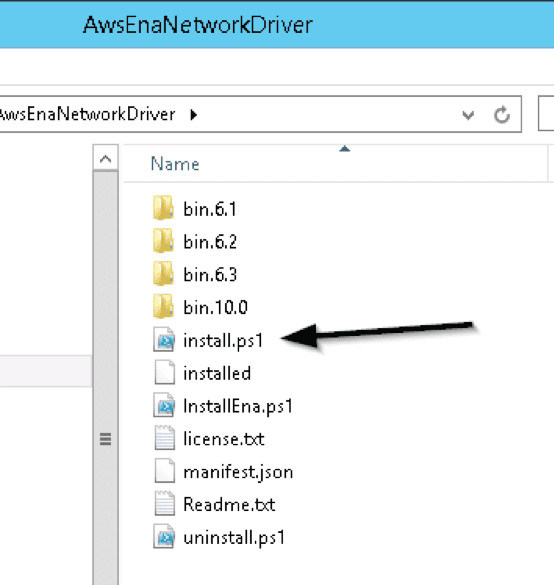
Now you have to download, navigate to the folder, and run the install.ps.
And follow the steps above again
I hope you found this blog post helpful. If you have any questions, please let me know in the comment session. I welcome you to subscribe to my YouTube Channel.