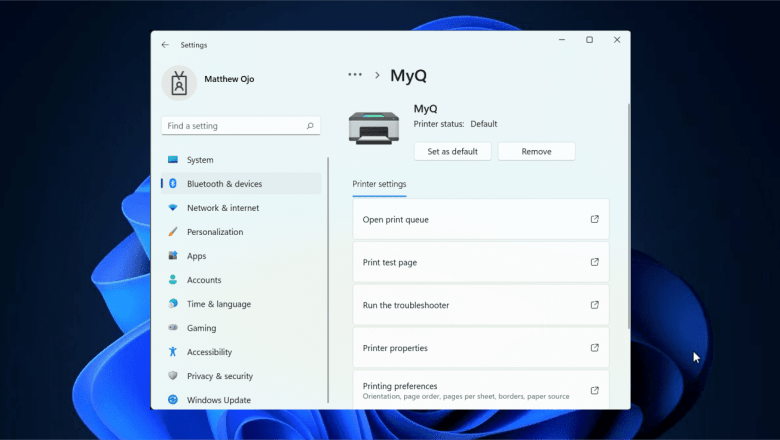
In this guide, we’ll show you how to install a printer on your PC using the Windows IP address. We’ll also go through the process of creating a network port for a print server. To streamline printing in small organizations, adding a printer using an IP address is crucial. While a USB connection suffices for some, larger businesses benefit from enterprise-class solutions. Please see How to Add a Device to your Microsoft account, and Microsoft Phone Link: How to Link and Unlink an Android Phone to Windows 11.
Print servers minimize errors, ensuring smooth operations. Print servers connect printers to client devices such as laptops through a network. The server takes print jobs and routes them to the appropriate printer.
There are many ways to add a printer to your PC or laptop. You can connect a USB cable, Bluetooth, a Wi-Fi connection, share another computer’s printer, or an IP address. Adding a printer with an IP address is a straightforward process that can be completed in a couple of minutes.
For more on Windows and Windows device setup read: Add Hardware and Peripherals: How to add a device to a Windows 10 Computer, How to remove a Bluetooth device and connect a new Bluetooth device to Macbook, Windows 10 administrative rights gained by Razer devices,
Steps to Add Printer Using IP Address in Windows 11
Ensure the Printer is switched ON, and follow the steps below to Add the Printer to your computer.
1. Open the Start menu and type Add a printer or Scanner and select the best match.

2. On the next screen, click on Add device in the right-pane.

3. As Windows starts searching for Printers, click on “The Printer that I want isn’t listed” Add manually.

4. On the next screen, select Add a printer using TCP/IP address or hostname and click on the Next button.

5. To add a printer using an IP address, start by clicking on Device type and choosing TCP/IP Device. Enter the Hostname or IP Address of the Printer, and for the Port name, you can use the same as the IP address. Now, click on the Next button to continue.

6. Windows should be able to find the printer if the printer is on and it is properly configured. If not, you may be prompted to provide more information about the printer.

7. Here I’m required to provide additional port information, if it’s a direct IP printing installation simply click on Standard and click next. However, if you’re installing a printer driver for a print server select Custom and click settings.

Selecting Print Server Protocol and Queue Name for Adding a Printer via IP Address
8. On the settings page, as you embark on the journey to add a printer using an IP address, carefully choose your print server protocol.
After making this strategic decision, proceed to enter the queue name. If you select LPR as your protocol, tick the LPR Byte Counting Enabled.

9. The printer will search for the driver model of your printer.

10. Navigate to the next screen, where you’ll find a crucial step: adding a printer using an IP address. On the left pane, pick the Printer Manufacturer, and on the right, select your specific printer model.
Then, hit the ‘Next’ button. If your printer model isn’t listed, no worries, just click on ‘Have Disk’ to proceed.

11. Navigate to your driver location and, for a creative twist, add a printer using an IP address. Choose your specific printer model, then confidently hit the “Next” button.

12. Type the Name for the Printer and click on Next.

13. Wait while the printer driver install.

14. On the next screen, you can Print a test page or simply click on Finish.

If you’re curious about the steps to add a printer using an IP address, feel free to drop your questions in the comments section below.
