In this article, we shall discuss “Generate a self-signed SSL certificate: Enable LDAP over SSL”. SSL stands for Secure Sockets Layer; this is a standard secure layer for keeping an internet connection secure and safeguarding any sensitive data that is being sent between two endpoints. See How to fix the issue “The Security Database on the Server does not have a Computer Account for this Workstation Trust Relationship” on Windows Server [Part 2], and How to Quickly Fix Windows Search Bar Not Working.
This security layer prevents criminals from having access to confidential and private contents that are moved across the internet and helps guide against reading and modifying any information transferred.
Many people do find it difficult to get a signed SSL certificate for a local IP address unlike when you want to purchase an SSL certificate for your registered domain which is pretty easier. This guide will show you how you can easily generate a self-signed SSL certificate for your IP address or localhost.
For guides on resolving some windows issues please check these: How to fix the issue “The remote session was disconnected because there are no Remote Desktop License Servers available to provide a license”.
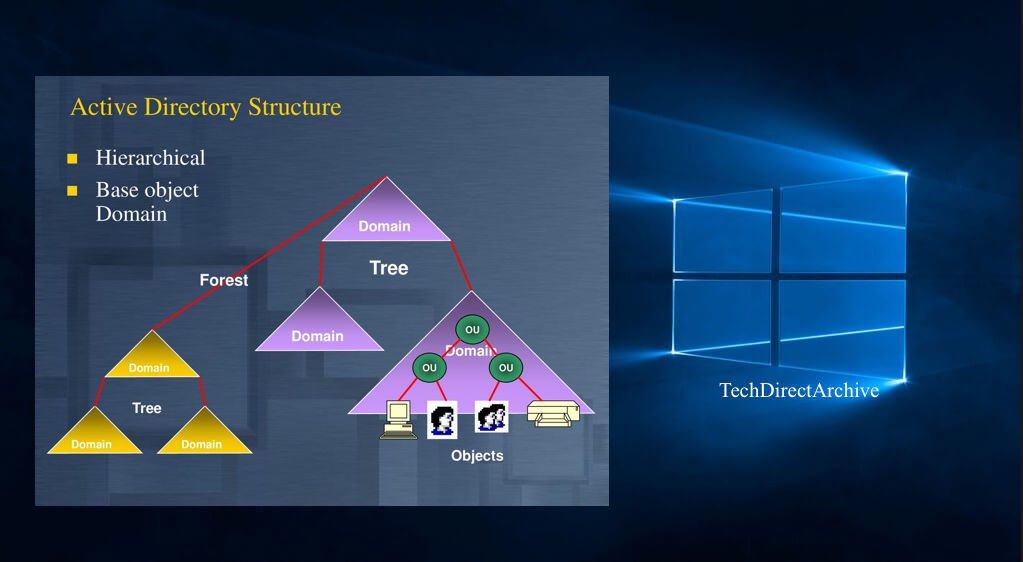
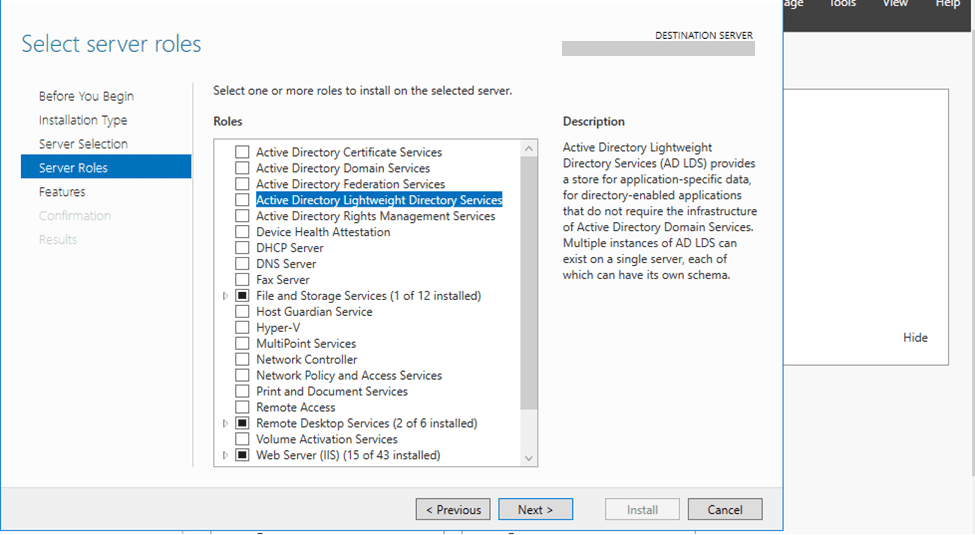
In this guide, we will be using LDP which is a network protocol to connect to the domain controller with an SSL connection. First on our remote server which also serves as the remote system let's install the Active Directory Lightweight Directory Services under the server manager server roles. Want to learn more about LDAP, please take a look at this guide: What is Lightweight Directory Access Protocol.
Troubleshooting LDP Connection
This is required to be able to launch the LDP and connect to the domain controller via an SSL connection.
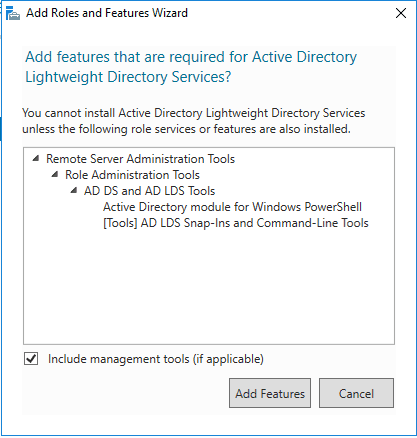
Add all the features required for the Active Directory Lightweight Directory Services.
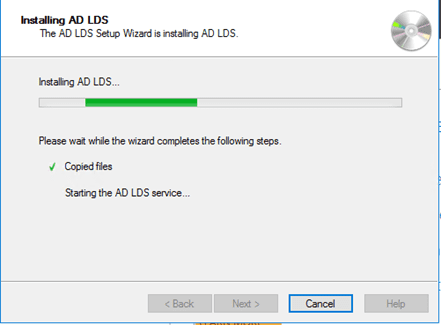
After adding the roles complete the installation with the AD LDS installation.
Now try launching the Ldp via the command prompt by typing ldp and tap the enter key. The Ldp page will be displayed, go ahead and enter the server IP and check SSL and click OK.

If there is an SSL certificate implemented already the LDP will connect successfully to the domain controller. However, if the SSL is not implemented yet then you will get the below result.

Please refer to this guide for more information on this issue “Cannot open connection via the ldp.exe tool: How to fix LDAP connection error 81“.
Fixing LDP Connection
Step 1: Installing Active Directory Certificate Services
Let’s correct this error by installing Active Directory Certificate Services via the server manager server roles.
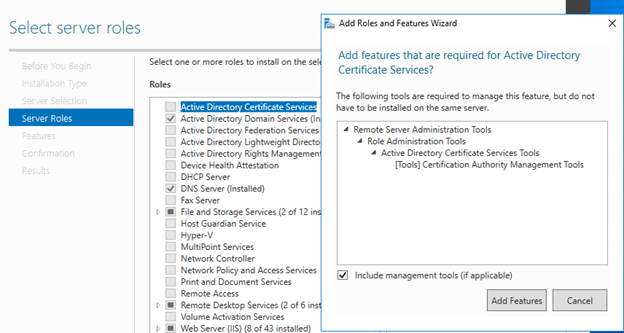
You can install the Certificate Authority, Certificate Enrollment Policy Web Service, or Certificate Enrollment Web Service. But our concentration is on the first one CA.
Please see How to Repair a Corrupt SQL Server Database Without Data Loss, Azure Application Gateway: Practical Configuration Guide, and Azure Managing Subscriptions with PowerShell: From Login-AzAccount to Resource Control and Private Endpoint Verification for Azure File Share”.
Step 2: Configure Active Directory Certificate Services
After the installation makes sure you complete the configuration of the Active Directory Certificate Services.

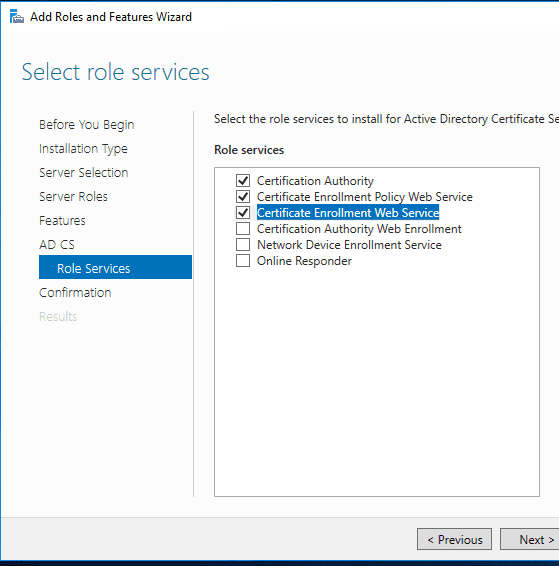
Select all the necessary role services that are needed

Specify Enterprise CA as the setup type of the CA

Specify Root CA as the type of the CA

Make sure you check the Allow administrator. Checkbox and stay with SHA256 and 2048 as the key length.

Please see Unable to bind to LDAP or AD in Pleasant Password Server, Restore AD Objects: How to restore deleted user accounts in Active Directory with Microsoft LDP and PowerShell, and “Generate self-signed certificate and export in PFX format via PowerShell [Part 2]”.
Step 3: Configure Certificate Authority and Create Certificate Template
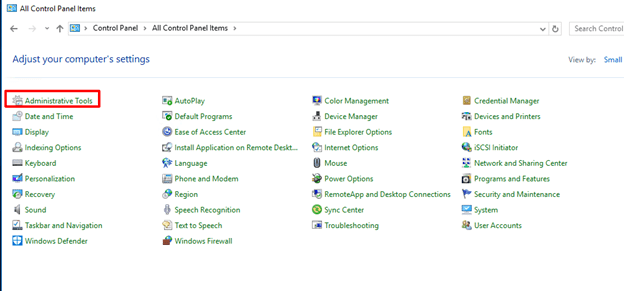
After completing the configuration, you can restart your computer. After your system boot back, go to the administrative tools
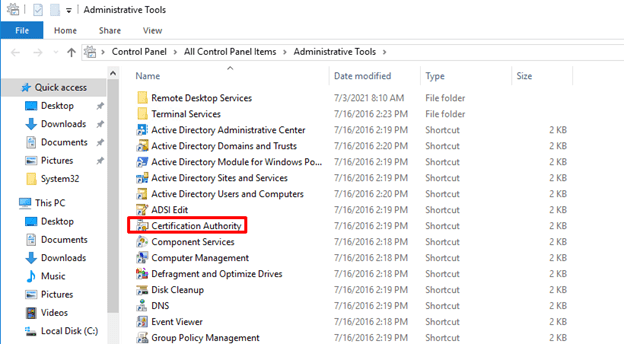
Open Certification Authority
Right-click the Certificate Templates and select Manage.

Right-click the Domain Controller and click on Duplicate Template

Select the General tab and insert your Template display name, Template name, the Validity period.

On the Request Handling tab, check the Allow private key to be exported check box.

On the Subject Name tab select the Supply in the request option and click OK

Click Apply and OK. Close the Properties of New Template. On the Certificate Authority right-click the Certificate Templates and select New > Certificate Template to Issue

Search for the template that you initially added. We created “IP_SSL”

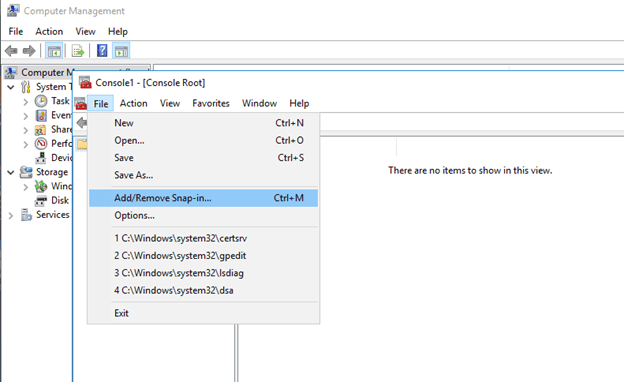
Next open Microsoft Management Console using mmc.exe via Run. Open the Add/Remove Snap-in
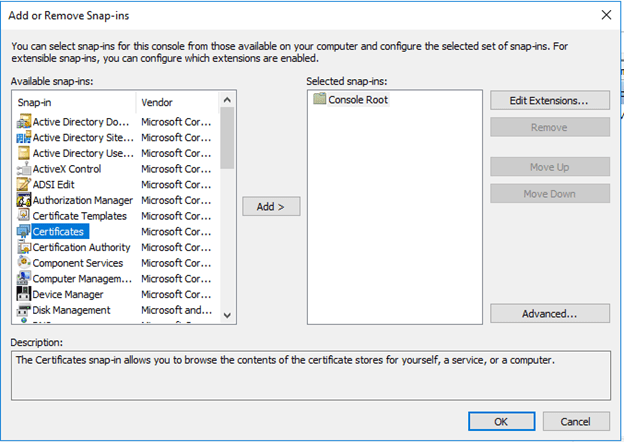
Open Certificates
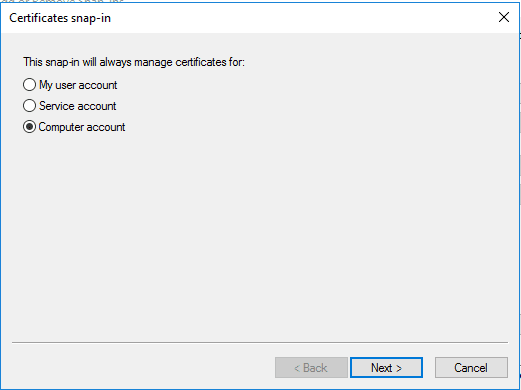
Select Computer account
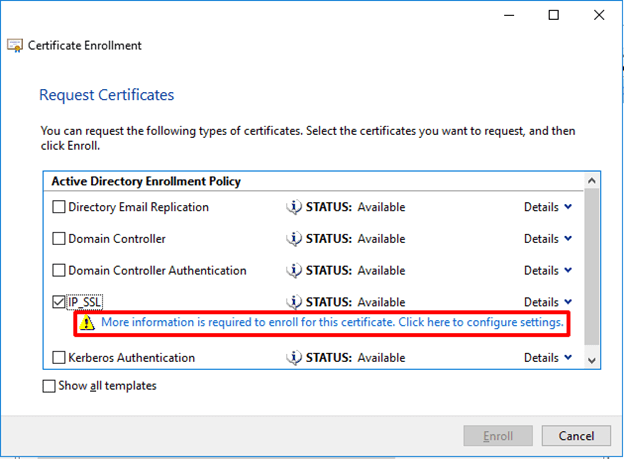
Right-click and select All Tasks > Request New Certificate

We are going to select the certificate template that we have added “IP_SSL”. Click the “More information is………..” and configure
Select Common name as Type and enter your value in the form of IP. Your IP and DNS should carry the same value. Make sure you also add the FQDN to the DNS.
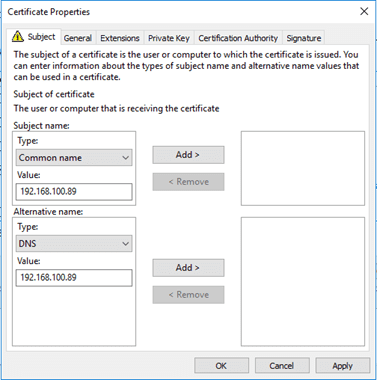
Click OK and Enroll

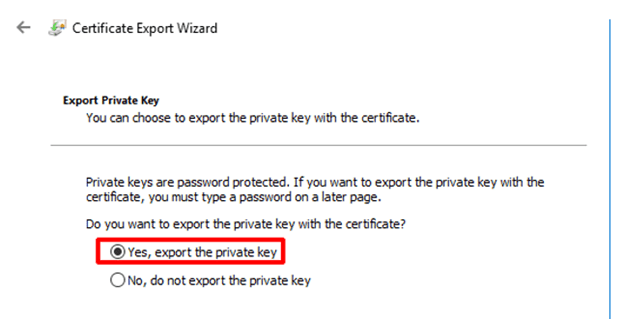
Export Private key
Its now time to export the certificate to the remote client machine and install. Click on Export

Select “Yes, export the private key”
Enter the password for security purposes. This will later be used to install the certificate.

Browse to where you want to save the certificate and give the certificate a name.
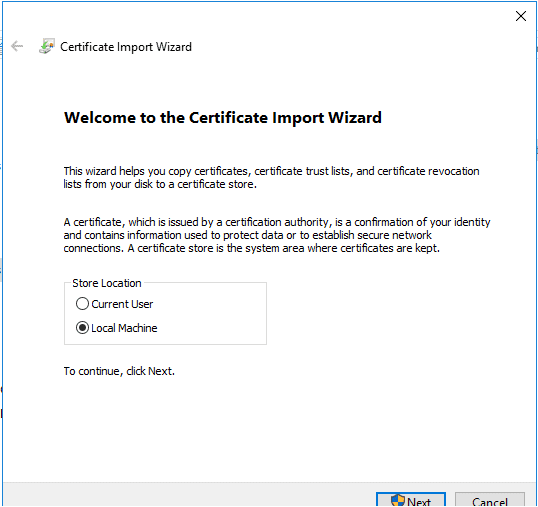
Click finish and go ahead to copy the certificate file and install on the remote machine. Run the installation and select Local Machine
Enter the password we created earlier.

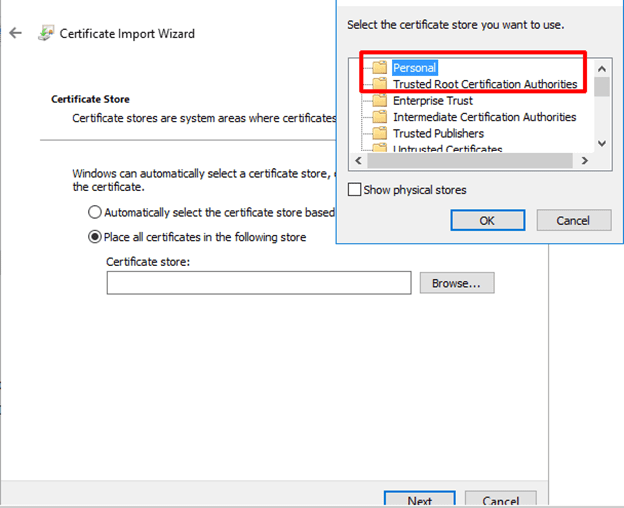
Make sure you place the certificate in Personal and Trusted Root Certification Authorities. Which means you will repeat the procedure twice.
Step 5: Test LDP Connection
Now test the Ldp connection again
You have now successfully generated a self-signed SSL certificate and you should be able to connect now.

I hope you found this blog post on How to generate a self-signed SSL certificate for an IP address very interesting and helpful. In case you have any questions do not hesitate to ask in the comment section.