Skip to content

TechDirectArchive

Hands-on IT, Cloud, Security, Veeam & DevOps

  • Home
  • About
  • Advertise With US
  • Reviews
  • Contact
  • Toggle search form

SSH and Telnet on Cisco ASA 5505: Quick Setup Guide

Posted on 02/11/201617/08/2026 Christian By Christian No Comments on SSH and Telnet on Cisco ASA 5505: Quick Setup Guide
  1. Home
  2. Network | Monitoring
  3. SSH and Telnet on Cisco ASA 5505: Quick Setup Guide
SSH

In the realm of network administration, secure and efficient communication protocols play a pivotal role in maintaining robust connectivity. Configuring SSH and Telnet on Cisco ASA 5505 marks a vital point, emphasizing the essential merger of security and accessibility. To ensure streamlined management and remote access, mastering the process is essential. Please see How to debug a PowerShell script, how to install and debug logs with the CMTrace Tool, how to perform PowerShell syntax check using PSScriptAnalyzer, and Microsoft Bitlocker Administration and Management: Effect of renaming an MBAM or BitLocker protected Computer“.

Administrators utilize SSH and Telnet on Cisco ASA 5505 to establish secure remote connections. This empowers them to navigate network intricacies seamlessly. Incorporating the software enhances organizations’ ability to efficiently control and monitor networking devices, fostering reliable data transmission.

This guide explores setting up SSH and Telnet on Cisco ASA 5505, clarifying configuration steps, and emphasizing security protocols. As we delve into this, we’ll highlight technical implementation and its role in strengthening modern networks.

Note: These protocols are not enabled by default on Cisco router (ASA)

First: Generate the RSA key pairs (not required for telnet)
– Secondly: Designate the permitted host and network and
– Thirdly, assign the password.

Note: Telnet does not require to generate the RSA key, and it is not secure.

ASA(Config)# telnet 10.10.1.0 255.0.0.0 inside
ASA(Config)#passwd 2344
ASA(Config)#telnet timeout 00<

For SSH: Below are the configuration steps

ASA(Config)# crypto key generate rsa modulus 1024
ASA(Config)#ssh 10.10.1.0 255.0.0.0 inside
Note: you can specify and individual node.
ASA(Config)#passwd 1234

Note: you can configure and enable these feature via Cisco ASDM

Thank you for reading this post. Kindly share it with others.

  • Share on X (Opens in new window) X
  • Share on Reddit (Opens in new window) Reddit
  • Share on LinkedIn (Opens in new window) LinkedIn
  • Share on Facebook (Opens in new window) Facebook
  • Share on Pinterest (Opens in new window) Pinterest
  • Share on Tumblr (Opens in new window) Tumblr
  • Share on Telegram (Opens in new window) Telegram
  • Share on WhatsApp (Opens in new window) WhatsApp
  • Share on Mastodon (Opens in new window) Mastodon
  • Share on Bluesky (Opens in new window) Bluesky
Network | Monitoring Tags:SSH

Post navigation

Previous Post: Configure OpenSSH Server: A Quick Guide
Next Post: AnyConnect SSL VPN Client Configuration Guide

Related Posts

  • screenshot 2020 02 08 at 17.31.28
    How to perform Password Change with OWA Network | Monitoring
  • banner 2
    How to Configure NIC Teaming on Windows Server Network | Monitoring
  • 232323232
    Your DR Network Is Probably the Part You Have not Tested Network | Monitoring
  • How to Set up a Single Site to Site VPN Connection on AWS
    Setup a Site-to-Site VPN Connection on AWS AWS/Azure/OpenShift
  • cisco ASA
    Basic Cisco ASA troubleshooting Commands Guide Network | Monitoring
  • Encapsulationset to Auto
    Error – Command rejected: An interface whose trunk encapsulation is “Auto” can not be configured to “trunk” mode Network | Monitoring

More Related Articles

Veeam App for Splunk setup Install Splunk and Veeam App on Windows Server to monitor VBR Backup
vmwarefrsd4 CVE-2021-31693: VMware Tools for Windows update addresses a denial-of-service vulnerability Network | Monitoring
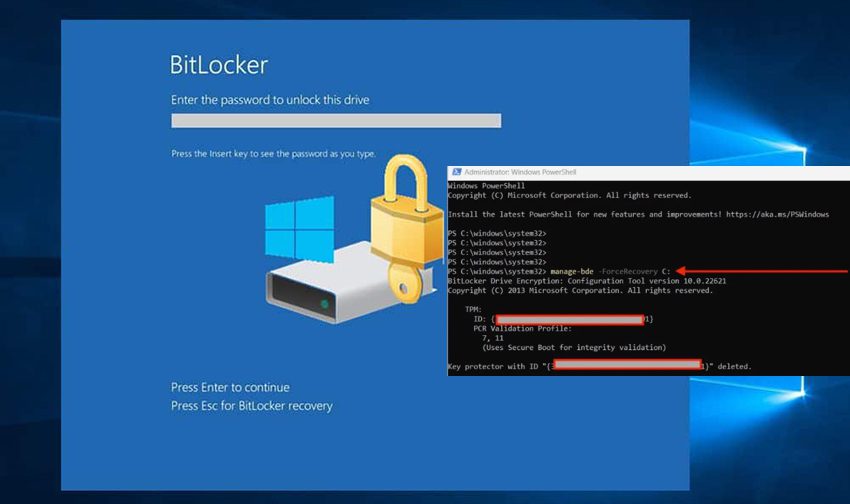
Force bitlocker encryption Force BitLocker Recovery mode: How to unlock BitLocker Protected Drive Network | Monitoring
descargar jitsi meet 2 700x336 1 How to setup and configure Jitsi as SoftPhone Network | Monitoring
2022 1 Install Windows Server 2022 on VirtualBox Network | Monitoring
banner 3 How to Set Network Adapter Priority on Windows 11 Network | Monitoring

Leave a Reply Cancel reply

You must be logged in to post a comment.

Microsoft MVP

vexpert-badge-stars-5

Virtual Background

VEEAMLEGEND

Categories

Top 30 Sysadmin blog

veeaam100

Veeam Vanguard

  • print driver
    How to update Printer Drivers on your Windows device Windows
  • Featured image 1
    How to enable or disable color filters in Windows Windows
  • Screenshot 2022 04 26 at 12.04.14
    Differences between Directory Services and Databases Windows
  • Groovy
    How to install Groovy on Linux and Windows Configuration Management Tool
  • original 1
    Install Wim: How to Add Packages to Windows image Using the DISM Tool Windows Server
  • microsoft confirms some pcs freeze after windows 10 2
    Information on BOOTP Vendor Extensions and DHCP Options Windows Server
  • Angular 1
    How to deploy an Angular App to AWS S3 AWS/Azure/OpenShift
  • Screenshot 2020 06 22 at 22.46.00
    How to use a dedicated MsSQL Db for Pleasant Password Oracle/MSSQL/MySQL

Subscribe to Blog via Email

Enter your email address to subscribe to this blog and receive notifications of new posts by email.

Join 1,746 other subscribers
  • RSS - Posts
  • RSS - Comments
  • About
  • Authors
  • Write for us
  • Contact
  • Advertise with us
  • General Terms and Conditions
  • Privacy policy
  • Feedly
  • Telegram
  • Youtube
  • Facebook
  • Instagram
  • LinkedIn
  • Tumblr
  • Pinterest
  • Twitter
  • mastodon
  • Bsky

Tags

Active Directory Azure Bitlocker Microsoft Windows PowerShell WDS Windows 10 Windows 11 Windows Deployment Services Windows Server 2016

Copyright © 2026 TechDirectArchive

Loading Comments...

You must be logged in to post a comment.