In the realm of network administration, secure and efficient communication protocols play a pivotal role in maintaining robust connectivity. Configuring SSH and Telnet on Cisco ASA 5505 marks a vital point, emphasizing the essential merger of security and accessibility. To ensure streamlined management and remote access, mastering the process is essential.
Administrators utilize SSH and Telnet on Cisco ASA 5505 to establish secure remote connections. This empowers them to navigate network intricacies seamlessly. Incorporating the software enhances organizations’ ability to efficiently control and monitor networking devices, fostering reliable data transmission.
This guide explores setting up SSH and Telnet on Cisco ASA 5505, clarifying configuration steps, and emphasizing security protocols. As we delve into this, we’ll highlight technical implementation and its role in strengthening modern networks.
Note: These protocols are not enabled by default on Cisco router (ASA)
First: Generate the RSA key pairs (not required for telnet)
– Secondly: Designate the permitted host and network and
– Thirdly, assign the password.
Note: Telnet does not require to generate the RSA key, and it is not secure.
ASA(Config)# telnet 10.10.1.0 255.0.0.0 inside
ASA(Config)#passwd 2344
ASA(Config)#telnet timeout 00
For SSH: Below are the configuration steps
ASA(Config)# crypto key generate rsa modulus 1024
ASA(Config)#ssh 10.10.1.0 255.0.0.0 inside
Note: you can specify and individual node.
ASA(Config)#passwd 1234
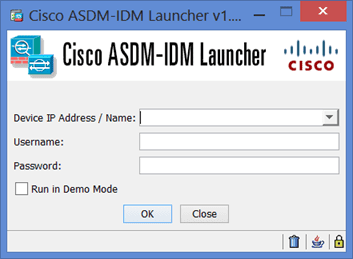
Note: you can configure and enable these feature via Cisco ASDM