
If you’re facing the problem of 100% CPU usage when nothing is running, and you’re asking “why is my CPU usage at 100% with no applications running? ” and probably worrying about it, don’t worry anymore as this post will help you with some useful steps you can take to fix it. There are more than one million users facing this same problem with their PC. So, you’re not alone! You may also check out the following articles how to Disable Or Enable Secure Boot on Windows 10 & 11, how to Solve “The parameter is incorrect” problem on External Hard Disk in Windows, how to Clear Cache on Windows 10, and Domain Controller: How to install and configure Active Directory Domain Services on Windows Server 2022.
If you are the one that asks the question above, the following are the likely cause of why your CPU is at 100% when nothing is running:
- Your PC may have contacted Malware or viruses – So try running an antivirus scan to see if there are viruses, spywares or Trojans on your PC. If the antivirus software on your PC detected malware or virus, you need to delete them immediately
- Background processes maybe be running and they are the main cause – This happens when the Task Manager does not reveal why you have high CPU usage
- Check what are the Startup programs in order to optimize and reduce the usage of your CPU.
- If the CPU is at 100% when nothing is running, take a look at your power options settings and adjust some settings.
Here’s a list of fixes that have resolved this problem for other users. You don’t have to try them all. Just work your way through the list until you find the one that does the trick for you.
- Update your drivers
- Fix potential Windows stability issues
- Run an antivirus scan
- End the processes that consume lots of CPU resources
- Disable P2P Share
- Modify Settings in Registry Editor
Step1: Update your drivers
Some outdated or missing drivers are the likely cause of this issue. By updating your drivers to the latest version, you may fix compatibility issues or bugs that cause high CPU utilization. The two most trusted ways you can update your device drivers are either manually or automatically.
Manual driver update – You can update your device drivers manually by going to the manufacturer’s website, and searching for the most recent correct driver for the exact device.
The point to note here is you must ensure to choose the drivers that are compatible with your variant of Windows system versions.Automatic driver update – If you don’t have the time, patience or computer skills to update your drivers manually, you can, instead, do it automatically with Driver Easy.
- Download and install Driver Easy.

2. Run Driver Easy and click the Scan Now button. Driver Easy will then scan your computer and detect any problem drivers.
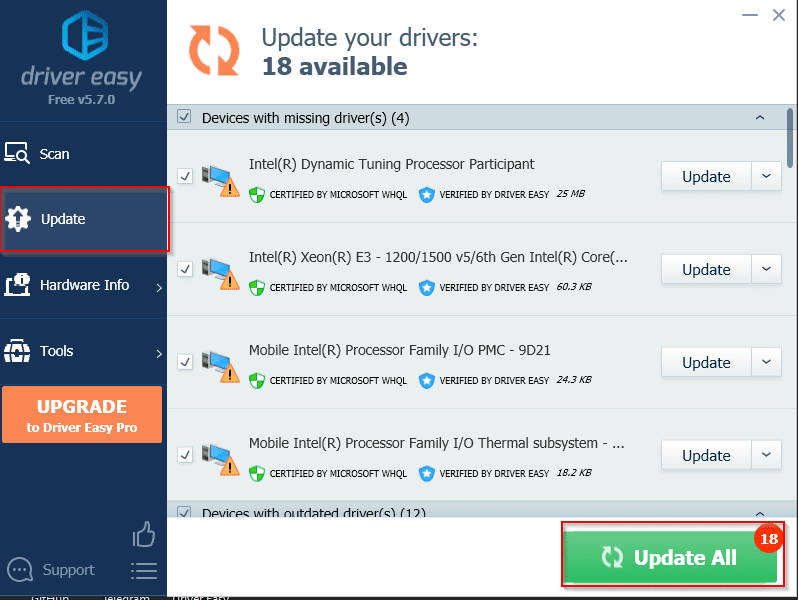
From the above screenshot, it shows that there are 18 driver updates available on my system. Click Update next to any device to automatically download the correct version of its driver, then you can install it manually. Or click Update All to automatically download and install the correct version of all the drivers that are missing or out of date on your system (This requires the Pro version – you’ll be prompted to upgrade when you click Update All.
Step 2: Fix potential Windows stability issues
The high CPU usage issue on Windows PC is usually a sign of system instability. What’s worse, it often leads to a system freeze or hanging.
To fix the potential Windows stability issues ASAP, try using Reimage, a powerful tool that specializes in Windows repair. Reimage will compare your current Windows OS to a brand new and functioning system, then remove and replace all the damaged files with fresh Windows files and components from its continuously updated online database that contains a vast repository of system services & files, registry values, dynamic link libraries and other components of a fresh Windows installation.
After the repair process is done, Your PC’s performance, stability, and security will be restored and improved.
To repair corrupted system files using Reimage, follow the steps below:
- Download a copy of Reimage.
- Install and launch Reimage.You’ll be asked to run a free scan of your computer. Click Yes to continue.

3. Wait for Reimage to scan your PC. This may take a few minutes

Note that, Reimage is not free which means that you’ll need to buy the full version to start repairing your PC.Step 3 – Run an antivirus scan
Malware or viruses on your PC may also be the likely cause of the CPU 100% usage issue. As much as you can try running an antivirus scan to see if there are viruses, spyware, or Trojans on your PC.
If the antivirus software on your PC detected malware or virus, you need to delete or quarantine them immediately. After this, this issue will be fixed.
If your antivirus software didn’t detect any malware, it may suggest that the malware or virus may not be the cause of the high CPU usage issue. In this case, try other steps provided in this article.
STEP 4- End the processes that consume lots of CPU resources
When you notice that the speed of your PC is gradually becoming slower than usual and the CPU usage is at 100%, try opening Task Manager to check which processes are hogging so much CPU usage.
The below is how to do it:
- On your keyboard, press Ctrl + Shift + Esc to open Task Manager.
2) Click the CPU column header to sort the processes by CPU usage. Now you can check which processes eat up your CPU.
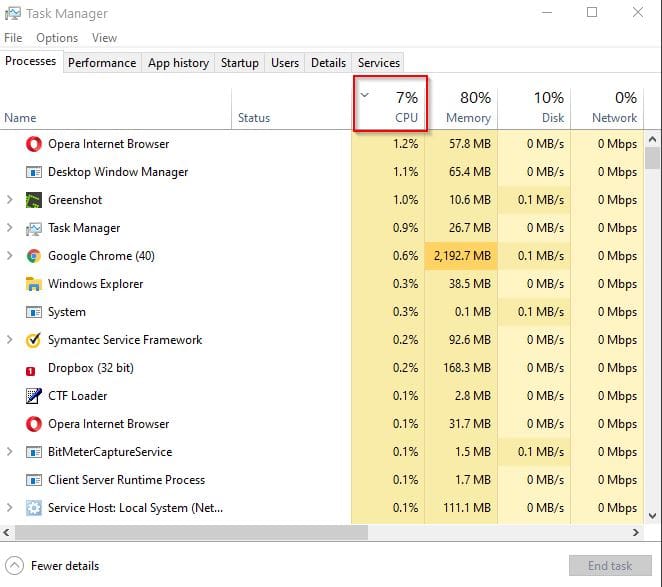
Note: Before you end the processes that eat up your CPU, you should Google the process name to check whether it is safe to kill or not!3. Select the process that consumes lots of your CPU and then click End task to kill this process. Here I’m ending Google Chrome processes as shown in the screenshot below.

Step 5 – Disable P2P Share
The P2P Share feature on your Windows 10 PC may also cause the 100% CPU usage issue. Try disabling this feature to see if this issue can be fixed. See how to do it’s done below:
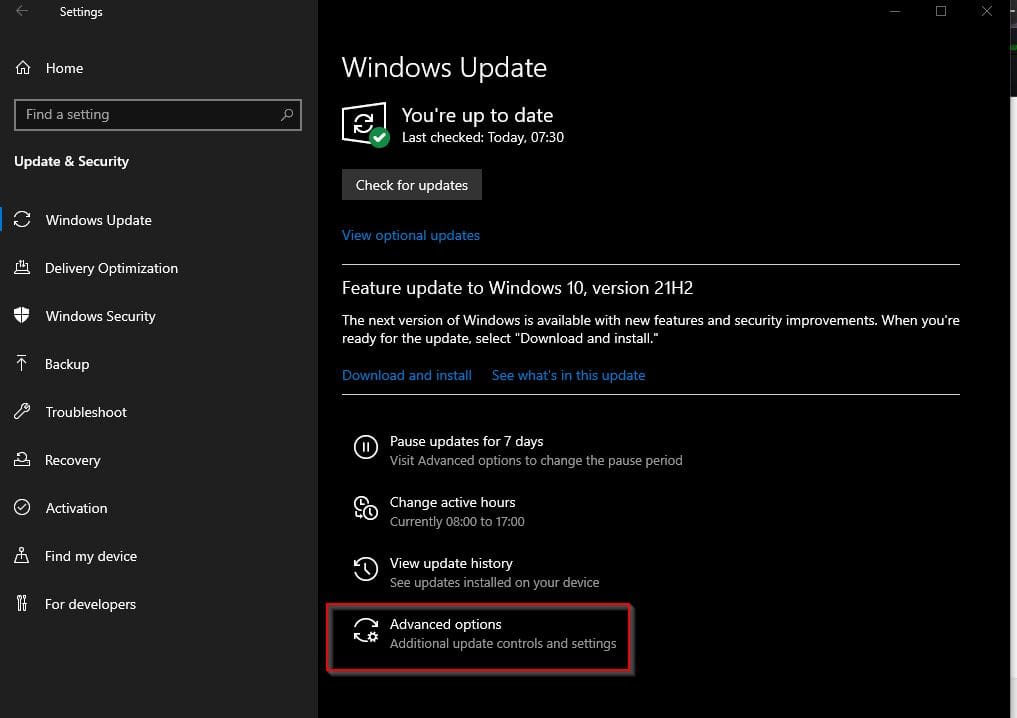
- On your keyboard, press the Windows logo key + I at the same time to open Windows Settings. Then click Update & Security.

2. Click Advanced options.
3. Scroll down to Delivery Optimization and click it
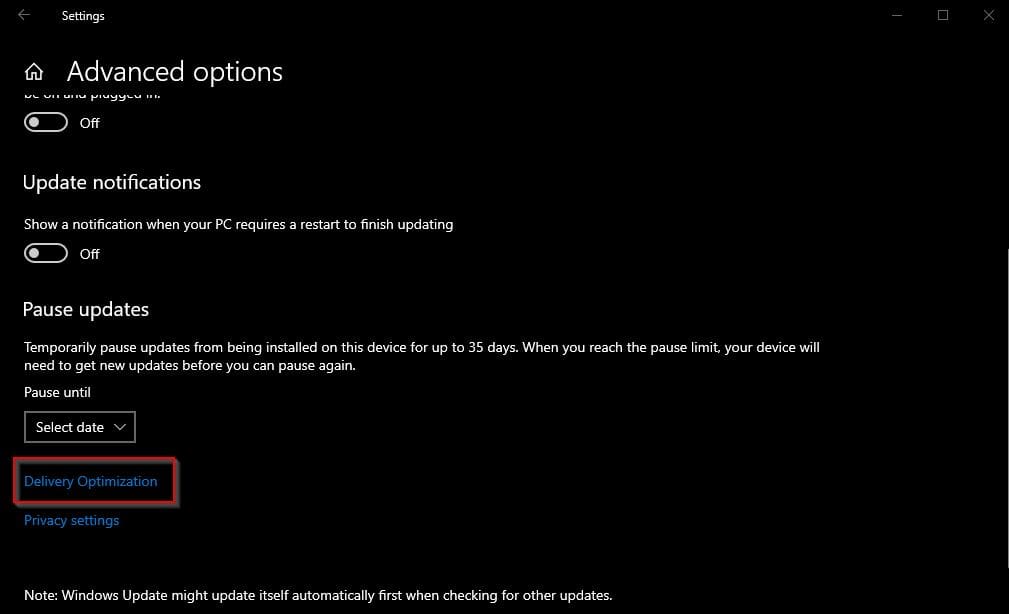
4. Turn off the blue toggle under Allow downloads from other PCs as shown below.

If after you have turned off delivery optimization feature, the issue still persists try turning Windows Notification.Fix 5: Modify Settings in Registry Editor
Microsoft has a built-in virtual assistant app known as Cortana. Cortana may sometimes trigger high CPU usage or even 100% CPU usage issues. If you enable Cortana, you may encounter the same issue. If you’re not a heavy user of Cortana, try modifying settings in Registry Editor to see if you can fix this issue. Here is how to do it:
If you often encounter the issue of your CPU operating at 100% even when no applications are running, finding ways to fix CPU at 100% when nothing is running problem becomes crucial. However, keep in mind that addressing this concern might impact certain features of your Cortana. If you heavily rely on Cortana’s functionality, opting for this solution might not be the most suitable choice for you.
Please note that wrong modification of settings in Registry Editor could cause irreversible errors to your system. So before you make any changes, please make sure that you have backed up your Registry first.- Press the Windows logo key + R simultaneously on your keyboard to open the Run dialog box. Type regedit and then press Enter to open Registry Editor. You’ll be prompted for permission if you’re not the admin user. Click Yes to open it.

2. Follow the path to locate the correct system files:

3. On the right side of the pane, right-click Start entry, then select Modify!

4. Change the Value data to 4 from 3, then click OK to save changes.

I trust that you discovered this blog post to be of assistance. Should you have any inquiries, please drop them in the comments section. If you’re struggling with the persistent issue of high CPU usage, even when no applications are running, and seeking a solution to fix CPU at 100% when nothing is running, the insights provided here might offer the guidance you need.


That is a really good tip particularly to those fresh to the blogosphere .Brief but very accurate info… Thanks for sharing this one. A must read post