
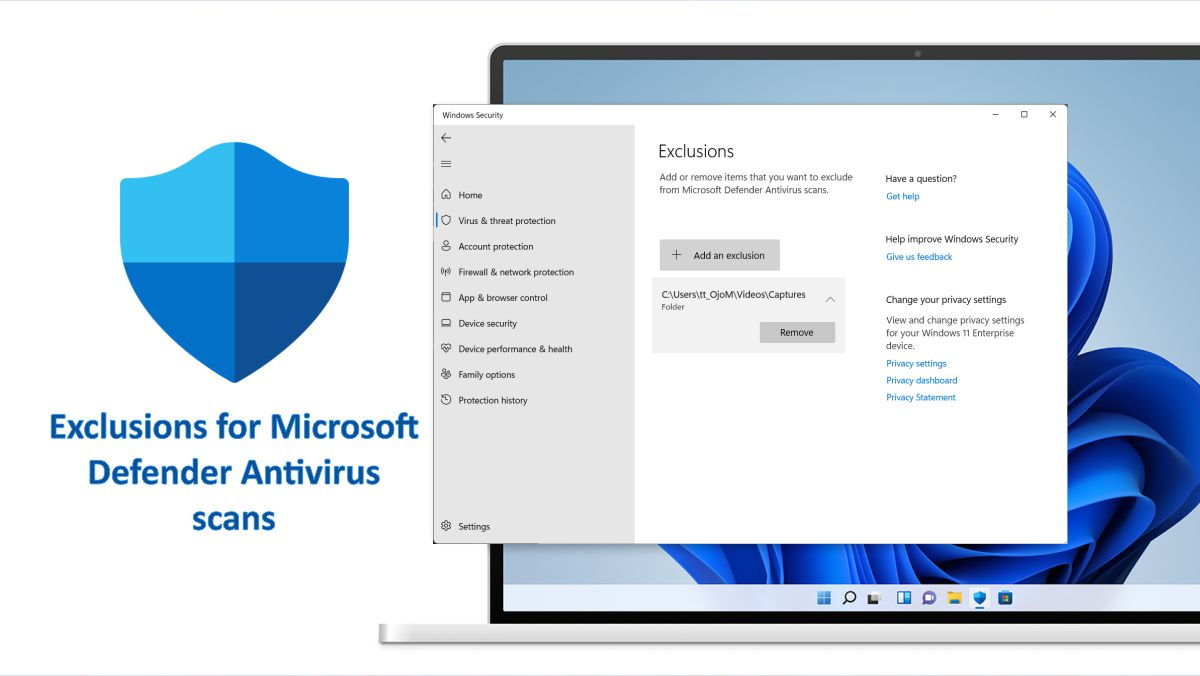
Windows Defender Antivirus is the default anti-malware engine on Windows, and it protects your device and data against viruses, rootkits, ransomware, and other security threats. Please see Microsoft Endpoint Manager: How to manage Microsoft Defender Antivirus with Group Policy and Microsoft Malware Protection via the Command Line Utility, and Smart App Control and how to enable Phishing Protection: Windows 11 New Security Features.
Although the built-in Windows antivirus performs well on the whole, it may flag a file or folder that you trust as harmful. If you wish to avoid this sort of behaviour, Windows Defender Antivirus has a setting that allows you to exclude files and folders, as well as file types and processes, from being examined and blocked.
Such exclusions apply to scheduled scans, on-demand scans, and always-on real-time protection and monitoring.
Here are other related guides: How to find and remove Malware with Microsoft Defender Offline, How to turn on Windows 10 Tamper Protection for Microsoft Defender,
Some Guidelines for defining exclusions Defender Antivirus
The following are some considerations that Microsoft advises you to bear in mind while defining exclusions:
- When defining exclusions, take into account all of your possibilities. Other approaches include just ensuring that the excluded location has the required access-control lists (ACLs) or initially setting policies to audit mode.
- Periodically review the exclusions. As part of your review process, double-check and reinforce mitigations.
- Exclusions should only be used for specific reasons, such as performance or program compatibility, when exclusions might help.
The following table lists some examples of exclusions based on file extension and folder location.
| Exclusion | Examples | Exclusion list |
|---|---|---|
| Any file with a specific extension | All files with the specified extension, anywhere on the machine.Valid syntax: .test and test | Extension exclusions |
| Any file under a specific folder | All files under the c:\test\sample folder | File and folder exclusions |
| A specific file in a specific folder | The file c:\sample\sample.test only | File and folder exclusions |
| A specific process | The executable file c:\test\process.exe | File and folder exclusions |
Ways to Configure and Validate Exclusions
In this section, we’ll walk you through how to configure and exclude particular files, file types, folders, and processes from Windows Defender Antivirus scans.
Method 1: Add Exclusions to Microsoft Defender Antivirus in Windows Security
Press the Windows + I keys together to open the Settings menu. Select Privacy and Security, and choose Windows Security on the right pane.

Under Windows Security, select the Open Windows Security option.

In Windows Security, click Virus and Threat Protection.

Click on the Manage settings link under Virus & Defender Antivirus settings.

Click on the “Add or remove exclusions” link under the Virus & threat protection settings. If prompted by UAC, click Yes.

Click Add an exclusion and specify what type of exclusion (file, Folder, File type, Process) you want to add Defender Antivirus.

How to Remove Exclusions from Microsoft Defender Antivirus in Windows Security
If you no longer want to exclude a certain item from the Windows Defender scans, you can easily remove it by going to the Add or remove exclusions link under Virus & threat protection settings.
Click on an added extension you want to remove to expand it open and click Remove.

Method 2: Use Group Policy Editor to configure folder or file extension exclusions Defender Antivirus
If you provide a fully qualified path to a file, just that file is excluded. If a folder is specified in the exclusion, all files and subdirectories inside that folder are excluded.
For Folder Extension Exclusion:
To open the Local Group Policy Editor, press the Win+R keys together to launch the Run dialog box, type gpedit.msc and press the Enter button Defender Antivirus.

In the Group Policy Management Editor go to: Computer Configuration > Administrative Templates > Windows Components
Expand the tree to Microsoft Defender Antivirus > Exclusions. On the right pane, double-click to open the Path Exclusions setting for editing.

Set the option to “Enabled.” And under the Options section, select Show.

Specify each folder on its own line under the Value name column.

Enter 0 in the Value column and click OK.
For File Extension Exclusion:
If you are specifying a file, ensure that you enter a fully qualified path to the file, including the drive letter, folder path, file name, and extension.
Next, double-click to open the Extension Exclusions setting for editing and add your exclusions.

Set the option to Enabled and, under the Options section, select Show.

Enter each file extension on its own line under the Value name column.

Enter 0 in the Value column and click OK.
Method 3: Add or Remove File Exclusion for Microsoft Defender Antivirus in PowerShell
To access PowerShell, simply initiate the Start menu and type in “PowerShell” in the search bar.
For the inclusion of a file exclusion, input the subsequent command:
Add-MpPreference -ExclusionPath "<Full path of file>" -Force
For example:Add-MpPreference -ExclusionPath " C:\Windows\Fonts" -Force
Enter the following command to eliminate a file exclusion:
Remove-MpPreference -ExclusionPath "<Full path of file>" -Force
For example:Remove-MpPreference -ExclusionPath " C:\Windows\Fonts" -Force
You can use PowerShell commands to do the same thing for every other exclusion type you want to exclude.
I hope you found this guide useful on configure and validate Exclusions for Microsoft Defender Antivirus scans. Please feel free to leave a comment below.


