

Learn how to create Chocolatey Package: Upgrade Software with Chocolatey in this blog post. IT professionals must look at better ways to carry out mundane tasks as automation becomes more of a need than a nicety; one such duty is software installation. It would be better for you to come up with an alternative method than to download an MSI, double-click on it, and go through the process. Please see Windows Package Manager: How to install Winget CLI, and How to upgrade PowerShell to the latest version on macOS via Homebrew.
Chocolatey is a Windows-based machine package manager that is similar to Apt and RPM. With Chocolatey, all you have to do to install a Windows application is run a single line of code; Chocolatey will then download and install the application for you.
Although there is an official manual for creating and publishing a package, this instruction is more straightforward. As a command-line package manager and installer for Windows software, Chocolatey operates at the machine level.
To make downloading and installing software easier, it takes advantage of Windows PowerShell and the NuGet packaging architecture. Microsoft released PowerShell 5 and OneGet (later renamed to PackageManagement) in April 2014.
What is Chocolatey?
Chocolatey is a free open-source package manager for Windows. On your servers or desktops, it can help you install, manage, and upgrade software. Sometimes finding the MSI or EXE file required to install the software and then going through the installation procedures all by yourself might make life harder for you as a System Administrator.
This is the burden Chocolatey helps to relieve from you as it can help make life easier by finding the MSI or EXE file needed to install software and then walking through those installation wizards.
Chocolatey is an open-source tool, that’s open to anyone to contribute to and help evolve. It is also free at the point of use, but there are paid versions for those who may need some premium features or are using the product in their business environment.
Creating Chocolatey Packages
First thing first, to create a package Chocolatey must be installed since it is not installed by default on Windows. So I am going to jump straight to taking through the process of installing Chocolatey, adding it to a path, and creating your first package.
You can learn more about Chocolatey in the following related posts: Windows Package Manager: How to install applications using Chocolatey?, Windows Package Manager: How to install, upgrade or uninstall Chocolatey,
Chocolatey Installation
You can install Chocolatey by either running a PowerShell script or using Chef, Ansible, or Puppet. For most users installing using a PowerShell script will be the quickest way of starting with Chocolatey.
Here, I am going to run the installation with PowerShell Script. To download and install Chocolatey, run the below command in a PowerShell console:
PS> iex ((New-Object System.Net.WebClient).DownloadString('https://chocolatey.org/install.ps1'))

Chocolatey has been installed and automatically added to the system path.
If we call choco anywhere within the Window, it will display the version and helpful tips. Let’s call it up using Windows Command Prompt Console:

Now life is easier as you can simply execute the command choco followed by the name of the application of software you will like to install right from the command-line interface and Chocolatey will do the installation for you.
We will come to this later in the post but for now, let’s see how to create a Chocolatey package.
Create a Package
Step 1 – Create a directory with a name unique to your purpose.
To do this, follow the steps below. Here, I am creating a directory named mytestapp-package and open it with your code editor, Visual Studio Code precisely and type the below codes:
Note: To create a Chocolatey package, you must first create an NUSPEC file. An NUSPEC file is an XML package manifest that describes the package contents. This NUSPEC file must be in a particular format.
 <?xml version="1.0"?>
<package xmlns:xsi="http://www.w3.org/2001/XMLSchema-instance" xmlns:xsd="http://www.w3.org/2001/XMLSchema">
  <metadata>
    <id>TestApp</id>
    <title>TestApp</title>
    <version>0.1.0.20120702</version>
    <authors>Imoh</authors>
    <owners>Imoh</owners>
    <summary>This is an example App</summary>
    <description>Your descriptions here</description>
    <projectUrl>http://www.testapp.com</projectUrl>
    <tags>some tags here</tags>
    <licenseUrl>http://www.testapp.com/license.txt</licenseUrl>
    <requireLicenseAcceptance>false</requireLicenseAcceptance> <!-- or true if you require the user to accept the License before installing -->
    <iconUrl>http://www.testapp.com/logo.png</iconUrl>
  </metadata>
</package>
Replace the content above with the information of your app and save the file as shown in the screenshot below:
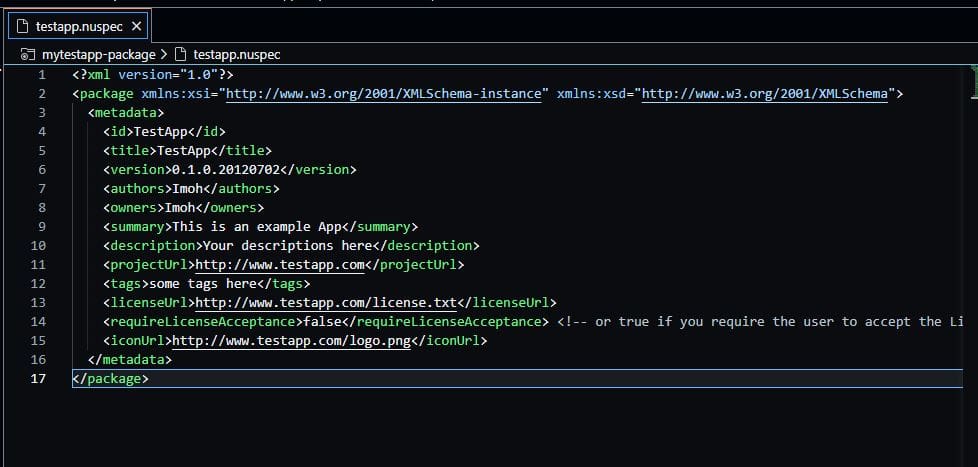
Create Chocolatey Package
Now let’s create the package. To do this, navigate to the directory where you have the package file saved. My directory is mytestapp-package and then run the below command where testapp.nuspec is the name of my package file:
$ choco pack testapp.nuspec

Now run cpack or chocolatey pack on the command line within the same directory to get the details of the package your have just created.

The above screenshot shows the package. TestApp.0.1.0.20120702.nupkg in the current working directory. So, this is the package and that’s all you.
Test the package by running:
cinst TestApp -source %cd%

Installing and Upgrading Software Using Chocolatey
Let’s install a Notepad++ text editor using Chocolatey Package. To do so, run and press the Enter key:
$ choco install notepadplusplus
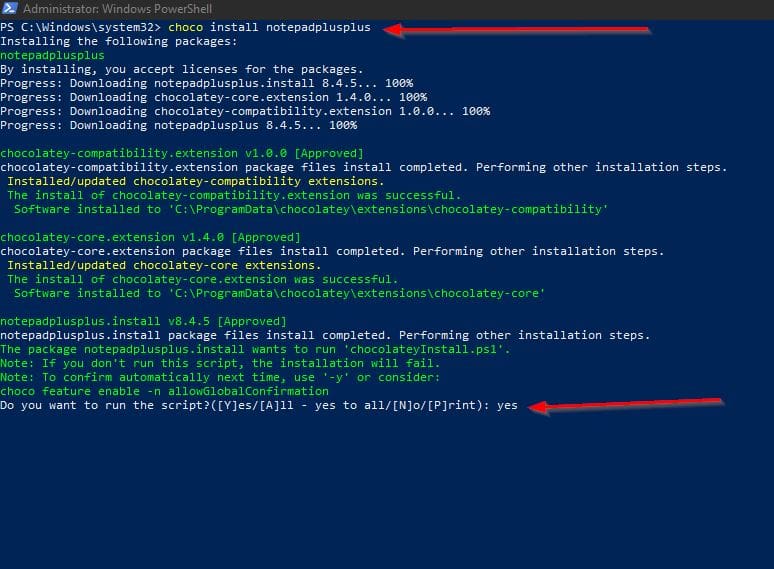
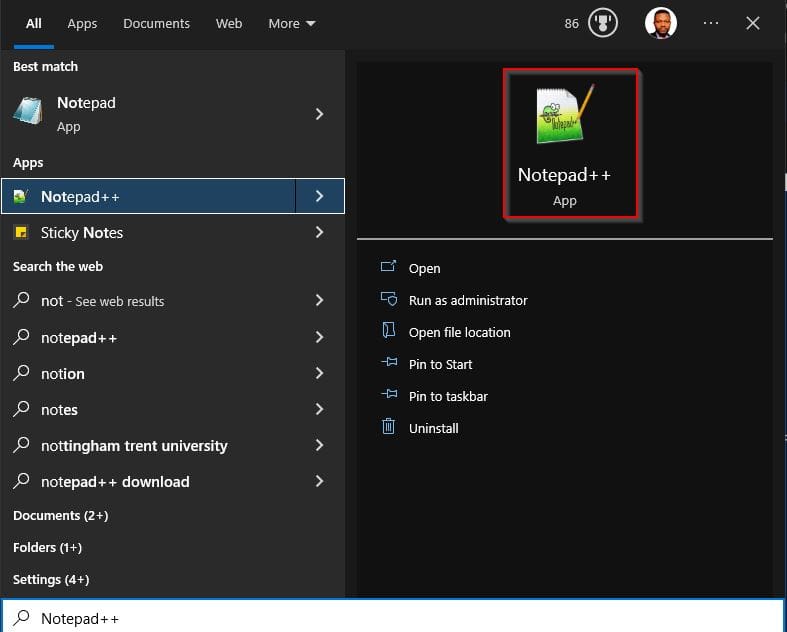
Notepad++ is completely installed. We can confirm this by searching for Notepad++ using the Windows Search bar.
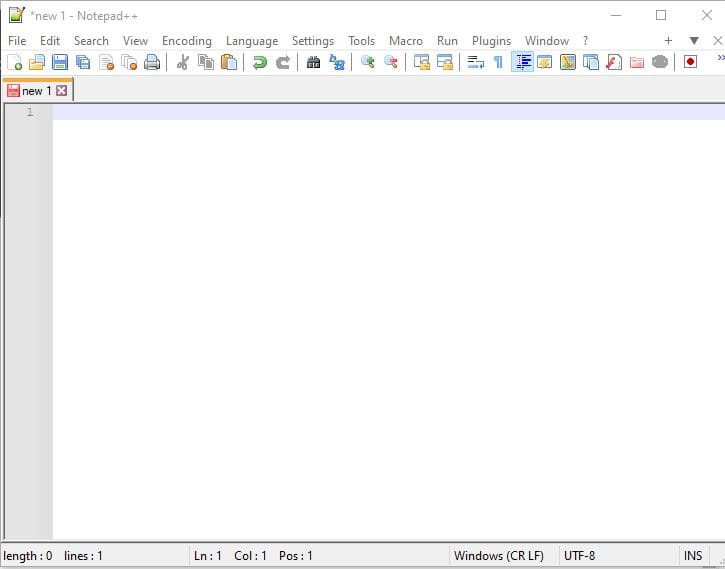
Launch the Program and start using it
Upgrading Software using Chocolatey Package
We can easily upgrade all software at once or upgrade them individually. Here, I am upgrading the Azure CLI package installed on my system.
To do so, run:
choco upgrade Azure-cli

Chocolatey Package can be so helpful in taking much of the burden of managing software and application packages on Windows through a single line of the automation process.
I hope you found this guide useful on how to create Chocolatey Package: Upgrade Software with Chocolatey. Please feel free to leave a comment below.


