
The PC Health Check app offers device health info, empowering you to optimize and address performance concerns. In this article, we shall discuss “How to use Windows 11 PC Health Check App”. The tool checks essential components, ensuring your machine supports updates in a few steps. Please refer to these related guides. Internet Explorer: How to disable IE via Group Policy or Windows Registry Settings, and how to forcefully remove Microsoft Edge Browser the hard way from your device.
The overall status check takes only a few seconds. All you have to do is launch the app and press the Check Now button. The main screen provides access to crucial PC Health Check data, including recent OS updates, battery charge, and storage space. You can also examine the load time at the start of the session in another area.
Here are other related guides: Files On-Demand with OneDrive: Microsoft OneDrive Setup On Windows 10 and 11 and Key Features Explained, Focus on tasks: How to get your task done on Windows by minimizing distractions, and How to use color filters in Windows,
The various task you can perform with the PC Health Check App
In this section, we’ll demonstrate using Windows 11’s PC Health Check to assess crucial system components.
If the app is already installed, you can explore its functionalities within the PC Health Check app. If the PC Health Check app is not available on your system, you can download it from here. Once downloaded, run the file and tick the “I accept the terms in the License Agreement” then click Install.

After the PC Health Check setup ends, click the Finish button.
Check Now Windows 11 eligibility
The app’s Check Now feature displays supported Windows 11 requirements, whether by your system or currently. This feature is essential for Windows 10 users looking to upgrade to Windows 11.
You’ll get info on why your device is or isn’t eligible and what you can do if your device doesn’t meet the requirements.
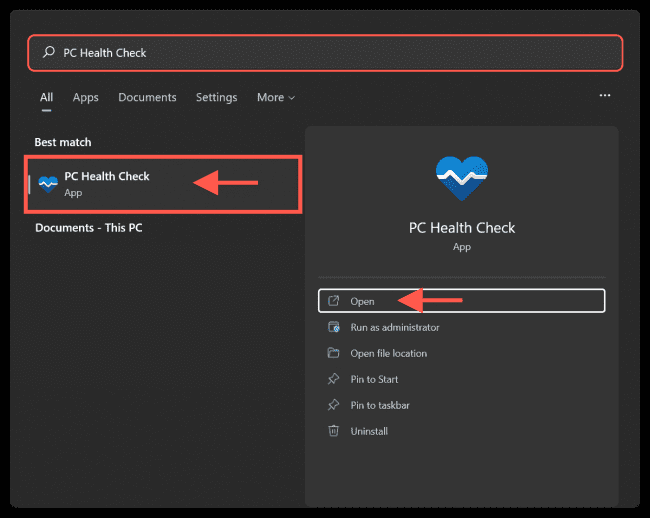
To open the PC Health Check app in Windows 11, click the Windows Key to open the Start menu and search for “PC Health Check,” then select it from the results list.
Select Check now to see if your device can run Windows 11.

Backup and sync
Sign in with your Microsoft account or create a new one to sync your preferences across your devices, such as passwords, Microsoft Edge browser settings like favourites and reading lists, themes, and more.
To use the Backup and sync feature, launch the app and click the Backup and sync tab.

You can also back up your photos and files to OneDrive. They’ll then be protected and accessible across your devices. Please see Files On-Demand with OneDrive: Microsoft OneDrive Setup On Windows 10 and 11 and Key Features Explained.
Windows Update
Regular Windows updates ensure that your device operates properly and securely. If your device isn’t up to date or needs attention, the PC Health Check will let you know. To use this feature, select the Windows Update tab and click on Open Windows Update to go right to Windows Update in Settings.

In the Windows Update area, click on Check updates to see if there is any available update for your system and click on Download and install to effect the update.

Battery capacity
Use this section of PC Health Check to get info on how your batteries are performing compared to their original capacity for devices with one or two batteries. Battery capacity will be available for devices older than 3 years.
Open the app and select the Battery Capacity tab, then click See battery saving tips for steps you can take to improve battery.

On clicking the link, you will be redirected to a Microsoft website which contains details on how you can improve your battery life.
Storage capacity
See how much storage space is being used for your device’s main drive, which contains your files, apps, and Windows. You’ll see the percentage of your drive is full.
To use this feature, expand the Storage capacity section and click Manage storage settings.

Storage Sense is a crucial tool to utilize since it helps to automatically delete temporary system files and free up space. Scroll down to the Storage management section in the Storage settings and click on the Storage Sense button to enable this option.

You can get other cleanup recommendations in the Storage settings to free up even more space if you want.
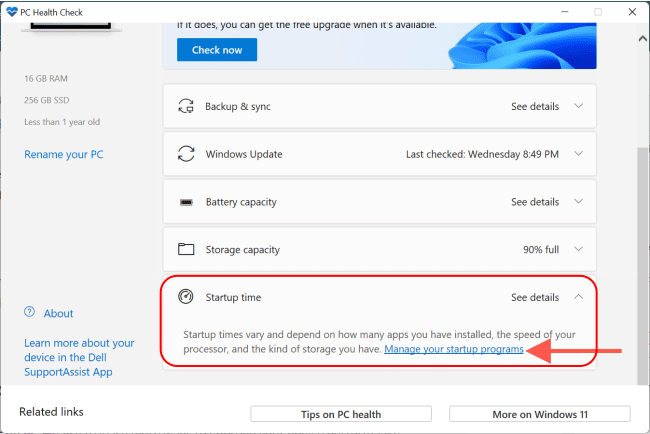
Startup time
Get info on the startup time for your device, along with more info about what affects these times. Click Manage your startup programs to review and change your startup apps.
Tips on PC Health
Select Tips on PC Health Check to learn more ways to improve your device performance.

See your device specifications
You can find more info about your device specifications, including processor speed, PC Health Check, installed RAM, System type, and Windows version. Select Rename your PC to give your device a different name.

I hope you found this blog post on how to use Windows 11 PC Health Check App helpful. Please let me know in the comment session if you have any questions.


