If you have created a VM on Hyper-V, Proxmox, VMware, or XCP-ng and want to reinstall Windows, you don’t need to delete the VM or recreate it. In this guide, we will show you how to reinstall Windows directly on an existing VM while keeping the VM configuration intact. Therefore, in this guide, we will discuss the steps to reset or reinstall Windows Server without deleting the VM. Please see Deploy Veeam Recovery Orchestrator and Agents to VBR and VEM, and
Note: In this article, we do not have a backup and we have not included it in a backup. Also, the scope is not to restore to a known good state but rather to rest or reinstall Windows Server.
For some other reason you may need to perform a full system restore without restoring the previous server configuration from a backup. In this case, you can perform a restore that resets the server to factory default settings by using installation or recovery media from the server hardware manufacturer.
Also see Video Conversion Desktop Software for Windows, How to Reset a Cisco 3650 Catalyst Switch, and how to reset and reinstall Windows 10 locally.
Resetting the server to factory default settings
Note: When you restore your server by resetting it to factory default settings. All existing settings and installed applications on your server are deleted, and you must configure your server again.
These steps are similar to resetting a server to factory defaults and reinstall the OS from a new ISO, using a remote or “bare-metal” method such iLO, and iDRAC. See Install Windows Server 2025 via iDRAC Virtual Media or PXE, and Upgrade Windows Server 2019 to 2022 via iDRAC.
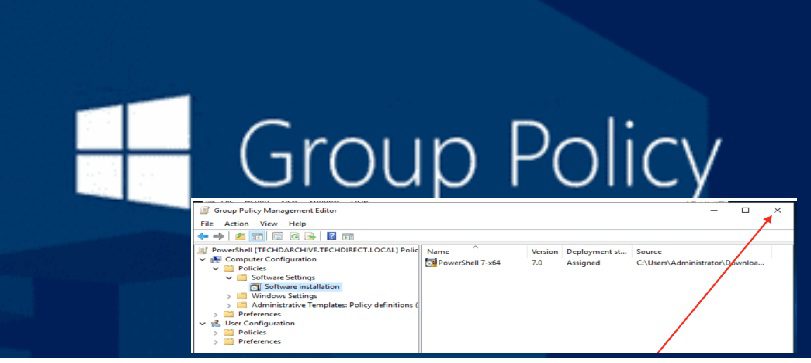
To proceed, you have to ensure the ISO is attached to the VM as shown below. You can do this via In VM Settings, then navigating to the DVD Drive, click Browse and select your ISO. Next, double click on the setup to launch the OS installer

On the Windows Server Setup window, click on next.

Please see Fix Error 0x87E10BC6 on a PC running Windows non-core Edition, how to Fix Windows Server frequent disconnects and shutdown, and how to Convert Windows Server Datacenter to Standard: Install Windows Server via iDRAC Virtual Media.
Licensing Method
Seems some features are blocked until after activation. I usually enter the product key before installation. But you can also enter it after installation.
Note: The product key is needed because it verifies that your copy of the software is genuine and properly licensed

Select your desired image you wish to reinstall

Please see Convert Windows Server Essentials or Evaluation to Retail Edition, how to Transfer Windows License from one PC to the other on Windows, and How to upgrade Windows Server Evaluation to Full Version
Choose what to keep
When you perform a factory reset and choose to keep your data. The system deletes all data on the system volume but retains data on other volumes.
- Note: If the disk settings differ from the defaults, or if the system disk is unreadable or replaced. All data on the system drive will be deleted, even when keeping data. The new system disk must be larger than the original system volume
When you choose to delete all data, the reset removes the server configuration, system volume data, and all other hard drives. This option fully reformats all disks and is recommended when decommissioning or repurposing the server.
I do not want to keep anything. Therefore, I will select nothing and click on Next.

On the Ready to Install wizard, click on “Install” as shown below.

Windows Server is currently installing.

When prompted to enter your password, type in a very strong password and do not forget to re-enter the password and click on Finish.

Please see Manage Windows Product key with Software Licensing Manager, and Windows could not start the SQL Server service on local computer 17051: A network-related or instance-specific error occurred while establishing a connection to SQL Server.
Post OS Configuration
In this steps, we wil apply Windows update, join the device to the domain, change the time zone etc.
Note: If you specify a router DNS server as shown below. You have have issues joining the domain. You may have to take it off by specifying the DNS server IP . This is sufficient.

TCP/IPv4 configured correctly.

Since we do not have proper DNS name resolution in place yet, we need to enable NetBIOS over TCP/IP. This allows devices on the network to resolve each other’s names using NetBIOS. Thereby, ensuring communication and resource access until DNS is fully configured.

Change the device description and computer name and join the device to the domain.

Fix the specified domain does not exist or could not be contacted
If you are having issues joining the computer to the domain with the error “The specified domain does not exist or could not be contacted”. Please follow the steps below to fix it.

Since I previously had to deal with DNS and IP addresses issues. Since this error occurs after the credentials prompt. This points to “Communication” failure rather than a “Finding” failure.
Since I changed the DNS settings from 192.168.2.1 to the above TCP/IPv4 parameters. The server still has a “negative cache”. To fix this, we will have to flush DNS with the command below.
ipconfig /flushdns

As you can see, we are able to join the server to the domain again.

You will be prompted to restart. Please follow the prompts and do not forget to change the time zone and also apply Windows updates.

FAQs
In-place upgrades preserve legacy configurations, misconfigurations, and potential AD database corruption. Microsoft prefers deploying fresh binaries on a new DC to reduce risk.
Yes. Upgrades can leave SYSVOL inconsistent or break Group Policy replication silently. A new DC rebuilds SYSVOL cleanly from a known-good source.
Domain Controllers hold Kerberos keys, trust secrets, and FSMO roles. If an upgrade fails, it increases the blast radius, risking USN rollback or lingering objects.
Always at least two. A second DC ensures safe FSMO transfer, replication, and hostname/IP reuse. Single-DC environments have no safe rollback path.
Deploy a new server, perform domain join. Then promote to DC and transfer FSMO roles. Lastly, demote old DC and optionally reuse hostname/IP on fresh OS based on your need.
I hope you found this article on how to “Reset or reinstall Windows Server without deleting the VM” very useful. Please, feel free to leave a comment below.