A package manager or package-management system is a collection of software tools that automates the process of installing, upgrading, configuring, and removing computer programs for a computer’s operating system in a consistent manner. Homebrew is the preferred package manager for macOS and the installation is pretty straight forward. How to add a new partition to an existing Linux server, and how to setup and configure a lamp stack.
Homebrew is package manager for Macs which makes installing lots of different software like Git, Ruby, and Node simpler etc. Homebrew keeps its standard commands simple and installs only single-file applications through its default brew command-line interface.
Also, see ESXI 6.7 ALARM: Seat disk exhaustion on 10, how to setup up WatchGuard Log and Report Server in a VM, how to encrypt a partition with Cryptsetup on Linux and how to disable RC4 Cipher Algorithms support in SSH Server.
Install Homebrew on Mac
Launch the iTerm terminal (Terminal emulator for macOS) on your macOS
– Navigate to the website https://brew.sh/ and paste the command below in the terminal
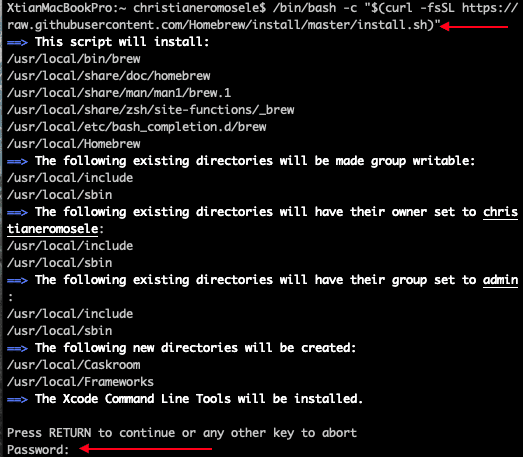
/bin/bash -c "$(curl -fsSL https://raw.githubusercontent.com/Homebrew/install/master/install.sh)"
This will continue the installation of Homebrew on your macOS. This will at some point prompt for a password to allow the installation to continue.


Now, Homebrew package manager has been successfully installed on your device as shown above. See the following how-to article to see if Homebrew is installed on your device.
Furthermore, I hope you found this blog post on “Package Manager for macOS: How to install Homebrew on macOS” very helpful. However, Please let me know in the comment session if you have any questions.