
SonarLint is a product from SonarSource and it is a free and open-source extension that supports different Integrated Development Environment (IDE). In this guide, you will learn how to Setup SonarLint in VS Code for Your App Project. This tool can help you detect and fix both security and quality issues while writing your code. Please see Virtual Machine Snapshot vs Backup, Windows as a Service: Windows 10 Feature and Quality Updates, and how to Change Visual Studio Code UI language.
It works like a spell checker while writing and it points out the flaws in your code so that it can be immediately fixed before your codes get committed. It is a tool that gives real-time feedback and also provides guidance on how to remediate the issue discovered.
This tool is very easy to use and there is no configuration needed all that you need is to install from your IDE marketplace and you continue coding while fixing bugs and security issues in your code. In this article, we are going to explain and show you how to set up SonarLint in Visual Studio Code which will be our primary IDE and we will be using an Angular app for this guide.
Another helpful product from SonarSource is SonarCloud which is a Software-as-a-service application that you can use for your Static code analysis, you can learn how to integrate this with Azure DevOps by reading this guide Using SonarCloud: How to Integrate SonarCloud with Azure DevOps Pipeline.
Let’s gets started by following these steps:Installing the SonarLint VS Code extension:
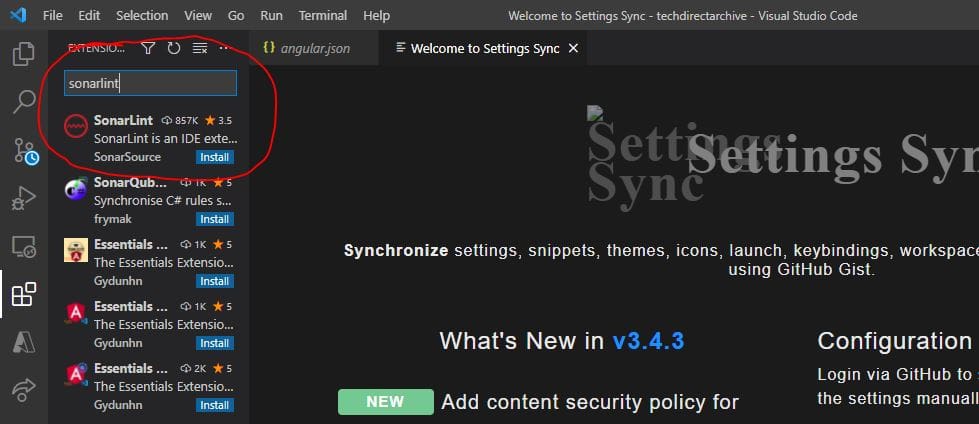
1: Open your VS Code IDE and go to the Side Bar >>Extensions or Press Ctrl + Shift + X in Windows
In the search box search for SonarLint. Click on the extension SonarLint. The Marketplace will open for you to install. Click on Install
Now the SonarLint is installed.

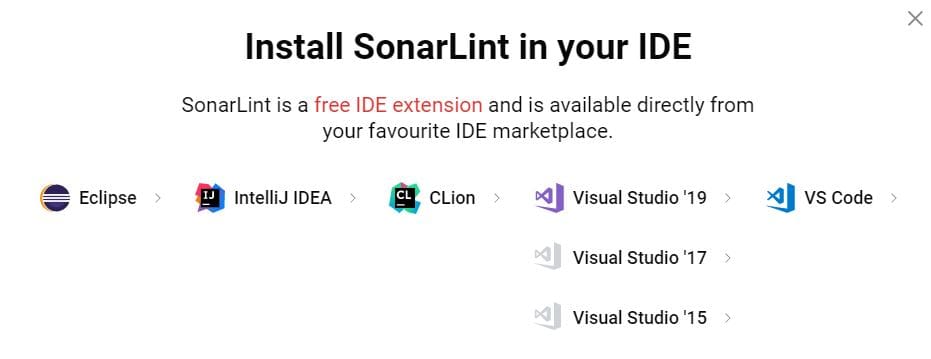
Another route we can take in installing this SonarLint is visiting the official website. After the website opens click on Install in VS Code for Free

Also, see Python Automation in Windows with Visual Studio Code, and Complete Guide on TestRail as a Test Management Tool.
Install VS Code
Click on any IDE that you are using but in this guide, we are clicking on VS Code
In the Marketplace page that opens click Install

A dialogue box opens asking you for permission to open Visual Studio Code, click on Open Visual Studio Code.
The SonarLint Extension will get installed on your IDE.

Please note that you need to have java installed on your system before you can run SonarLint. You will even receive a notification that Java 8 or higher is required to run SonarLint. You can download and install the most recent JRE.
The image below shows the effect of the SonaLint in helping you to correct an error which is always displayed with a squiggle under the area where the flaw exists.

The extension can also help you review the issues through the Problems panel as shown below.

The below image shows how SonarLint will review the rule pertaining to that issues and display it by the left of the page which is a source of remediation for an issue.

I hope you found this blog post on How to Setup SonarLint in VS Code for Your App Project very interesting and helpful. In case you have any questions do not hesitate to ask in the comment section.


