Static websites can be defined as a type of website with a fixed display with the same content for every visitor to the website. This website is written in HTML and also prebuilt with CSS and JavaScript and uses a server-side rendering of these same files to every user. In this guide, you will learn about the steps to hosting a Static Website and Versioning on AWS S3. Please see how to Get your free Microsoft 365 E5 Sandbox today, and Video on Security researchers bypass Windows Hello with fake fingerprints with Raspberry Pi 4.
The word “static” means it does not change it remains the same for everyone as it is been loaded into the web browser for users to see. On a static website, you do not need to log in or perform some dynamic actions.
Versioning is one process that is very critical to any agile environment where application upgrade and maintenance are part of the software development life cycle.
Furthermore, Versioning is an important process because user’s need specific information about the application version currently deployed to their environment and also the upgrade versions available for installation or deployment.
You may also want a guide on how to create IAM users and setting policies for access to your static website by reading this Creating IAM Users, Adding MFA and Policies on AWS
Setting up your AWS Account
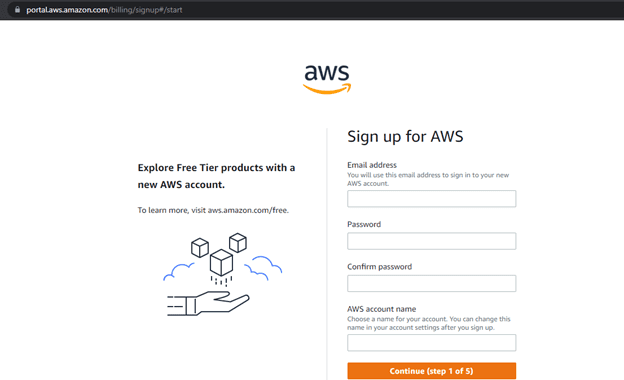
Setting up your AWS Account. Create an account via this AWS signup page
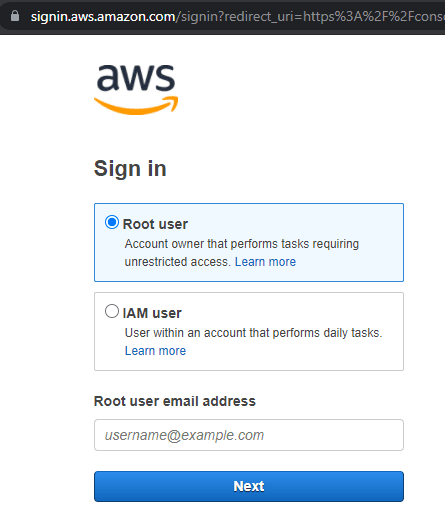
Log in to the AWS management console: https://signin.aws.amazon.com/
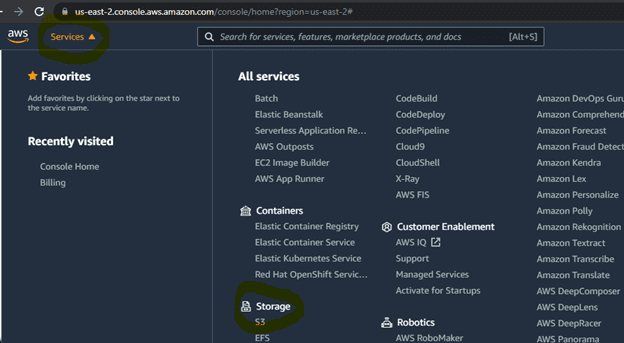
However, After you have successfully created an AWS account and logged in, then navigate to S3 under the services→storage option. Moreover, The next step is to create an S3 Bucket name.
Bucket Naming Rules for AWS: Uniqueness and Formatting
In addition, Please note that the bucket name must be unique across all AWS account and must not contain spaces or uppercase letters.
Nonetheless, If you want to know how to create an S3 bucket read this guide How to Deploy an Angular App to AWS S3. A step-by-step process on how to create an S3 bucket is covered also.
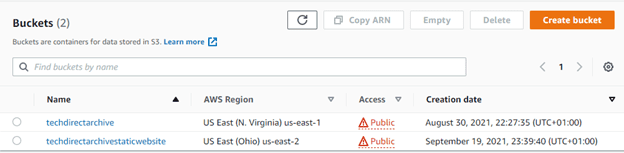
Consequently, Our S3 bucket name is techdirectarchivestaticwebsite as the image below shows:
1: Click on the bucket name you created on your own AWS account but in our case we will click on techdirectarchivestaticwebsite.
2. Click on the Upload button to upload your static website files from your local system.
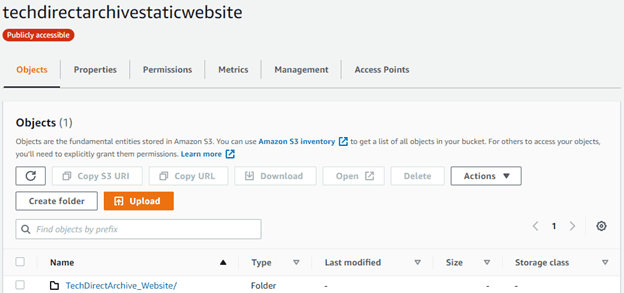
3. Similarly, You can drag and drop files and folders you want to upload from the location you have your static website files or choose Add files or Add folders from the same location.
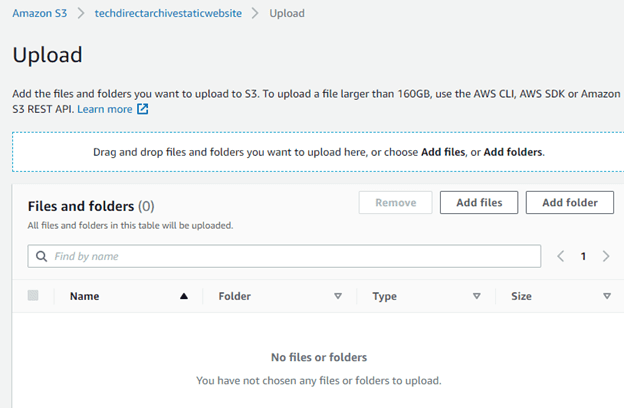
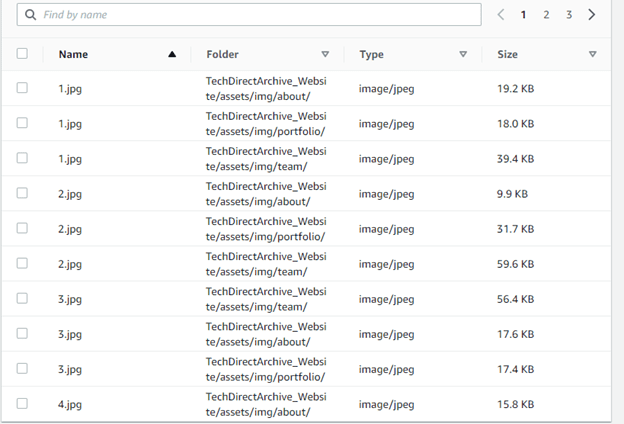
4. Copying the static website files from a location on my computer

The below image shows the files that will be moved from my computer:
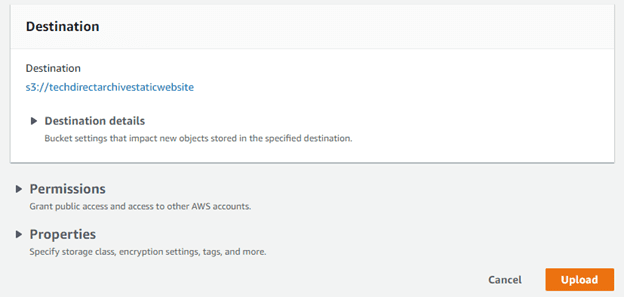
5. Click on the Upload button to start uploading the files
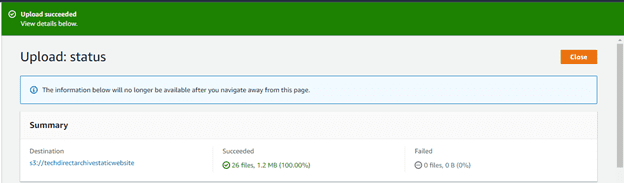
6. The uploading status for your files will display and when completed you the status will change.
Configuring Access Permissions for Uploaded Files on AWS S3
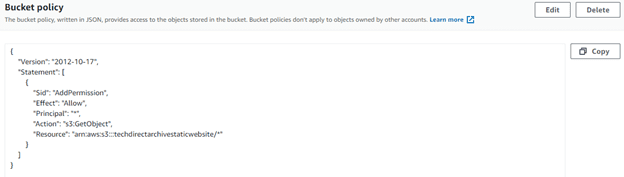
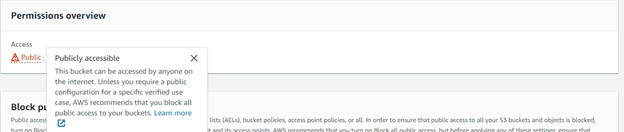
7. Now that the whole files have been uploaded successfully, make sure you check the Permission tab and in the permission overview change the access to Public. You can edit the bucket policy with the below policy below but make sure you change the Resource name to yours
But note that it is recommended that you block all public access to your buckets, we are only using this Public access to explain in this guide.
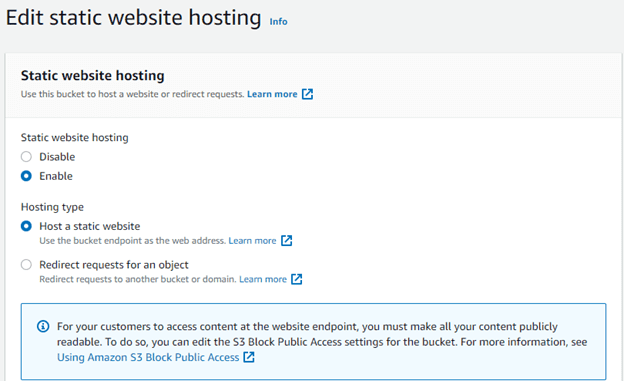
8. In the Properties tab scroll down to the Static website hosting section and click on the Edit button. In the Static website options select Enable and in the Hosting type options select Host a static website.
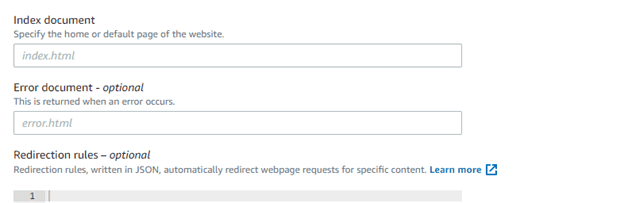
9. In the Index document section enter index.html while in the Error document enter error.html.
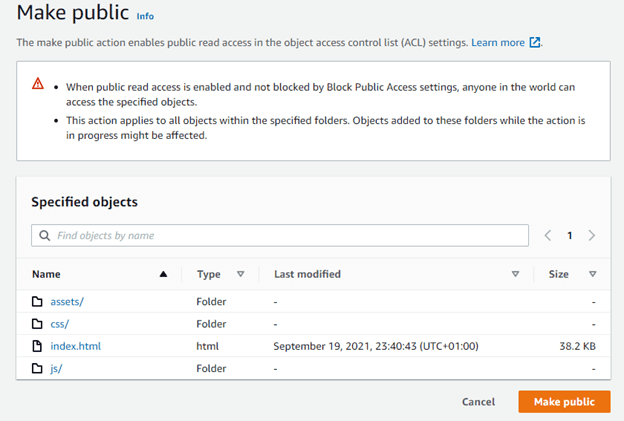
10. To make the files accessible to the public you need to go to the objects tab and select all the files and choose Make public as the action.
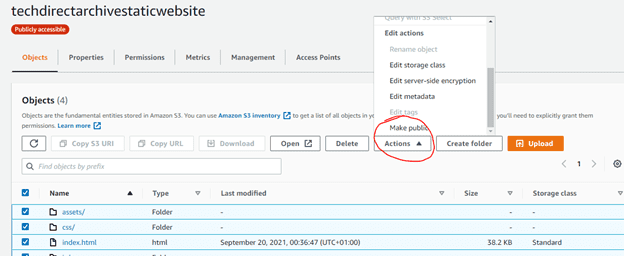
11. Click on the Make public button.
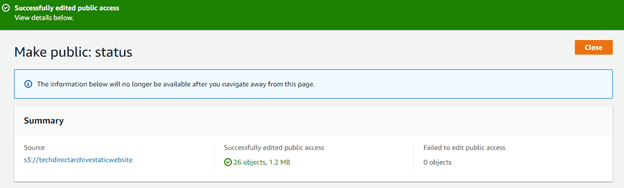
Files status now public
12. Go to the Properties tab and scroll down to the Static website hosting section, click the URL.
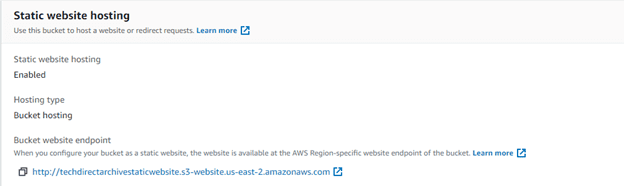
13. Congratulations: here come our static website

Versioning our deployment files
When you activate S3 Versioning it will help keep multiple versions of an object in one bucket with different version id. It will also help to restore objects that are accidentally deleted or overwritten.
Let’s take for example if an object is deleted, instead of removing it permanently, Amazon S3 will insert a delete marker. Follow these short steps to version your deployment to AWS S3.
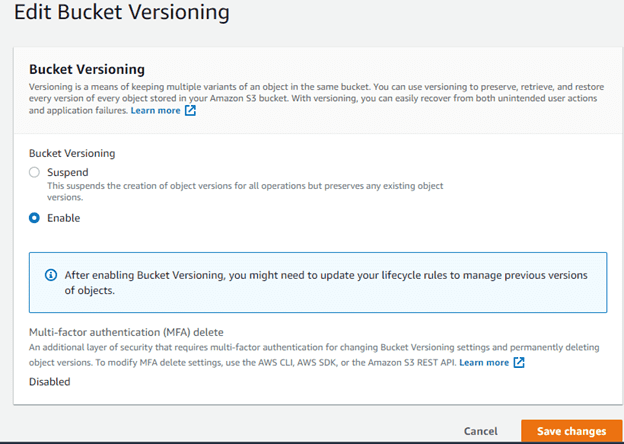
14. Under the Properties tab scroll down to the Bucket Versioning section and click the Edit button and select Enable.
Now since Bucket Versioning is now enabled on our S3 Bucket let’s try and make some little adjustments to our uploaded files locally and try to upload again and let’s see the effect.
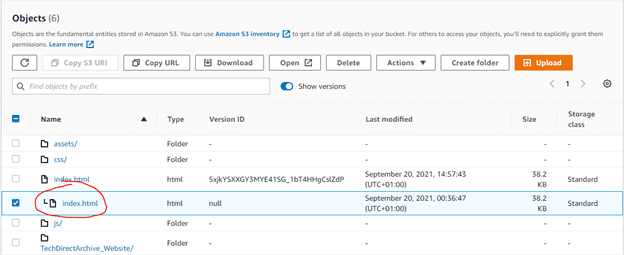
15. In this instance we will be making some little adjustments to the index.html file and re-upload it to our S3. After uploading it you will see a new version id assigned to it while the older version (circled index.html) will now be linked to the new version above it as we have in the image below.
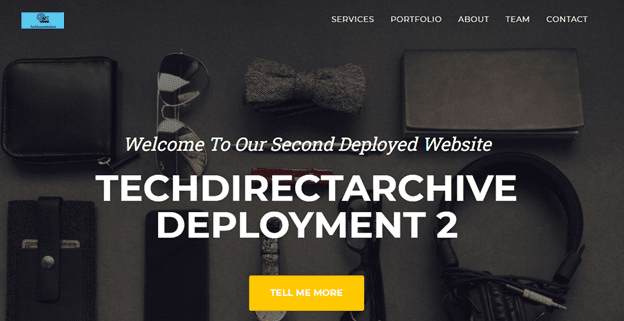
Now our static website has now picked the new changed and the image below shows the newly deployed version of our static website.
Effortless Version Copying: Downloading Versions Made Simple
If you want to copy any of the versions you can just go to the action drop-down and select Download.
16. Another thing we will be checking is when deleting an object or file on S3 that the versioning is enabled. For instance, we will try and delete the delete.txt file in the image below. Click on the Delete button.
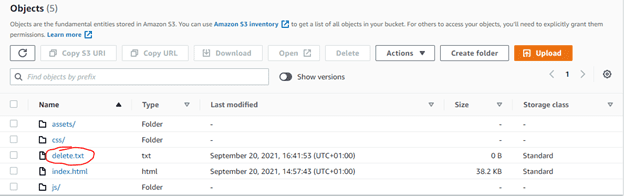
The below image will be displayed after clicking the Delete button. In the Delete objects section enter delete in the text input field.

17. After deletion you will notice that a Delete marker will be placed on the deleted file. If you need the deleted file back you only need to select the deleted file with the Delete marker and click the Delete button.
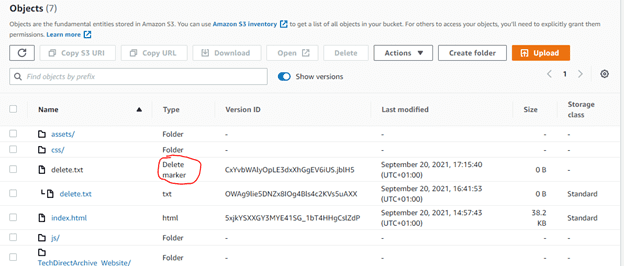
When you recheck the deleted files you will see that it has been returned back to the previous location.
If you have followed this guide to this end you will be able to host a static website and do versioning for your deployed files.
I hope you found this blog post on how to host static websites and versioning on AWS S3 very interesting and helpful. In case you have any questions do not hesitate to ask in the comment section.