
Remote Desktop Protocol is used by Windows users to connect remotely to another computer. By default, the RDP port is 3389 and sometimes you may want to change this port and assign another port for the RDP. In this article, we shall discuss how to change the default RDP port in Windows. If you want to read more on Remote Desktop Protocol you can check these: How to Resolve Microsoft RDP Connection Black Screen if the account is not authorized. Also, see how to fix “The connection was denied because the user account is not authorized for remote login: How to add and remove Remote Desktop Users“.
Here are some more guides you may be interested in: Remote Desktop cannot find the computer this in the specified network: Verify the computer name and domain that you are trying to connect. Here is a live demonstration on YouTube on how this can be done.
In this guide, we will be using the Registry Editor to make the changes to the RDP port. But you have to be very careful when you are using the Registry Editor because if not handled properly can cause permanent damage to the system.
But why do we want to change the Default RDP Port?
Everyone knows that Microsoft uses the standard port 3389 for all remote connections. This is to the bad actor’s advantage because they are always trying to access people’s systems without their knowledge. So changing this default port to another open port will make it much harder for an attacker to easily break into your system.
Please see Error 0x204: How to fix Remote Desktop Connection issues if you want to view or remove RDP History. See how to view Remote Desktop connection history or remove server connection entries from RDP.
Steps to change the Default Remote Desktop Port
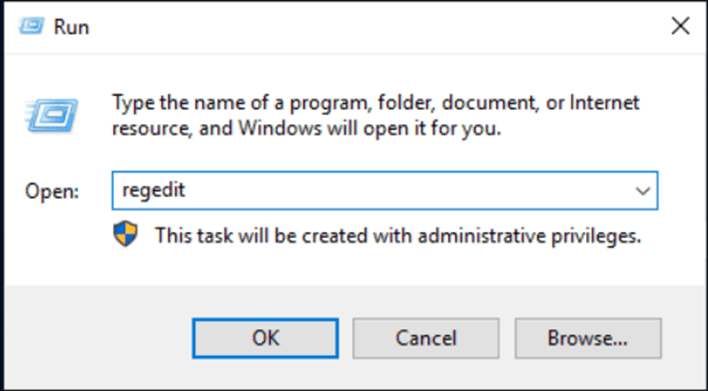
To do this, please open the Registry Editor
You can also run the regedit command. Also, see Copy Deployment Share between Servers without using linked Deployment Shares.
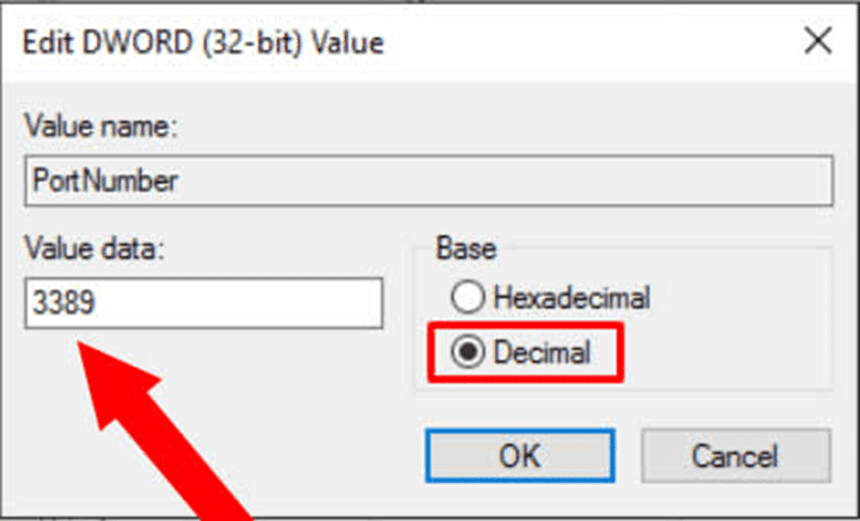
2. Browse to this key KEY_LOCAL_MACHINE\System\CurrentControlSet\Control\Terminal Server\WinStations\RDP-Tcp

3. Click on the PortNumber and click Decimal option button. In the Value data field enter the new port number and click OK to save the changes. In this guide I will be changing 3389 to 3333.
Please see How to remove saved RDP connections in Windows, How to fix Remote Desktop can’t connect to the remote computer for one of these reasons, and How to configure a console port password on Cisco Router / Switch Configuration.
Verify Port change via PowerShell
You can confirm if the port has actually been changed using this command on PowerShell.
Get-ItemProperty -Path ‘HKLM:\SYSTEM\CurrentControlSet\Control\Terminal Server\WinStations\RDP-Tcp’ -name “PortNumber”
Run it on Windows PowerShell and you will see the RDP Port has now changed to 3333

Another thing you will need to do is to open the ports. This is because if you try to RDP using this port may not work at first until you open it.
And also How to allow saved credentials for RDP connection. And What to do when your Remote Desktop Licensing Manager Server Crashes.
I hope you found this blog post on how to change the default RDP port in Windows Interesting and helpful. In case you have any questions do not hesitate to ask in the comment section.


