As a Windows user, ensuring the robust security of your Windows 10 and 11 devices is paramount. The integrated Windows Security feature provides advanced antivirus protection from the moment your system starts. This comprehensive guide outlines key aspects of Windows Security, empowering you to maximize its potential on how to stay protected on Windows device with Windows Security. See Smart App Control: Enabling Phishing Protection in Windows 11, and New Windows 11 encryption features and security enhancements for Hybrid Work.
Windows 10 and 11 come equipped with Windows Security, offering real-time protection against malware, viruses, and security threats. This feature ensures your device’s active protection, with automatic updates fortifying your system against evolving threats. See Tamper Protection for Microsoft Defender on Windows 10 [Part 1], and How to enable or disable Windows Defender Antivirus Scanning periodically on Windows via Windows Settings.
Note: Windows Security, also known as Microsoft Defender Antivirus, is inherent to Windows. If another antivirus application is active, Microsoft Defender Antivirus deactivates. Uninstalling the third-party app automatically reactivates Microsoft Defender Antivirus.
Understanding Windows Security Features:
Windows Security serves as the centralized hub for managing security tools. Customize the following features based on your preferences and security requirements.
Virus & threat protection:
Virus & threat protection within Windows Security facilitates the detection of potential threats on your device. It offers the capability to conduct various scans, view the outcomes of previous virus and threat scans, and access the latest protective measures provided by Microsoft Defender Antivirus.
Current Threats:
To view the outcomes of the previous virus and threat scans on your system, click the Start button and search for Windows Security.

In the Windows Security page, select Virus & threat protection.

Within the category of Current Threats, you have the ability to:
- Identify any threats currently detected on your device.
- Review the timestamp of the last scan on your device, its duration, and the number of scanned files.
- Initiate a new quick scan or explore scan options to perform a more comprehensive or customized scan.
- View quarantined threats, preventing their impact, and identify any items recognized as threats that you have permitted to operate on your device.
Conducting Desired Scans:
Even though Windows Security is configured to automatically scan your device, you retain the flexibility to execute additional scans at your convenience.
To see the various scan options available, click the Scan options in the Virus & threat protections settings.

Quick Scan
Choose Quick Scan if you suspect a suspicious file or virus. It rapidly checks for recent threats, suitable when time constraints prevent a full scan. Notifications for other scan types will follow the Quick Scan completion.

Full Scan
Comprehensive scanning of every file and program on your device.
Custom Scan
Targeted scanning of specific files and folders of your choosing.
Microsoft Defender Offline Scan
Initiate this scan after a restart to detect emerging threats by using the latest definitions, bypassing Windows loading. It’s highly effective against persistent malware trying to hide.
Perform this scan when suspecting malware exposure or when scanning your device offline, ensure you save open files due to the restart involved.
Account protection
Efficiently manage your sign-in options, including Windows Hello. To modify your password or PIN, follow these steps: select the Windows Security icon in the icon tray on the taskbar.
Click on Accounts > Sign-in options.

Choose the Windows Hello method you wish to configure and then select Set up.

If Windows Hello does not appear in Sign-in options, it might not be compatible with your device, as it necessitates a compatible camera or fingerprint reader. Opt for PIN (Windows Hello) and then choose Change PIN.
For password modification, select Password, and then click on Change.
Firewall & network protection:
Control firewall settings and monitor network activities. See Remote WMI Connection: How to enable or disable WMI Traffic Using Firewall UI.

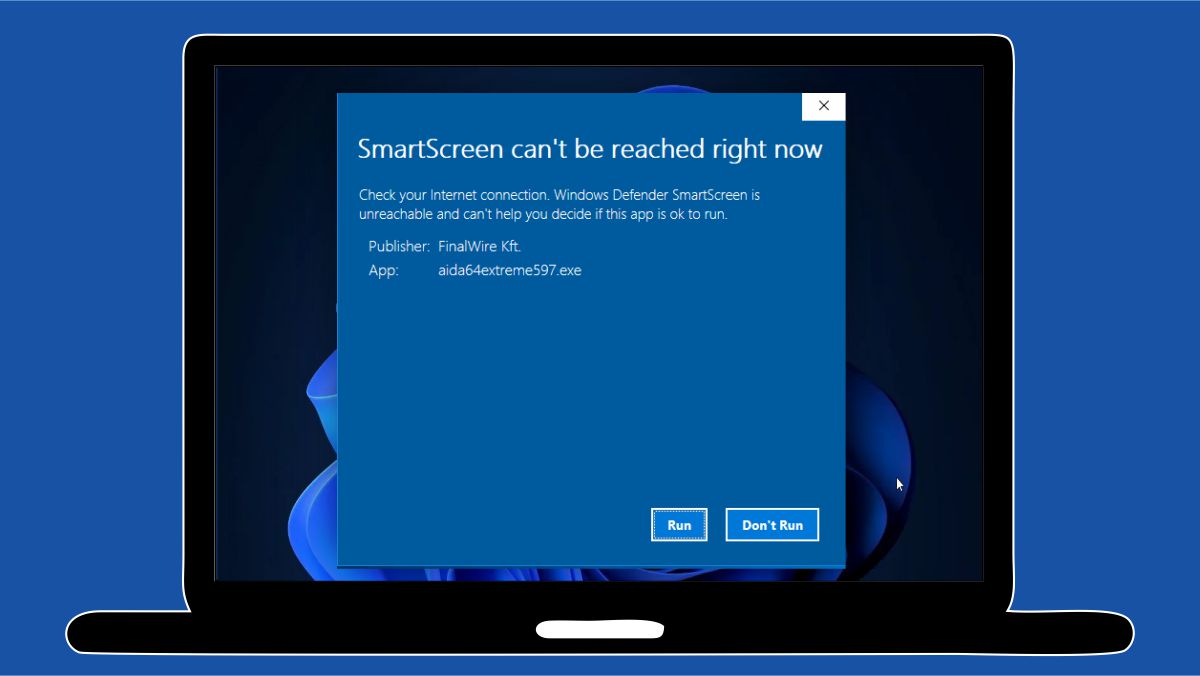
App & browser control:
Update settings for Microsoft Defender SmartScreen. See How to protect your Windows PC from potentially unwanted applications.

Device security:
Review built-in security options. See Windows Defender detects Endpoint Security HipHandlers.dll.

Device performance & health:
Monitor device status and keep it up-to-date.

Status Icons and Safety Levels:
Easily interpret your device’s safety status through the Windows Security status icons:
- Green: No recommended actions.
- Yellow: Safety recommendation available.

- Red: Immediate attention required.
Schedule your own scan on Windows
You can tailor your scan schedules to your preferences using Task Scheduler. See How to remove malware using Microsoft Safety Scanner on Windows 10 and 11. Follow the steps below:
Click the Start button and search for “Task scheduler” and, from the list of results, select Task Scheduler.

In the left pane of the Task Scheduler window, expand Task Scheduler Library by clicking on the arrow (>). Proceed to expand Microsoft > Windows, and then scroll down to select the Windows Defender folder.
In the top-center pane, locate and select Windows Defender Scheduled Scan. You can point to the choices to view their full names. In the Actions pane on the right, scroll down and select Properties.

A new window will open. Navigate to the Triggers tab and click on New.

Set your preferred time and frequency for the scan, then click OK.

Review the schedule to ensure it aligns with your requirements and click OK to confirm the changes.
These steps will help you efficiently schedule a scan using Task Scheduler on your system.
Real-time Protection Management:
Adjust real-time protection settings based on your requirements: Follow the steps below:
Select Start and search for Windows Security.
In the Windows Security page, select Virus & threat protection. Click on Manage settings. (In early versions of Windows 10, select Virus & threat protection > Virus & threat protection settings.

Toggle the real-time protection On if turned off.

Conclusion on how to stay protected on Windows devices with Windows Security
By following this comprehensive guide, you can confidently navigate and leverage the full potential of Windows Security, fortifying your devices against potential threats effectively.
FAQs on how to stay protected on Windows devices
No, due to streamlined security in S mode, manual malware scans, especially quick scans, are not available. The built-in security of S mode automatically prevents viruses and other threats, ensuring the device’s safety with automatic security updates.
Microsoft Defender Antivirus automatically turns off if another antivirus app is installed and active. Conversely, if you uninstall the third-party app, Microsoft Defender Antivirus will turn back on automatically. It’s crucial to manage antivirus applications carefully to maintain effective real-time protection.
I hope you found this post on how to Stay protected on Windows device with Windows Security useful. Please feel free to leave a comment below.