SonarQube is a free, web-based tool for analyzing the quality of code. Through plugins, SonarQube can evaluate a variety of code written in several programming languages. In this tutorial, you will learn how to Install SonarQube on Ubuntu 20.04 LTS. Please see how to change the Windows Pagefile Size, how to Change Active Directory Domain name from dot local to dot com, and how to Install PostgreSQL on Windows server as Veeam Database Engine.
The SonarQube tool is made up of two parts: a local scanner that will be installed on the developer’s machine and used to analyze the code, and a central server that will be used to store information and produce results.
A single SonarQube server installation may support many scanners, enabling you to centralize code quality reports from numerous developers. The SonarQube server requires Java version 11, while the SonarQube scanners require Java version 11 or 17.
SonarQube is able to analyze any kind of Java source files regardless of the version of Java they comply with. We recommend using the Critical Patch Update (CPU) releases.
See How to integrate AWS CodeBuild and AWS CodeCommit to SonarCloud, how to Install PostgreSQL on Windows server as Veeam Database Engine, and How to Upgrade From Ubuntu 20.04 LTS to 22.04 LTS.
Prerequisites for installing SonarQube on Ubuntu
- This is an Ubuntu 20.04 LTS server with 2GB or more memory and 1 vCPU core.
- A sudo non-root user and a firewall
- Oracle Java 11 is installed on the server.
- Nginx and MySQL
- Certbot (the Let’s Encrypt client)
- A fully-qualified domain name and an A record directing traffic towards the server where SonarQube would be installed. For this tutorial, we will use the domain name
sonarqube.demo.com
Hardware Requirements
As stated on the official SonarQube documentation page, the following hardware requirements must be met.
- A small-scale (individual or small team) instance of the SonarQube server requires at least 2GB of RAM to run efficiently and 1GB of free RAM for the OS. If you are installing an instance for large teams or enterprises, please consider the additional recommendations below.
- The amount of disk space you need will depend on how much code you analyze with SonarQube.
- SonarQube must be installed on hard drives that have excellent read and write performance. Most importantly, the “data” folder houses the Elasticsearch indices on which a huge amount of I/O will be done when the server is up and running. Great read & write hard drive performance will therefore have a great impact on the overall SonarQube server performance.
- SonarQube does not support 32-bit systems on the server side. SonarQube does, however, support 32-bit systems on the scanner side.
Install SonarQube on Ubuntu 20.04 LTS
Follow the steps below to install SonarQube on Ubuntu. Please see Install Veeam Backup and Replication with the default PostgreSQL, and how to Fix unable to login to Trellix ePO with Windows authentication.
Step 1 – Update the Package Manager
Run sudo apt-get update and to update the system package manager. In addition, you need to also run sudo apt install mtools to install all the necessary tools on your system.


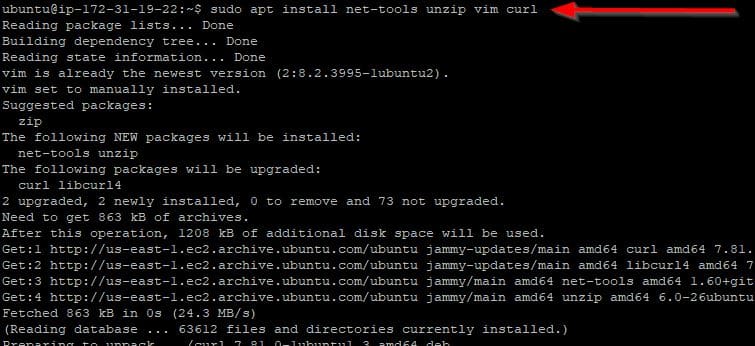
Run the command below to install net-tools for Linux:
sudo apt install net-tools unzip vim curl
Step 2-Install Java OpenJDK
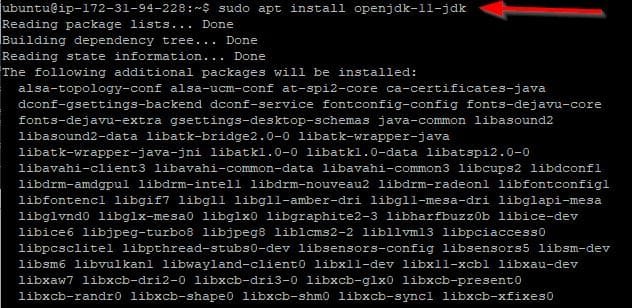
One of the requirements for installing and configuring SonarQube on Ubuntu 20.04, is Java. To install Java OpenJDK, run the command below:
sudo apt install openjdk-11-jdk
You the below command to increase the Virtual memory and reboot your system to apply changes.
sudo sysctl -w vm.max_map_count=524288sudo sysctl -w fs.file-max=131072ulimit -n 131072ulimit -u 8192


Step 3- Create a user for Sonarqube
We will create a new user to access only the Sonarqube installation because the most recent version of Sonar cannot be operated under root user privileges. Use the useradd command to create a user named sonar and set the password with the passwd command.
sudo useradd sonarsudo passwd sonar

Please feel free to use any username you prefer to use.
Step 4 – Install PostgreSQL Database
The most recent version of PostgreSQL is not available in Ubuntu’s base repository; therefore, we must manually add its repository in order to obtain it. Here’s the order to carry it out. To do so, first add the GPG key using the command below:
wget -q https://www.postgresql.org/media/keys/ACCC4CF8.asc -O- | sudo apt-key add -

Now add the repo:
echo "deb [arch=amd64] http://apt.postgresql.org/pub/repos/apt/ focal-pgdg main" | sudo tee /etc/apt/sources.list.d/postgresql.list

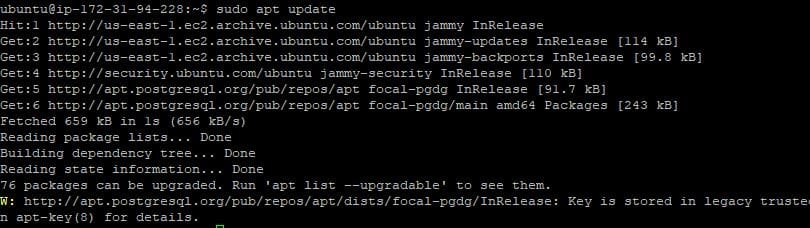
Next, update the system package manager once again by running the sudo apt update command
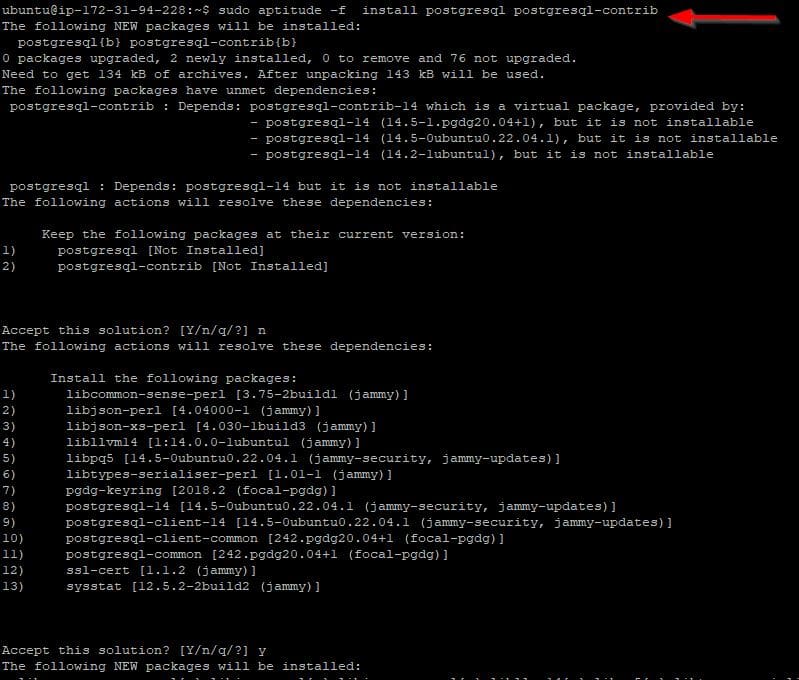
Now, let’s install the PostgreSQL Server by running the command below:
sudo aptitude -f install postgresql postgresql-contrib
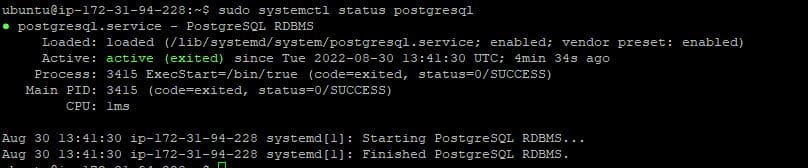
You can check the status of its service using
sudo systemctl status postgresql
Step 5 – Create a database for Sonar
Let’s build a PostgreSQL database for SonarQube after the installation is finished, but first, specify a password:
sudo passwd postgres
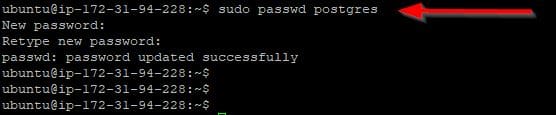
Switch to postgres the user. Use the password you have set above.
su-postgres
Create a new user who will have access to the SonarQube database now with the command below:
createuser sonardatabaseuser
Now switch to the PostgreSQL shell.
psql
Set a password for a newly created user using the syntax shown below to safeguard it:
ALTER USER sonardatabaseuser WITH ENCRYPTED password 'yourpassword';
Run the following command to create a brand-new PostgreSQL database:
CREATE DATABASE sonardb OWNER sonardatabaseuser;

Now exit from the psql shell by running \q and go back to the system user with the exit command
Step 7 – Download and Setup SonarQube on Ubuntu 20.04 LTS
The most recent version of SonarQube was v-9.5.0.56709 as this article was being written. To obtain the most recent version, you can, however, go straight to the official website.
You can alternatively go to the download page and use the wget command to copy the link to download, like we have done here:
sudo wget https://binaries.sonarsource.com/Distribution/sonarqube/sonarqube-9.5.0.56709.zip

Extract the file using the unzip command. If you don’t already have the unzip command installed on your system, run sudo apt install unzip to install it as shown here:
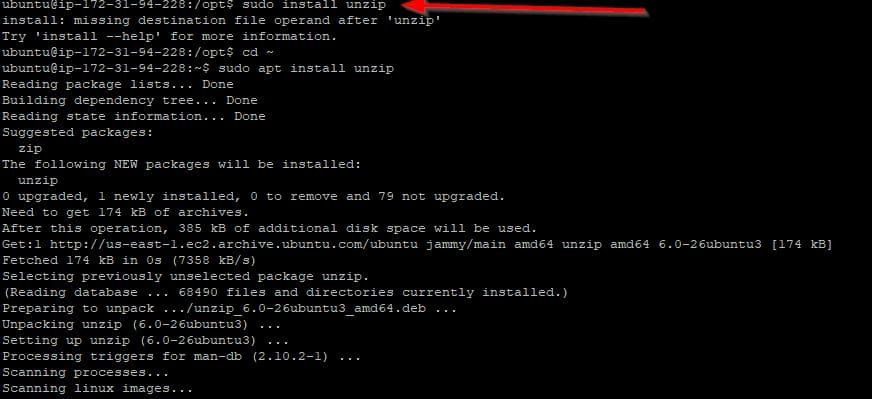
Now extract the zip file and delete the zip format from the /opt directory. Using the command below:
sudo unzip sonarqube-9.5.0.56709.zipsudo rm sonarqube-9.5.0.56709.zip
Note, you have to change directory to the /opt directory if you didn’t download the file there

Step 8 – Configuring Database for Sonar
We need to configure the database by opening the configuration file with a text editor of our choice. Here Nano text editor is what we’re using:
sudo nano /opt/sonarqube/conf/sonar.properties

Change the username and password to the ones your set while creating the database as shown on the screenshot above.
sonaruser – is a database usernameyourpassword – is the database password
To save and exit the Nano text editor- press Ctrl+X and then type- Y and hit the Enter key.
Step 9 – Create SonarQube Systemd service file
Sonarqube will not by default have a service file to start it when the system boots and in the background. To do this, edit the /etc/systemd/system/sonar.service file with a text editor.
sudo nano /etc/systemd/system/sonar.service

Copy and paste the command below as shown in the screenshot above:
[Unit]Description=SonarQube serviceAfter=syslog.target network.target[Service]Type=forkingExecStart=/opt/sonarqube/bin/linux-x86-64/sonar.sh startExecStop=/opt/sonarqube/bin/linux-x86-64/sonar.sh stopLimitNOFILE=131072LimitNPROC=8192User=sonarh2sGroup=sonarh2sRestart=on-failure[Install]WantedBy=multi-user.target
Reload daemon with the below command:
sudo systemctl daemon-reload
Then start and enable the service with:
sudo systemctl enable sonar sudo systemctl start sonar

Check now to see if the create SonarQube service is active with the command below:
I hope you found this article useful on “how to Install SonarQube on Ubuntu 20.04 LTS”. Please feel free to leave a command below.