Undoubtedly, Object First Out-of-the-Box Immutability (OOTBI) storage ranks among the best storage appliances on the market today, specifically designed for the Veeam Backup solution. The same brilliant minds who developed and founded Veeam are behind the creation of OOTBI. In this article, we shall discuss how to Configure Object First OOTBI Appliance. Please see Set up Veeam Backup for Microsoft Azure, and How to upgrade Veeam Backup and Replication v11 to 12.1.
Note: Veeam customers are updating their on-prem backup storage and seeking a secure, cost-effective, and powerful ransomware-proof solution that offers fast backup and Instant Recovery.
Ootbi (Out-of-the-Box Immutability) is a storage target appliance that integrates seamlessly with Veeam, ensuring secure backups and providing the best storage for VeeamBelow is an image describing the capabilities of OOTBI.

Customers are rapidly adopting OOTBI because it helps implement a Zero Trust Data Resilience (ZTDR) model, enhancing backup infrastructure security. The swift uptake is due to its S3 native immutability, unlimited scalability, lower cost of storing large volumes of data, seamless on-premises-to-cloud data copying, simplified management, reliability, and availability.
Zero Trust Architecture (ZTDR)
Because we have discussed this topic already “Demystifying Zero Trust with Veeam: Design your Architecture“, we wouldn’t be going into much details here in order to stick to the goal of this topic.
Note: The ZTDR architecture and secure appliance form factor inherently separate the OOTBI from the Veeam Backup & Replication server. This segmentation ensures proper isolation between the Backup Software and Backup Storage layers, thereby guaranteeing ransomware resilience as shown in the image below.

Please see “the differences between Lite-Touch and Zero-Touch installation“, and “Fix Error 1069: Windows could not start the Veeam backup service on local computer“.
Object First Ootbi appliance connection and physical setup
We have discussed this extensively already in the article “Object First OOTBI Appliance Quick Setup“. This step involves either the “Remote Console Connection via IPMI” or connecting locally via a “Display and Keyboard”.
I prefer using the remote connection. When you are unable to get the IPMI IP address in your router or DHCP server, ensure that the OOTBI node is not configured statically. When this is the case, you can reach out to the support for help or boot into the setup mode and under IPMI, ensure this is set to DHCP and not Static.
Let’s assume the OOTBI appliance IPMI was configured with a static IP address. Now that you have console access via the VGA screen. You can configure the appliance on the fly using the Object-first-TUI. Alternatively, you could reboot or reset the device, boot into the setup, and set the IPMI to use DHCP (Dynamic Host Configuration Protocol).
Please see Deep Dive into Protecting AWS EC2, RDS Instances and VPC, What is the difference between iDRAC, IPMI, and ILO, and How to configure Windows LAPS.
OOTBI Setup Connection with IPMI
First, let us obtain the IP address from the DHCP server. You could also pre-create the entry in your DHCP Server or router by entering the OOTBI MAC Address and name. This way, you can locate the IPMI IP address with ease.
Now that we have the IP Address, log in to IPMI using the web browser as shown below. The IPMI Username is “ADMIN” in CAPs.

If the login is successful, you will be prompted with the main IPMI screen as shown below. Select or Click on the Remote Control” as shown below.

If you do not wan to use HTML5 and want the JAVA applet option, you are free to change this. I will proceed with HTML5 as shown below.

Note: During the initial TUI access, the appliance automatically logs in. You will see shortly that after setting up the cluster and updating the password. You will need to enter the credentials for the Ootbi user that were specified during the setup process.
As you can see we are prompted automatically with the TUI access. Accept the License Agreement by using the “Tab” and “Enter” button.

OOTBI Cluster Setup
To setup a cluster, please select “Setup New Cluster”.

Note: The Setup New Cluster wizard will not be available if the node is already in the cluster. Also, if the Ootbi cluster is already operational and your new appliance is meant to join it, there’s no need to create a new cluster.
Note that the OOTBI has four network interfaces. A pair (i.e., either RJ45 or SFP+) can be configured for S3 Endpoint data transfers and web access to the Ootbi Web ManagementConsole.
For the first network interface, we will configure the first network interface. Here we will specify the IP Address, Subnet Mask, Default Gateway, Primary and Alternate DNS.
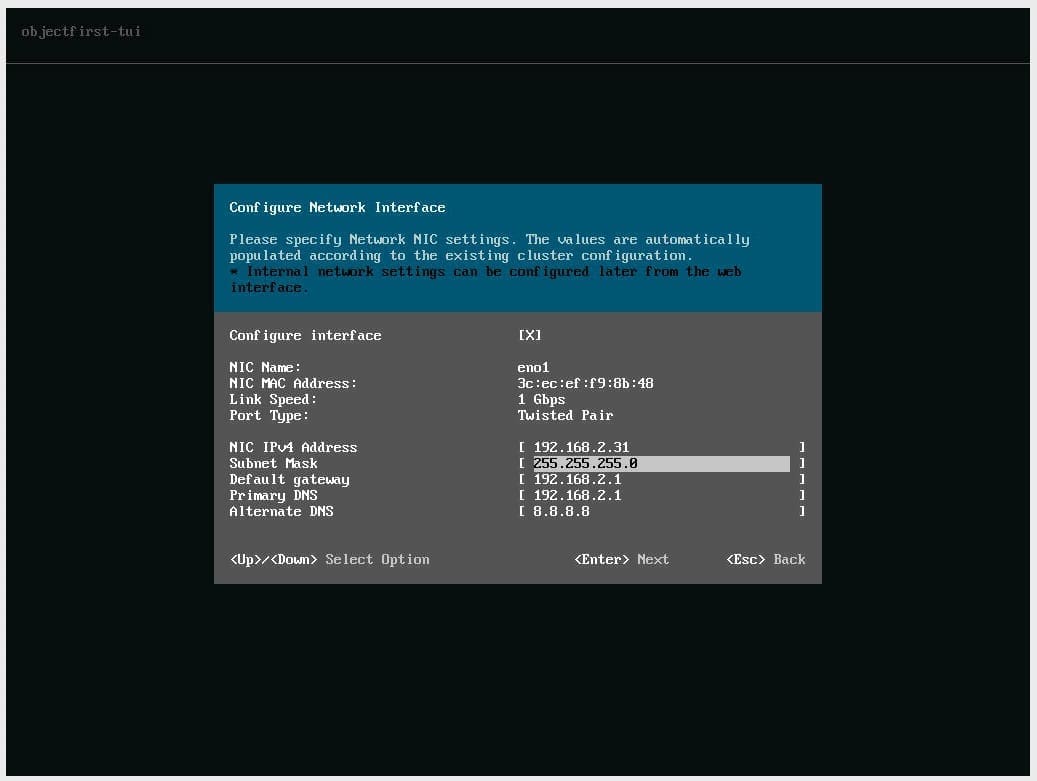
Also, for the second network interface, we would do the same thing.

I am not interested in configuring this network interface. Disconnected network interfaces will be displayed as UP/UNPLUGGED. Uncheck the Configure interface selection to proceed with the connected interface settings.

I will also do this for the 2f1 network interface as I am not interested in configuring it.

In the TUI dialog box, enter the hostname for the node and press Enter to proceed.

Allow the network settings to be updated.

Shortly, the device will check for network updates.

If updates are found they will be prompted to you. Hit the Enter button to apply the updates.

As you can see the updates are being applied and the appliance will restart multiple times.

Note: When the system reboots, it will retain the network parameters. Please work through again in order to create your cluster. If there are no updates, the next window will not be prompted and you will be prompted to configure the Cluster Parameters.
If you encounter any issues here, such as a failure to access the cluster with error code 1 due to being prompted to configure the management IP (Cluster information which has not been configured). Simply press the ESC key to restart the setup process as shown below.

Enter the Cluster name and IP address as shown below.
Note: Cluster management IP address will be used to access the Cluster Web Console for management and monitoring. The IP address of each node could also be used to access the cluster management console. Press Enter to proceed.

When prompted, please enter your Cluster Password.

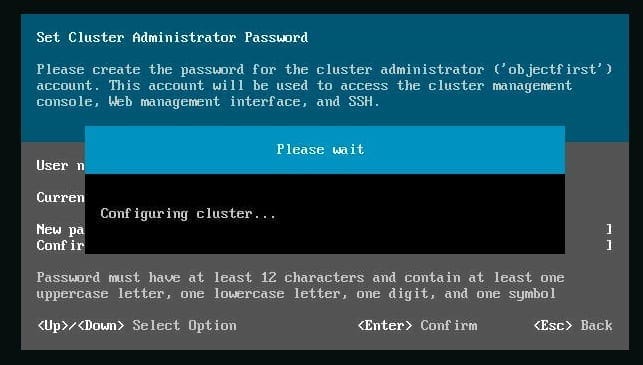
As you can see below, our cluster has been created successfully.

Here is how to Disable device encryption on Windows, and how to Configure and Run Performance Tests in Postman.
Enable Telemetry
Enable the Telemetry service to report critical events to Object First Support and wait for its activation by hitting the Enter button. This enables Object First to react effectively in case of hardware failure, etc.

Now the cluster management console can be accessed using the IP address and credentials we have specified and this completes the steps on how to Configure Object First OOTBI Appliance

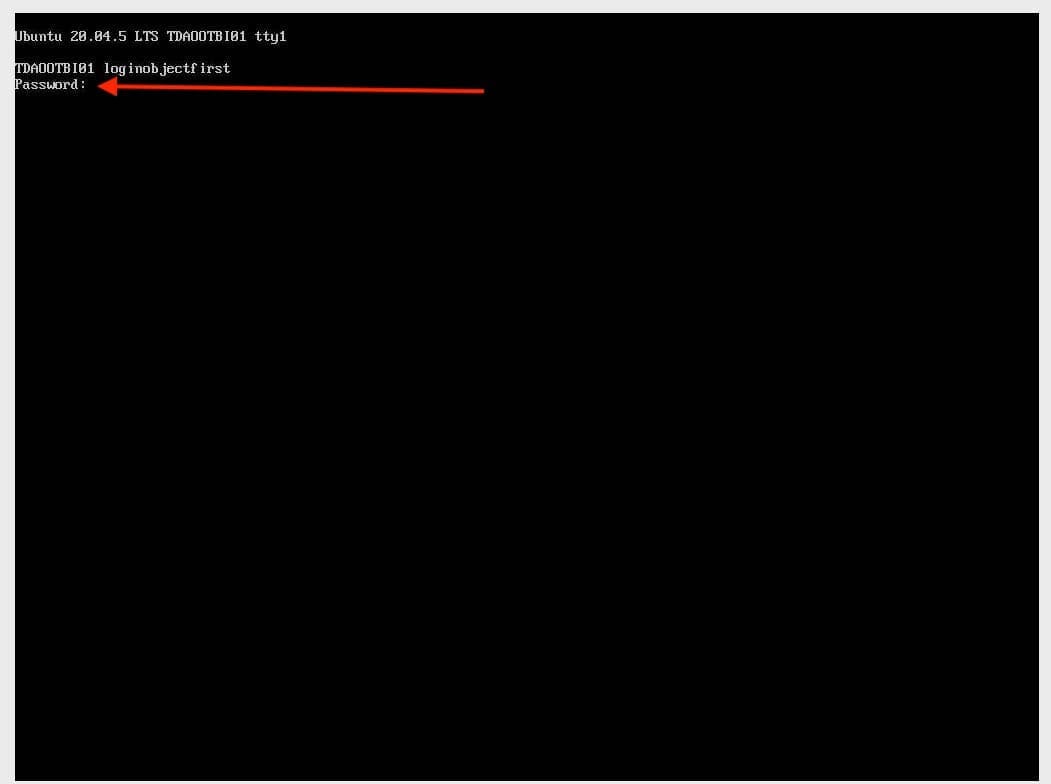
As mentioned above, henceforth, you will need the cluster credential for the Ootbi user that were specified during the setup process to access the TUI henceforth.
In the next article, I will show you how to Configure and Integrate Object First OOTBI with Veeam VBR. I hope found this article useful on How to Configure Object First OOTBI Appliance. Please feel free to leave a comment below.