Password Manager Pro is a secure vault for storing and managing shared sensitive information such as passwords, documents and digital identities of enterprises. Please see how to create Virtual Hosts in a WAMPserver. In this article, I will show you how to configure failover for ManageEngine Password Manager. Please see How To Setup A New Computer Without A Microsoft Account on Windows 11, and How to create a Traffic Manager Profile in Azure.
Here are some more exciting articles: Upgrade ManageEngine Password Manager Pro, How to setup a third-party DNS server on a Linux Server, How to Upgrade Windows 11 Pro to Enterprise and vice Versa, and how to enable Hyper-V on a VMware Workstation.
Configure failover for ManageEngine Password Manager Pro
The Failover Service in Password Manager Pro is aimed at ensuring uninterrupted access to passwords and other privileged resources. While the ‘High Availability’ feature in Password Manager Pro requires two separate database instances to be mapped to the Primary and secondary servers of Password Manager Pro respectively.
The ‘Failover Service’ functions with redundant Password Manager Pro server instances which have access to a common MS-SQL cluster, which in turn has multiple Password Manager Pro database instances bound to it.
Note: Password Manager Pro has provision to use either MySQL or MS SQL Server as the backend. By default, Password Manager Pro uses the MySQL database, which comes bundled with the product.
Please see this guide on fixing Failover Cluster Manager failed while managing one or more clusters, the error was unable to determine if the computer exists in the domain.
Step 1: Selected 9101 (Your Password Manager version).
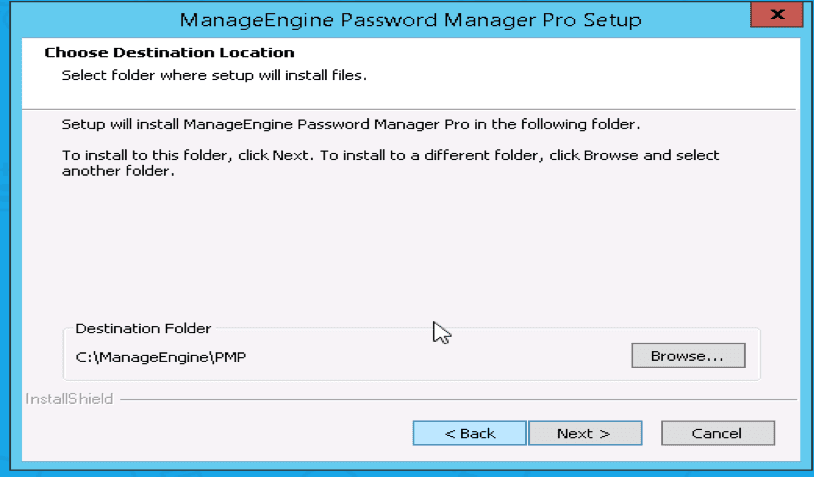
Click on ManageEngine_PMP.exe to get the setup, and double on this setup to run it. Agree to the license and next select the desired path (folder to setup the server on)

I am fine with the default Folder Installation.
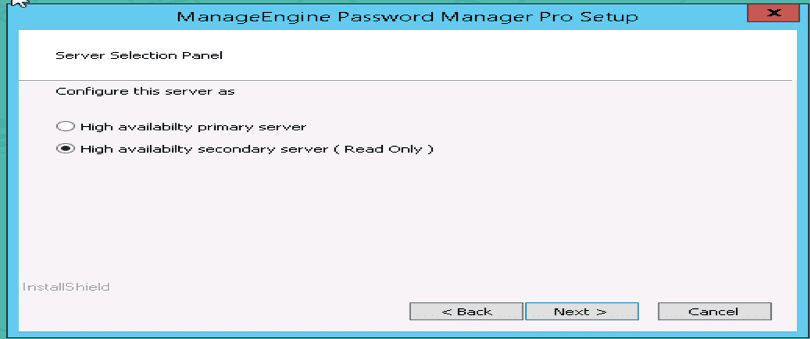
Since I am configuring it as a failover server, I chose the second option below
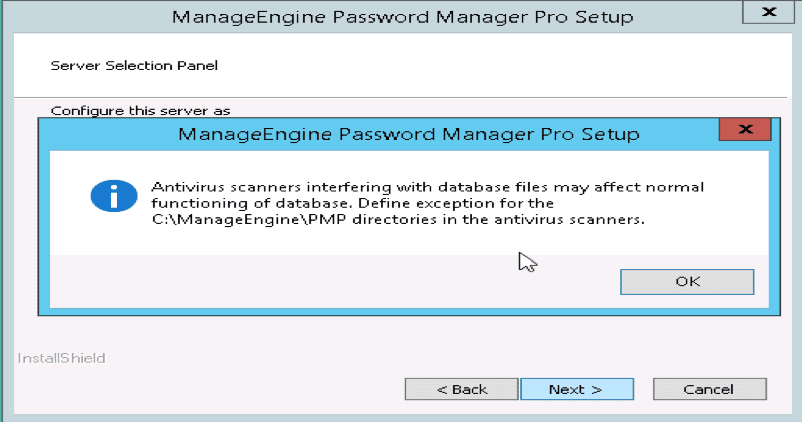
Click on Okay to add the exception
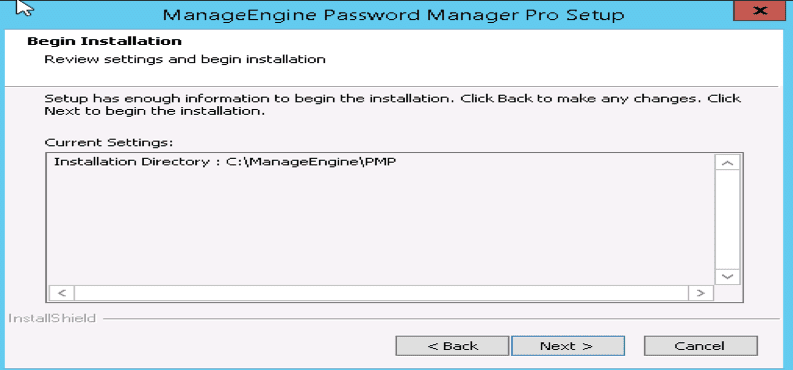
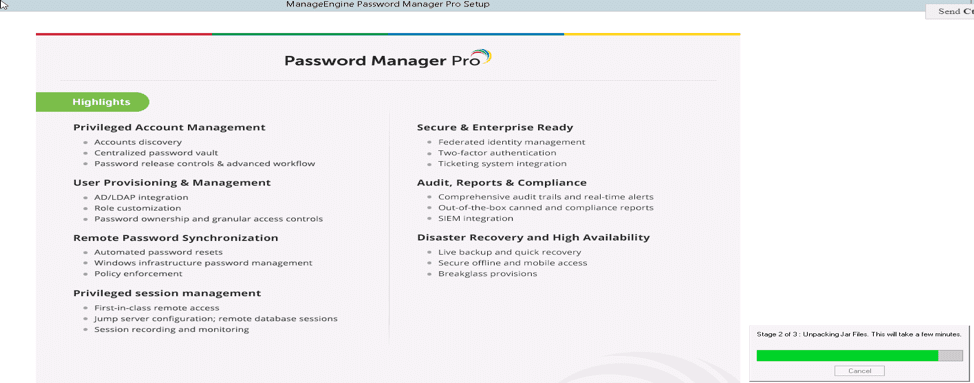
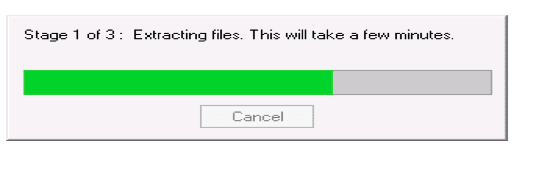
And click on next to begin the installation
The setup window will disappear and it will look this way
Now the installation is complete and just click on finish
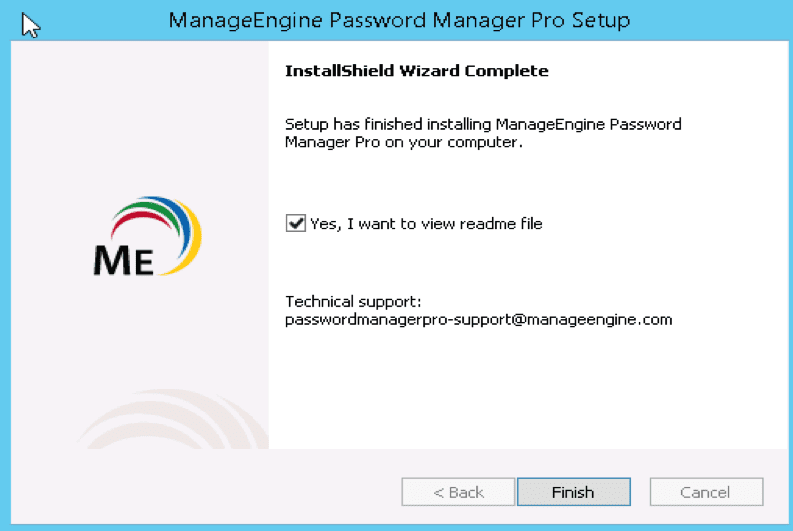
Note: You can optionally uncheck the ReadMe file. After installing do not start the service

Step 2: Create a Data Replication Pack for High Availability in Primary
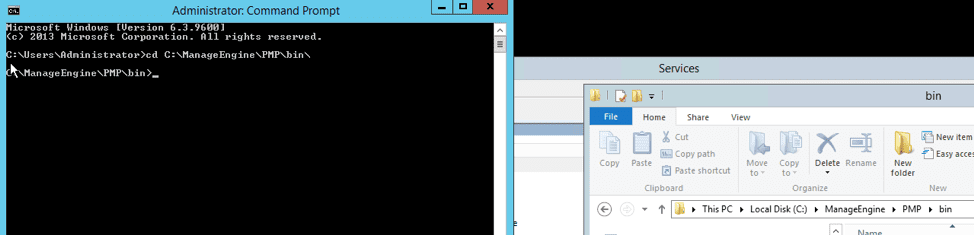
Stop Primary and Secondary Servers, if running. Ensure that the Postgres process of PMP is NOT running. Open a command prompt and navigate to <PMP_Primary_Installation_Folder>/bin directory
Run the script HASetup.bat <FQDN of PMP Primary Server> <FQDN OF PMP Secondary Server > (Windows) / HASetup.sh <FQDN of PMP Primary Server> <FQDN OF PMP Secondary Server >To run this script, you need to pass the fully qualified domain names of the host where PMP primary and secondary servers are installed as command-line arguments.
For Example, if the primary server is running at (say) the primary server in the domain techda1.com and the secondary server is running at (say) secondary server in the domain techda2.com , you need to execute the above script as follows:
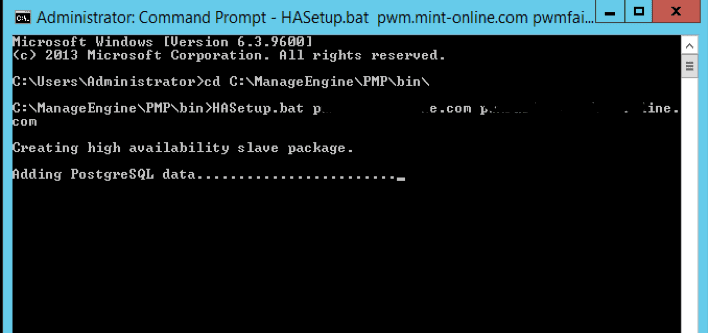
In Windows: HASetup.bat primary-server.zohocorpin.com secondary-server.techda1.comIn Linux: sh HASetup.sh primary-server.zohocorpin.com secondary-server.techda1.comThis will create a replication package named ‘HAPack.zip’ under <PMP_Primary_Installation_Folder>/replication folder. This zip contains the database package for secondary
Copy the HAPack.zip. This has to be put in the PMP Secondary installation machine as detailed in Step 3 below. Start PMP primary server. That is C:ManageEnginePMPbin. Please see the image below.
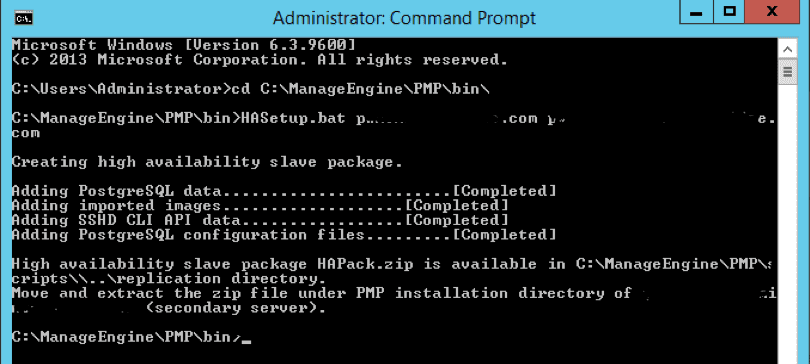
Enter the URL for the primary and secondary and execute. As you can see, it is creating the replication package needed.
Successfully created the replication package needed for setting up the secondary PWM
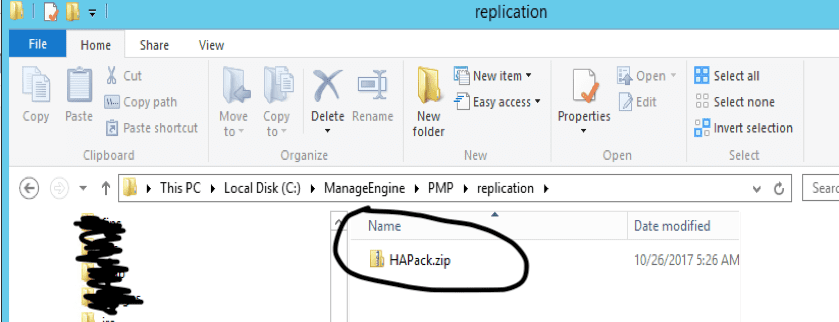
Folder successfully created need for replication
At some point, you will get an error via email, ignore it. This is because you do not have the secondary server setup yet.
Step 3: Put the HA Data Replication Pack in the Secondary
Put the HAPack.zip file copied from the PRIMARY Installation (as detailed in the previous step) into the <PMP_Secondary_Installation_Folder> and unzip it. Take care to extract the files under <PMP_Secondary_Installation_Folder> only. It will overwrite the existing data files. Now navigate to C:ManageEnginePMP on the secondary Password Manager Server.
Copy the HAPack to this folder. Use 7zip (Use Extract Files Here) to extract into the same folder, this will replace some existing files in the folders
Step 4: Specify the Location of the Encryption Master Key
After extracting HAPack.zip in PMP Secondary Server, navigate to /conf folder, edit manage_key.conf and specify the location of pmp_key.key (encryption master key). PMP requires the pmp_key.key file accessible with its full path when it starts up every time. After a successful start-up, it does not need the key anymore and so the device with the key file can be taken offline.
The High Availability configuration is ready now. To get it up and running, start the PMP Secondary server.
I hope you found this blog post helpful on how to configure failover for ManageEngine Password Manager. If you have any questions, please let me know in the comment session.