
An AWS Elastic Beanstalk helps you to instantly deploy and manage any applications on the AWS platform without learning about the infrastructure that runs the applications. It helps to manage the complexity that comes with application deployment and also gives you complete control of the processes. Please see Hosting Static Website and Versioning on AWS S3, How to deploy an Angular App to AWS S3, How to manage cost with AWS Budgets, and Creating IAM Users, Adding MFA and Policies on AWS.
All that is required by you is just to upload your application and Elastic Beanstalk does other tasks like capacity provisioning, load balancing, scaling, and monitoring of the application health.
After you deploy your applications developed in the language supported by Elastic Beanstalk, it will help you build the application and also provide the computing services needed to run the application like Amazon ECE instances. There is a console and AWS CLI that you can use to interact with Elastic Beanstalk.
In this blog post we will cover How to deploy a .NET application to AWS Elastic Beanstalk using AWS Tool Kit. For related guides on AWS Deployments read How to Deploy MVC Application to AWS EC2 Using RDP Connection and Web Deploy, and How to Deploy Dynamic Website to AWS EC2.
Let’s now create our environment
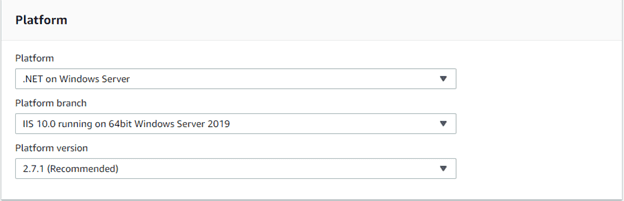
To make the setup faster you can use the Create New Application wizard in the Elastic Beanstalk console to create your environment. Choose .NET as the platform
Access the Elastic Beanstalk. Thus, enter the application name, if you wish, you can enter tags. After that, you can leave the default environment information.

Therefore, in the Platform drop-down select the platform and platform branch that matches the language you used to develop your application.
Meanwhile, you can upload your code from your repository. But in this guide we will be using a Sample application for our demonstration. Then, choose Review and launch it.
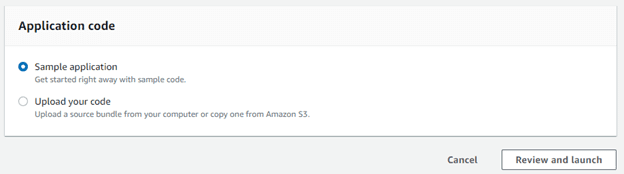
So review all the options, and you can decide to edit or choose the available option you want to use. After this, you can then go ahead to Create app.
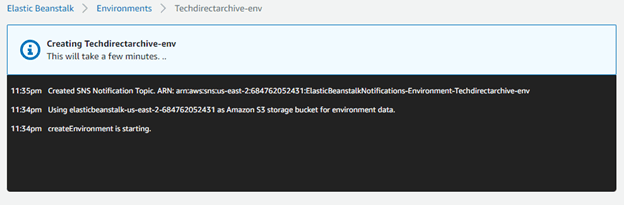
Now, let’s go to the environment we just created with the sample .Net code
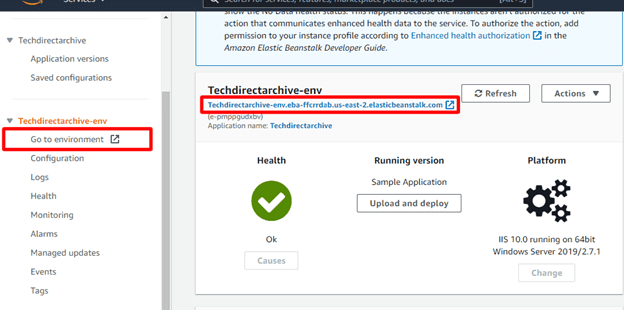
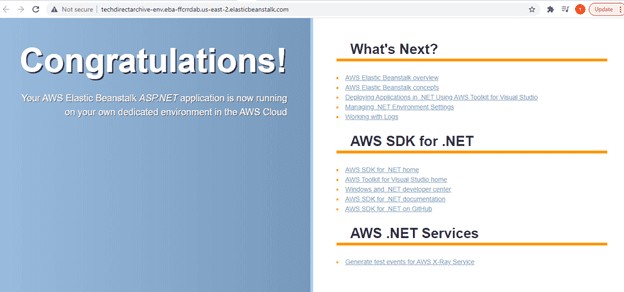
Hence, if you receive the below Congratulations page it means your environment is set.
Let’s Publish to Elastic Beanstalk through AWS Toolkit
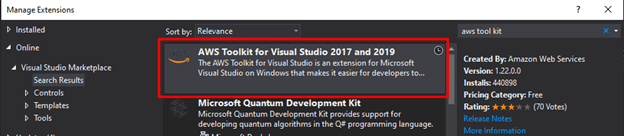
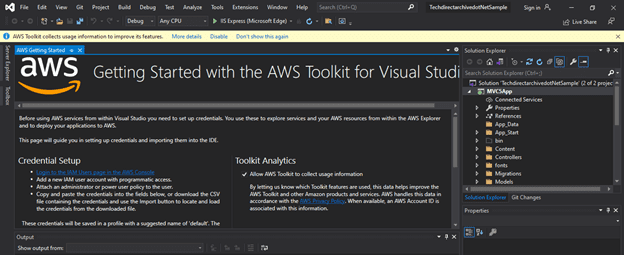
Make sure you install the extension AWS Toolkit from Visual Studio Market place inside your Visual Studio so that you will be able to publish your application to Elastic Beanstalk.
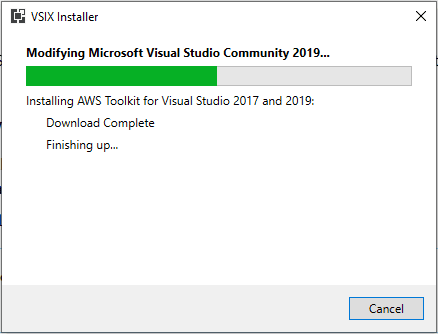
Afterward, close Visual Studio and allow the installation to begin…..
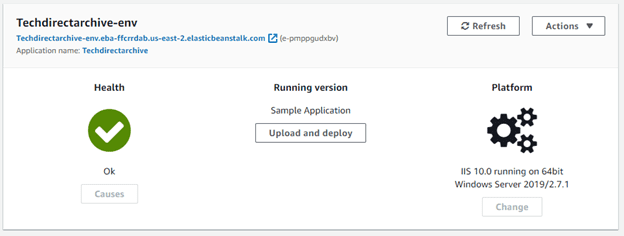
Then, confirm the Health status is Ok, which will confirm that the environment launched successfully.
In Visual Studio, open your application. Meanwhile, in this guide I will open the sample application TechdirectarchivedotNetSample.sln.
- From the Solution Explorer expand ‘TechdirectarchivedotNetSample.sln’ and build it to confirm there is no bugs.
- Right-click MVC5App. Furthermore, from the context-menu select Publish to AWS Elastic Beanstalk.
Note before you Publish to AWS Elastic Beanstalk you need to Create Profiles for your AWS Access Credentials for AWS Toolkit in Visual Studio

On the Publish to AWS Elastic Beanstalk page enter your account profile details. Then, under the Deployment Target section select Redeploy to an existing environment and choose your application.

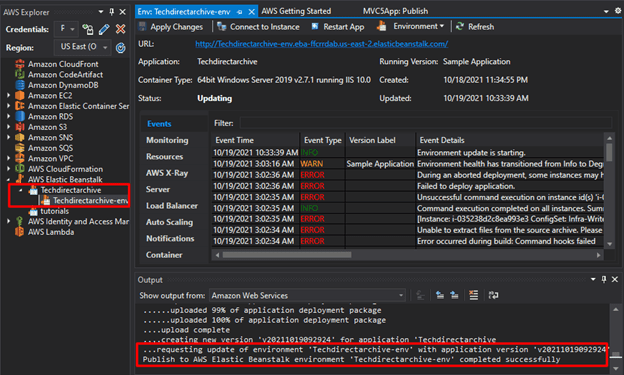
Click Next and when everything goes right you will get the below image
Now, let’s launch the URL

I hope you found this blog post on How to deploy a .NET application to AWS Elastic Beanstalk using AWS Tool Kit very interesting and helpful. In case you have any questions do not hesitate to ask in the comment section.


