With the AWS Toolkit for Visual Studio, you can interact with different AWS services. Furthermore, you need an IAM account that has all the necessary permissions to interact with these services. It is possible to create a profile through the help of a toolkit that provides access to all the AWS services. Please see The following guides can help you with your daily deployments to the AWS platform: How to deploy a .NET application to AWS Elastic Beanstalk using AWS Tool Kit, How to Deploy MVC Application to AWS EC2 Using RDP Connection and Web Deploy, and how to Deploy Dynamic Website to AWS EC2
Meanwhile, the access keys which was created through the IAM console will be configured on the profile which will form the access credentials for AWS Toolkit for Visual Studio. Note that it is very possible to store multiple profiles in shared AWS credentials files or in the SDK Store for anyone you choose.
You might want to see: Hosting Static Website and Versioning on AWS S3, How to deploy an Angular App to AWS S3, How to manage cost with AWS Budgets, and steps in Creating IAM Users, Adding MFA and Policies on AWS.
AWS Access Credentials for AWS Toolkit in Visual Studio
In this guide, I will be showing you how to use the AWS Explorer interface in the AWS Toolkit for Visual Studio to add profiles to your AWS credentials
Obtaining access keys
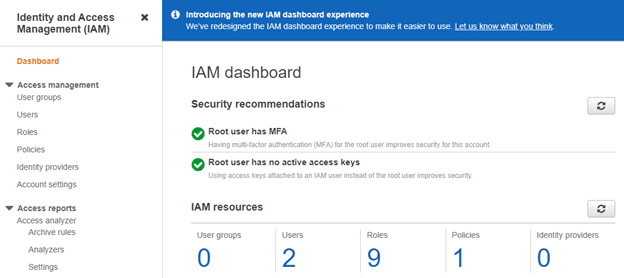
So, to get your access keys, go to the IAM console or dashboard.
Click on Users from the navigation bar and then choose your AWS user name.
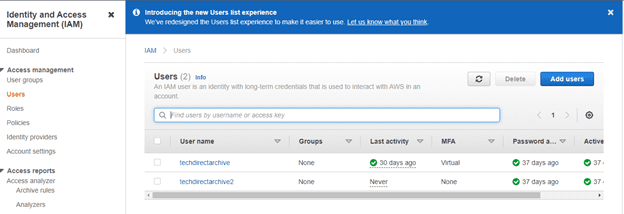
Now select the Security credentials tab, and then click the Create access key button.

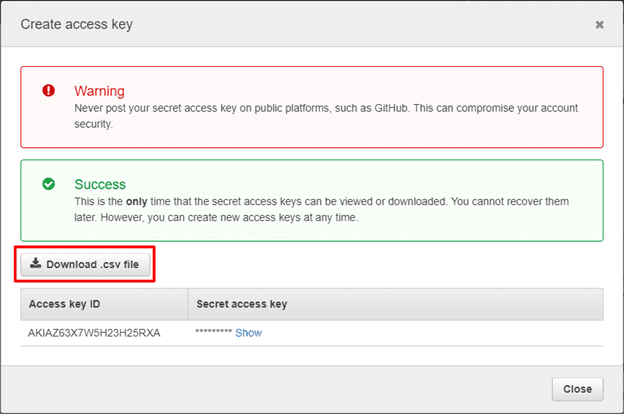
So, immediately you click on the Create access key button, the dialog box that shows your access key ID and secret access key will be displayed.
Thus, choose Download .csv file and store it in a secure location.
After you’ve stored your access keys securely, you can then add them to the set of credentials defined by a profile.
Add a Profile
To add a profile to the SDK Store or the shared AWS credentials Using AWS Explorer. Execute the subsequent steps to add a profile to the SDK Credential Store or the shared AWS credentials file.
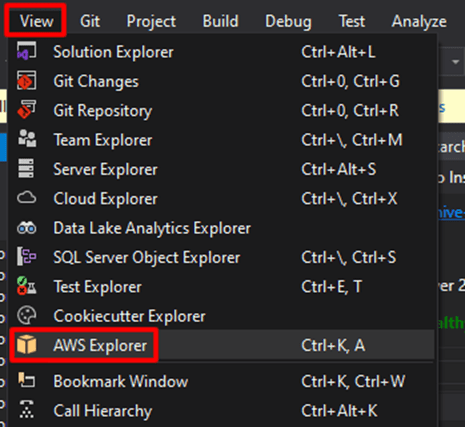
Open your Visual Studio and click on the View tab, select AWS Explorer.
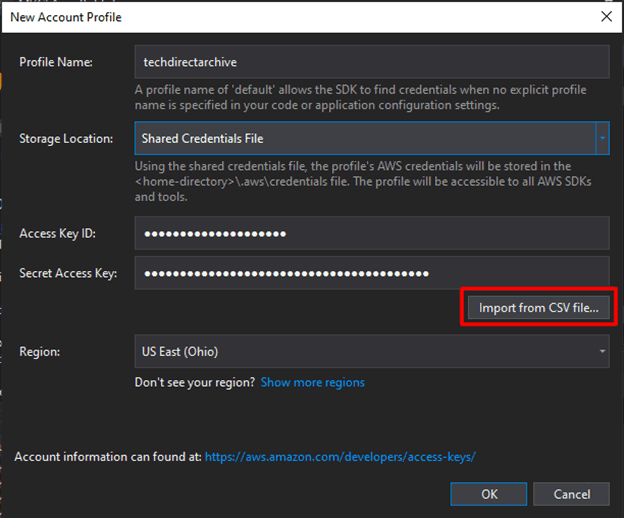
At the top left click on the New Account Profile icon to the right of the Credentials.

The New Account Profile dialog box opens. Then, craft the credential profile by inputting details in the dialogue box below. Afterwards, import the .csv file and select OK.
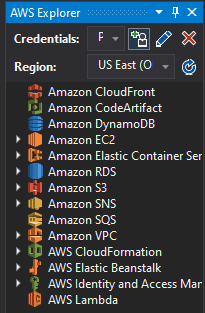
After clicking OK, you should get the below image showing your credentials and region and displaying different AWS Services. When you see this it means the new account profile creation is successful.
I hope you found this blog post on Creating Profiles for your AWS Access Credentials for AWS Toolkit in Visual Studio very interesting and helpful. In case you have any questions do not hesitate to ask in the comment section.