How to install Gradle on Ubuntu

Let’s first explain Gradle before we discuss how to install it on Ubuntu. Gradle is a build tool that is well-known for its versatility in software development, especially with regard to automation. The process of making applications is automated using a build automation tool. Compiling, linking, and packaging the code are all part of the application production process. With the help of build automation technologies, the process becomes more uniform. Furthermore, Gradle is well-known for its ability to create automation in Java, Scala, Android, C/C++, and Groovy. Over XML, the program offers groovy-based Domain Specific Language.
You can find other related articles here: How to Install & Configure Microsoft Teams on Ubuntu/, How to Install Apache OpenOffice on Ubuntu /, How to install PostgreSQL on Ubuntu/, How to install and configure Tripwire on Ubuntu/, How to install Node.js on Ubuntu.
Gradle allows you to build, test, and distribute applications across several platforms. You can use Gradle builds to specify a project’s tasks and dependencies. The project’s root folder contains at least one Gradle build file. Additionally, a task represents the work that a Gradle build must complete, such as assembling the program’s source code. Users can run multiple tasks at the same time in a single build file. At runtime, you can dynamically create and extend these tasks.
This article will show you what Gradle is all about and how to install it on Ubuntu /Debian-based machines.
Benefits of Installing Gradle on Ubuntu
- Gradle eliminates all of the problems that other build tools, such as Maven and ANT, have.
- Maintainability, usability, extendibility, performance, and flexibility are all priorities for the tool.
- When it comes to different projects involving multiple technologies, it is well-known for being very customizable. Gradle can be used in a variety of ways, including Java, Android, and Groovy projects.
- Gradle is well-known for its high-speed performance, which is double that of Maven.
- The tools cover a wide variety of IDEs, which improves the user experience because different people prefer different IDEs to work with. It gives a command-line interface to users that prefer to work on the terminal, with capabilities such as Gradle tasks, command-line completion, and so on.
Requirements for Installing Gradle on Ubuntu
A computer with sudo privileges
Step1: Update your system
apt update Step2: Installing OpenJDK
Java SE 8 or later must be installed on the computer for Gradle to work.
sudo apt install openjdk-11-jdkverify the installation with the command
java --versionOutput is shown below:
openjdk 11.0.14 2022-01-18
OpenJDK Runtime Environment (build 11.0.14+9-Ubuntu-0ubuntu2.20.04)
OpenJDK 64-Bit Server VM (build 11.0.14+9-Ubuntu-0ubuntu2.20.04, mixed mode, sharing)
Step3: Download Gradle distribution
Please download the latest Gradle distribution using the wget command, download the Gradle binary-only zip file to the /tmp directory:
wget https://downloads.gradle-dn.com/distributions/gradle-7.0.2-bin.zipThen, after downloading the archive, extract it and save it to the appropriate area. In general, I kept my applications in the /usr/local directory. You can use a different directory, such as /opt.
unzip gradle-7.0.2-bin.zip
mv gradle-7.0.2 /usr/local/gradle

Your system has been set up with Gradle.
Step4: Setup Environment Variable
The next step is to configure Gradle with the PATH environment variable. Make sure you set the variable after you reboot the machine.
To set the PATH variable on reboot, place a shell script in the profile.d directory. Make a file that looks like this:
vim /etc/profile.d/gradle.shsave the file with the following line added to it
export PATH=/usr/local/gradle/bin:$PATHSave and close the file. Now you may use the script to apply the current shell’s environment.
source /etc/profile.d/gradle.shAnd you’ve successfully installed Gradle on your Ubuntu machine.
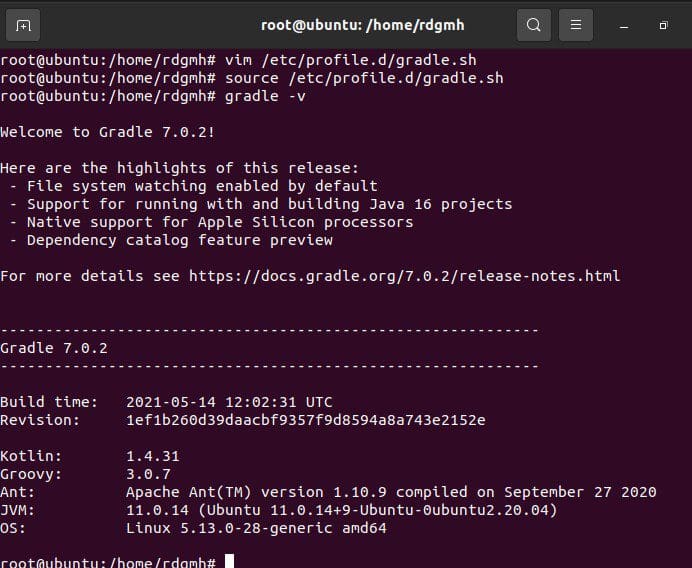
Step 5: Test Gradle Setup
Congratulations, you’ve successfully configured Gradle on your system. Moreover, to create your apps, you can utilize the Gradle tool. Let’s have a look at your system’s installed version.
Output
Step6: Uninstall Gradle on Ubuntu (If need be)
Gradle was installed through binary package, therefore all we have to do now is delete the packages using the rm -rf /usr/local/gradle/gradle-7.0.2/ command, that is in the code block below:
rm -rf /usr/local/gradle/gradle-7.0.2/Then, as shown below, remove the gradle.sh script with the rm -rf /etc/profile.d/gradle.sh command. This will delete the Gradle package from computer completely.
rm -rf /etc/profile.d/gradle.shSummary
We have successfully installed Gradle in Ubuntu 20.04 and these steps can work for any other version of Ubuntu as well. We have also shown you how to remove Gradle from your computer.


