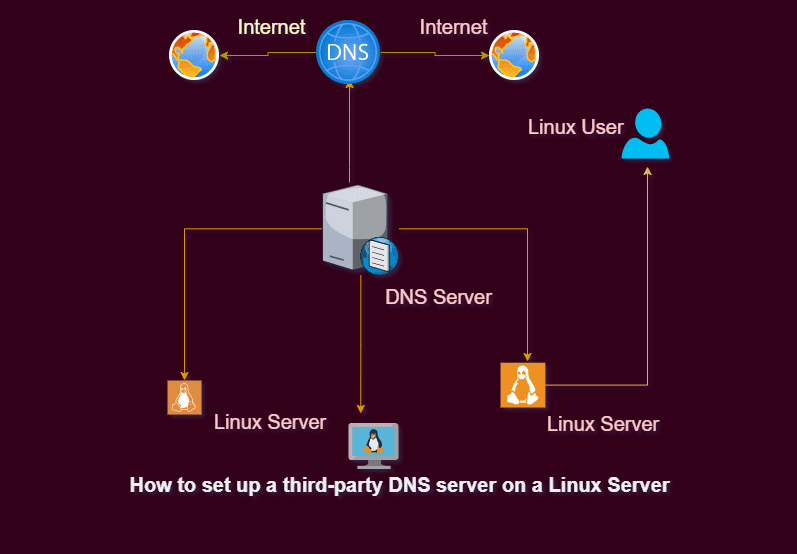
How to setup a Third-Party DNS Server on a Linux Server
In this guide, I will cover how to setup a Third-Party DNS Server on a Linux Server. Leveraging Linux for your Internet services not only provides you with stability but is also financially sensible due to Linux’s minimal cost. For a wide range of reasons, people are beginning to use Linux as their Internet servers. Please see Domain Name System: How to create a DNS record, The following error occurred when DNS was queried for the service location (SRV): Error code 0x0000232B RCODE_NAME_ERROR.
If you want to use Linux as your networking solution, you can set up a variety of services that will provide you with a stable and appropriate server environment. In addition to basic Web hosting, FTP, and e-mail services, Linux includes Domain Name System (DNS) services.
In this Daily Drill Down, I’ll show you how to set up a DNS server on your Linux system. There are numerous resources available to assist you in setting up a DNS server, but some of them can be challenging to comprehend and also too complicated. In order to improve your Internet hosting services, I’ll give you explicit steps for setting up a DNS server in this post.
Before I proceed to the demonstration steps, DNS helps in converting text-based domain names to numeric IP addresses. The internet service provider provides DNS servers, and most networks use them by default.
Users can modify the DNS nameservers at any time. For example, the domain name http://www.mydomain.com might translate to 198.168.233.6. This process is the backbone of the internet and is very important to the server.
Configuring DNS
One should first be familiar with DNS fundamentals and their operation before configuring DNS on a Linux system.
Domain Name – Think about the www.techdirectarchive.com webpage. The dot distinguishes these components, forming each domain, and people know this as FQDN (Fully Qualified Domain Name). The top-level domain element is the text "com"followed by the second-level domain element "techdirectarchive" and the third-level domain element "www". The dot is called the root domain.
Subdomains – Whenever you visit a website such as blog.techdirectarchive.com. The blog part of the domain name is the subdomain of that website. The root name servers have no idea if there is a blog subdomain or not; only the name servers for blog.techdirectarchive.com are aware of all the hosts that exist within it.
Types of DNS Servers
Three different kinds of DNS servers exist:Primary DNS servers: The master copy of the domain’s configuration files is stored on the primary DNS server. They provide details on the administrator as well as IP addresses.
Secondary DNS server (slave): These servers receive domain information from the primary DNS server and store a read-only copy of it on their systems. This is helpful since the secondary server serves as a backup when the original server is down.
Caching DNS server: A DNS server cache stores information about recently-requested user queries to lighten the burden on primary and secondary servers.
DNS server Configuration
Let's get started. Learn more by referring to the following posts: How to set up a cache-only DNS server, DNS Bad key 9017: The Cluster Name registration failed of one or more associated DNS names, and What happens when WDS and DNS are installed on the same Windows Server? DNS issues with WDS.
Step 1 – Install BIND
First, we need to install the BIND packages with their dependencies. BIND is the Berkley Internet Naming Daemon. The most popular application for running a name server on Linux is BIND. Use the following syntax on Debian/Ubuntu Linux to install bind:
$ sudo apt-get install bind9
Use the following syntax on a Redhat, CentOS, or Fedora machine:
# yum install bind9The DNS configurations are all stored in the /etc/bind directory. The main configuration file /etc/bind/named.confcontains all other required files. The root nameservers in the world are listed in the file /etc/bind/db.root.
Step 2 – Start and Enable DNS
After completing the installation you can start it and enable it to run at boot time using the following commands.
$  systemctl  start named
$  systemctl  enable named
Step 3 – Configuring BIND
The service configuration file is /etc/named.conf file.
Defining Primary DNS server
The syntax is as follows for defining the primary zone in the /etc/named.conf file. To edit the named.conf file, you need to navigate to the /etc/bind directory using the cd command.
$ cd /etc/bind
Now, use the nano editor to view the content of the name.conf files:

The files include three file directories. If you want to see the default primary DNS defined and add your Primary DNS, use the nano or vim editor to make changes to the /etc/bind/named.conf.default-zones by adding files similar to the one shown below:
zone  "techdirectarchive.com" {
       type master;
      file "techirectarchive.com.db";
 };
Add Primary DNS

After adding it press Ctrl + O to save it and press Ctrl + x to exit the nano editor interface.
Using the zone statement, you can specify a specific DNS zone. The file with the zone information can be found in the /var/named directory. The type is master because this is the main zone.
Defining Second DNS server
Since this is a secondary zone, the domain name is identical to the one in the primary zone, and the type is slave. The primary name server’s IP addresses can be specified by the master, and the file specifies the location of the primary zone files.
Defining DNS Caching
In the DNS Caching section, the DNS server receives fewer requests thanks to the caching zone. We must declare three-zone sections in order to define a caching zone.
Zone    "." IN {
        type hint;
        file "root.hint";
};
Here the dot indicates the root name servers. The type hint indicates caching zone entry and the file “root.hint”; specifies the file that contains the root servers.

Now add the second section of the Caching DNS as shown above:
Zone     "localhost" IN {
         type master;
        file "localhost.db";
};
The third zone performs the reverse lookup for the localhost.
Zone  "0.0.127.in-addr.arpa" IN {
      type master;
      file "127.0.0.rev";
};
To function as a DNS cache server, we need to add these three zones to /etc/named.conf. The contents of the files techirectarchive.com.db, localhost.db and 127.0.0.rev should now be typed. These files hold the DNS record types for each zone with various settings. Check out those record types first.
Sometimes while configuring your DNS, you may run into errors. To troubleshoot errors relating to DNS configuration, run the below command:
$ tail -f /var/log/messagesI hope you found this blog post on how to setup a Third-Party DNS Server on a Linux Server helpful. Please let me know in the comment session if you have any questions.