Skip to content

TechDirectArchive

Hands-on IT, Cloud, Security, Veeam & DevOps

  • Home
  • About
  • Advertise With US
  • Reviews
  • Contact
  • Toggle search form

How to fix HyperV Virtual Machine display taking over the entire screen

Posted on 05/02/202230/09/2023 IT Expert By IT Expert No Comments on How to fix HyperV Virtual Machine display taking over the entire screen
  1. Home
  2. Windows
  3. How to fix HyperV Virtual Machine display taking over the entire screen
HypervDisplay

In this guide, I will be discussing a recent issue I encountered which is a bit rare. It is about a full-screen virtual machine (VM) session that overtakes the entire screen when I connect to the VM. Windows normally display RDP sessions within a window. If you want to close the RDP session, then all you have to do is close the window. If your resolution is normal, you can also run the HyperV Virtual Machine in full-screen mode, enhancing the display.

Kindly refer to these related guides: How to Resolve Microsoft RDP Connection Black Screen, Enable Remote Desktop Connection on Windows 11 for non-administrators or selected users, How to change the default screen capture format in macOS, You can not open this application because it is in the bin, How to setup external displays on your Mac and arrange your display in Mac and How to fix VirtualBox Displaying only 32 bits Option: Windows Virtualization.

Solution: The control sequence to exit Full Screen mode is CTRL + ALT + PAUSE (Changes the Virtual Machine Connection window to / from full screen mode when using hyperV in full screen mode inside a remote desktop session. 
- Upon pressing all three keys CTRL + ALT + PAUSE, (which need to be held down simultaneously), a normal window bar will appear at the top of the RDP session. You can then use this bar to close or resize the window.

Alternatively, you may want to set the layout (resolution) of the VM using the steps below. In this way, you can also increase the screen resolution of a VM that is already too small in Hyper V. – Most times the CTRL + ALT + PAUSE does not work effectively and you will have to follow the steps discussed below.

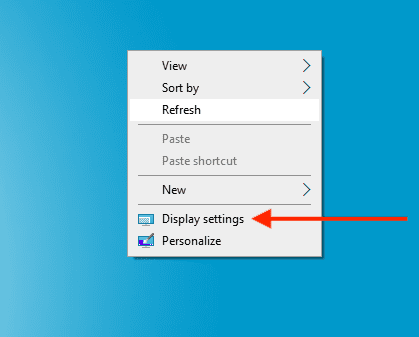
Right-click on the Windows desktop and select Display Settings.

Display settings

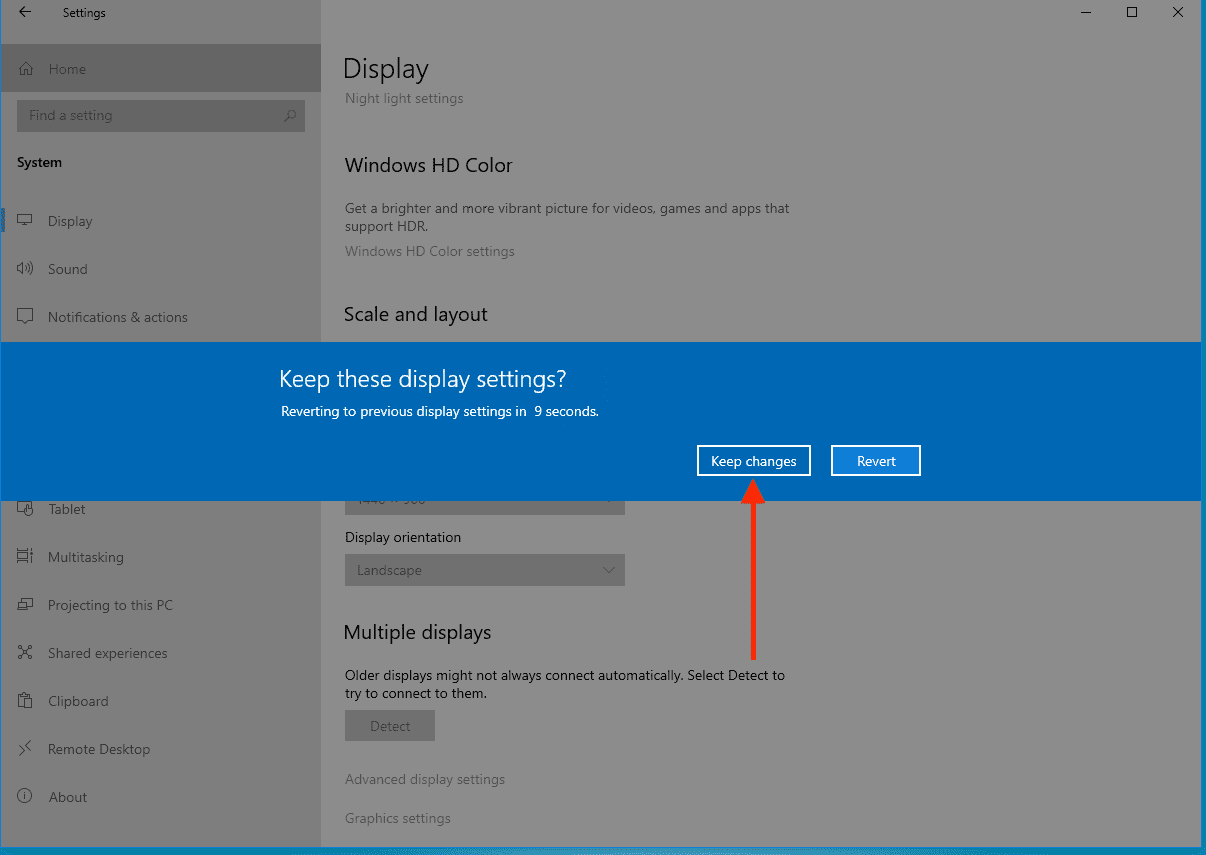
Under Display, Scale, and Layout as shown below, select a resolution from the drop-down menu that fits your need.

Select a resolution that fits your needs

When this is done, you will get a prompt requesting you to keep the changes or to Revert.

Select keep changes

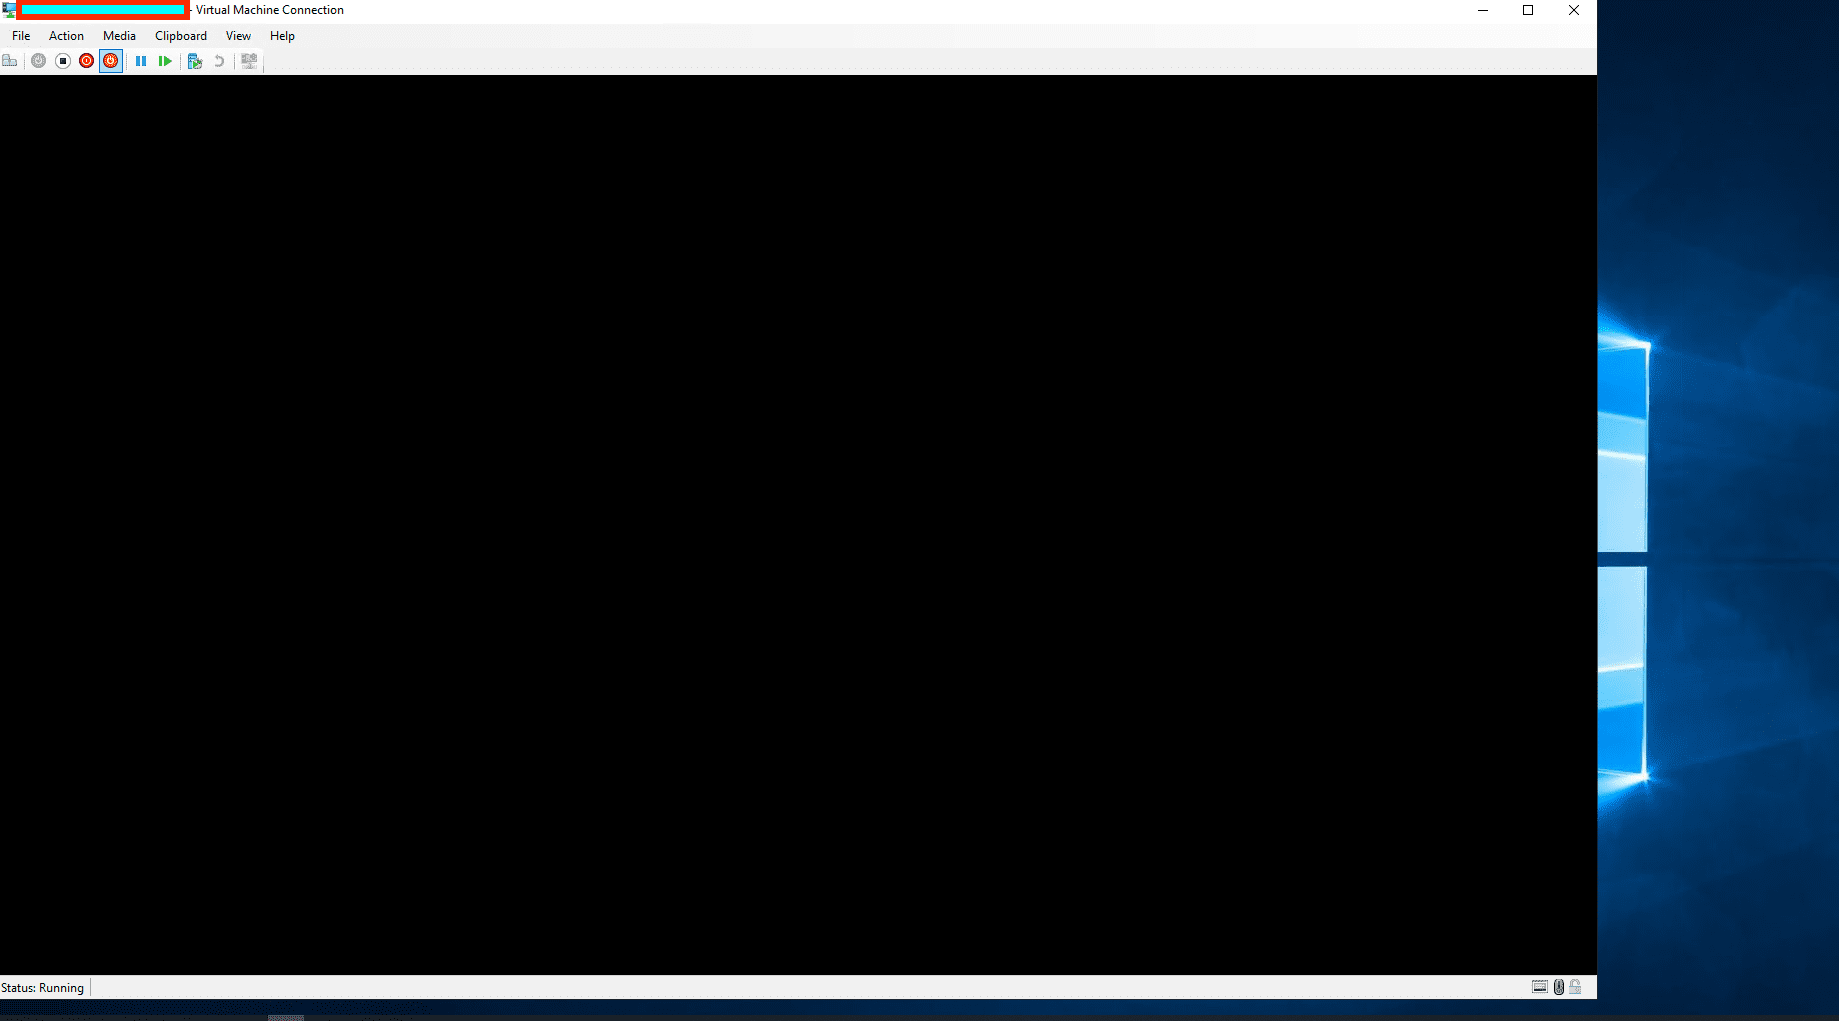
As you can see below, the VM display is no longer occupying the Hyper Server itself.

VM display is no longer occupying the Hyper Server itself

I hope you found this blog post on How to fix HyperV Virtual Machine display taking over the entire screen helpful. If you have any questions, please let me know in the comment session.

Rate this post

Thank you for reading this post. Kindly share it with others.

  • Share on X (Opens in new window) X
  • Share on Reddit (Opens in new window) Reddit
  • Share on LinkedIn (Opens in new window) LinkedIn
  • Share on Facebook (Opens in new window) Facebook
  • Share on Pinterest (Opens in new window) Pinterest
  • Share on Tumblr (Opens in new window) Tumblr
  • Share on Telegram (Opens in new window) Telegram
  • Share on WhatsApp (Opens in new window) WhatsApp
  • Share on Mastodon (Opens in new window) Mastodon
  • Share on Bluesky (Opens in new window) Bluesky
  • Share on Threads (Opens in new window) Threads
  • Share on Nextdoor (Opens in new window) Nextdoor
Windows Tags:desktop, Display, Microsoft Windows, Remote Desktop, Windows 10, Windows 11

Post navigation

Previous Post: Install Docker Desktop and register GitLab-Runner with Docker-windows executor
Next Post: How to unlock a fixed drive protected by BitLocker

Related Posts

  • Configure Windows Server with Sconfig
    How to Configure Windows Server Core using SConfig Windows
  • cookies9
    How to remove third-party cookies from Microsoft Edge Windows
  • Check Hard Drive Health (SMART) in Windows
    How to check Hard Drive Health (SMART) in Windows Windows
  • Install ROOT CA Enterprise
    How to Install ROOT CA Enterprise and NPS Wifi Certificate Windows
  • dvssvd
    Windows Cached Credentials: How does cached domain logon work? Windows
  • Phone Link
    How to link an iPhone with Windows PC with Phone Link App Windows

More Related Articles

Configure Windows Server with Sconfig How to Configure Windows Server Core using SConfig Windows
cookies9 How to remove third-party cookies from Microsoft Edge Windows
Check Hard Drive Health (SMART) in Windows How to check Hard Drive Health (SMART) in Windows Windows
Install ROOT CA Enterprise How to Install ROOT CA Enterprise and NPS Wifi Certificate Windows
dvssvd Windows Cached Credentials: How does cached domain logon work? Windows
Phone Link How to link an iPhone with Windows PC with Phone Link App Windows

Leave a Reply Cancel reply

You must be logged in to post a comment.

Microsoft MVP

VEEAMLEGEND

vexpert-badge-stars-5

Virtual Background

GoogleNews

Categories

veeaam100

Veeam Vanguard

  • Active Directory migration
    Migrate Active Directory Domain and Forest with Veeam Replica Backup
  • BitLocker renamedevicefghjkl
    What are the effect of renaming an MBAM-Protected Computer Windows
  • header picture 1
    Azure CI/CD: Configuring Email Notifications in Azure DevOps AWS/Azure/OpenShift
  • db nginxseriesanisibleplaybook 1540x748 1
    How to install and configure Ansible on Ubuntu Configuration Management Tool
  • create a two way Active Directory Trust
    How to create a two-way Active Directory Trust Windows Server
  • 517443 637286201540125528 16x9 1
    User account and process management in Linux Linux
  • Wingettool
    Install and Manage Applications with Winget Windows
  • Veeam backup and replication update
    How to update Veeam Backup and Replication [VBR] Backup

Subscribe to Blog via Email

Enter your email address to subscribe to this blog and receive notifications of new posts by email.

Join 1,796 other subscribers
  • RSS - Posts
  • RSS - Comments
  • About
  • Authors
  • Write for us
  • Advertise with us
  • General Terms and Conditions
  • Privacy policy
  • Feedly
  • Telegram
  • Youtube
  • Facebook
  • Instagram
  • LinkedIn
  • Tumblr
  • Pinterest
  • Twitter
  • mastodon

Tags

Active Directory Azure Bitlocker Microsoft Windows PowerShell WDS Windows 10 Windows 11 Windows Deployment Services Windows Server 2016

Copyright © 2025 TechDirectArchive

Loading Comments...

You must be logged in to post a comment.