This article explore how to add and remove IIS web server. Kindly refer to the following related contents: Event ID 5059: Application pool has been disabled or Changing identity user for IIS Application Pooland how to setup and configure Windows server update services (WSUS). The Web Server (IIS) role in Windows Server 2019 provides a secure, easy-to-manage, modular, and extensible platform for reliably hosting websites, services, and applications.
Therefore, with IIS 10 you can share information with users on the Internet, intranet, or extranet. IIS 10 is a unified web platform that integrates IIS, ASP.NET, FTP services, PHP, and Windows Communication Foundation (WCF).
It supports HTTP, HTTP/2, HTTPS, FTP, FTPS, and SMTP etc. , how to install Pleasant Password Server, how to perform redirection from HTTP to HTTPS, how to configure SSL between WSUS upstream and downstream servers
In this article, I will deliberately miss a role service installation and I will be showing you how to do (install and uninstall this service) via PowerShell. But then, let us install the IIS role via this via the Server Manager. Add and Remove IIS Web Server
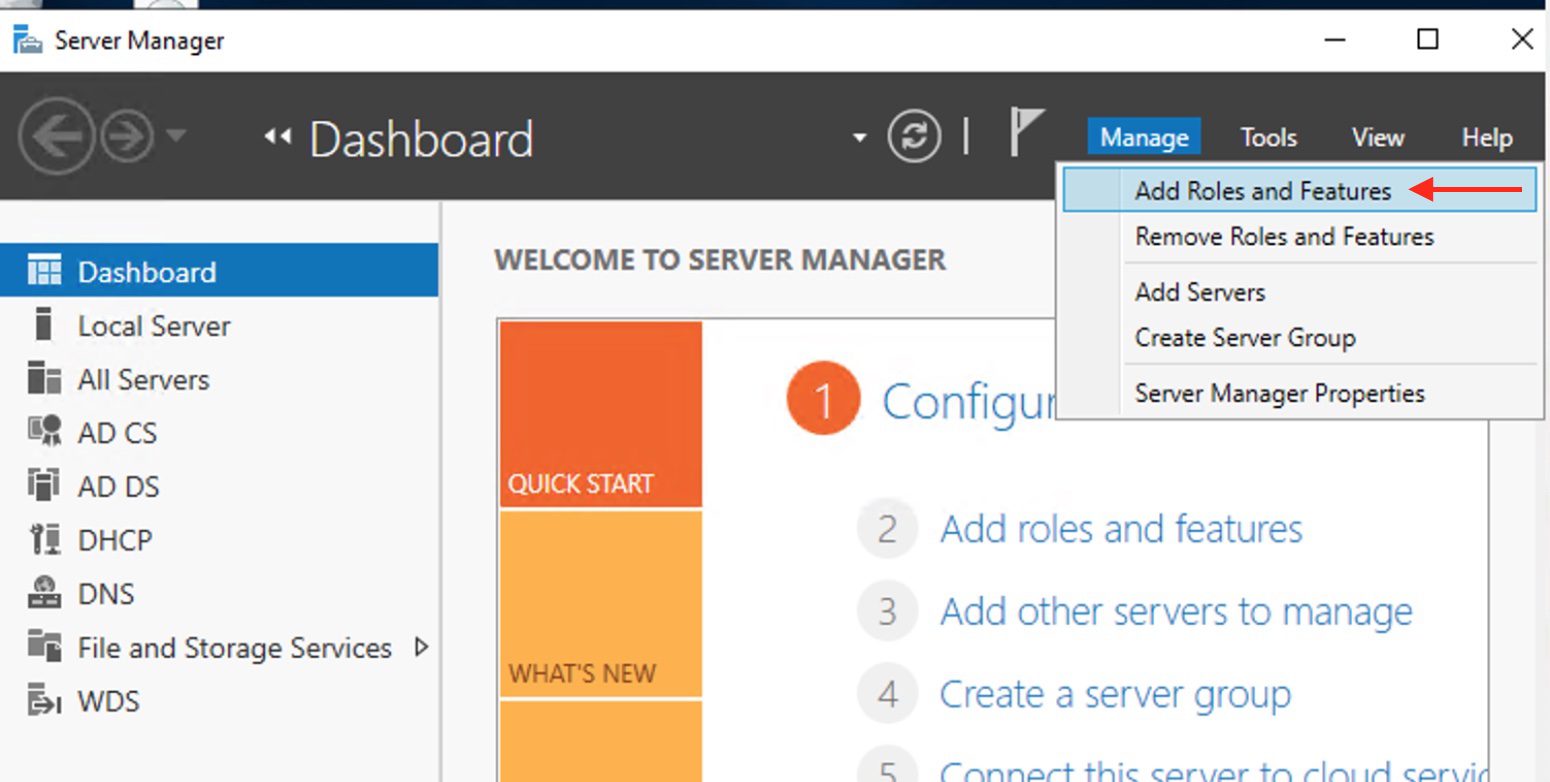
Click on the Server Manager icon on your desktop in order to open Server Manager. From the Server Manager, click on Manage.
Click on click on “Add Roles and Features”. You may want to see the following guide too How to Disable HTTP TRACE Method for Apache, IIS, sunOne, and Lotus Domino.
Note: You can decide to skip the “Before you begin” page for just click on Next as shown below.

Select Role based or feature based installation as shown below. We are not interested in setting up Remote Desktop Services, so this option is irrelevant.

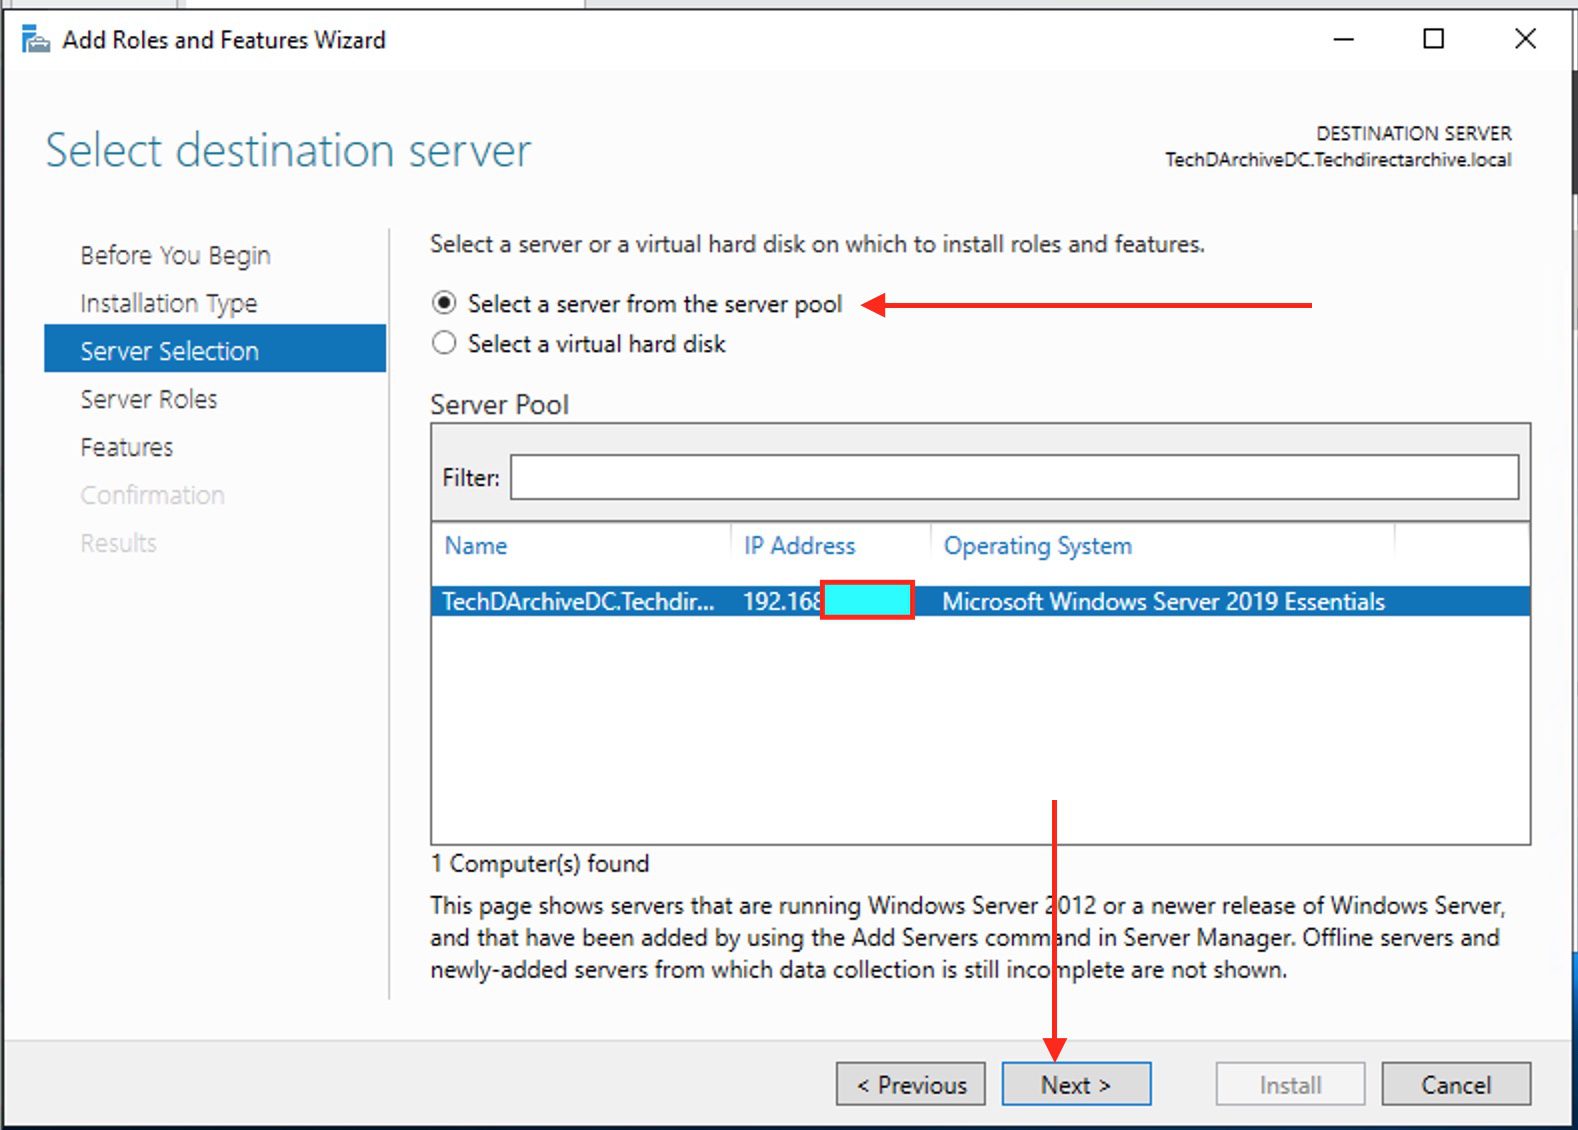
Choose the server from the server pool on the Server Selection page and then click on Next. We currently have one server selected by default. When there are multiple serves in the server pool, please take not to select the right server.
Here, I will be installing the Web Server (IIS) as shown below.

You can also select the role and any other role you may want to install. As you can see it has been selected.
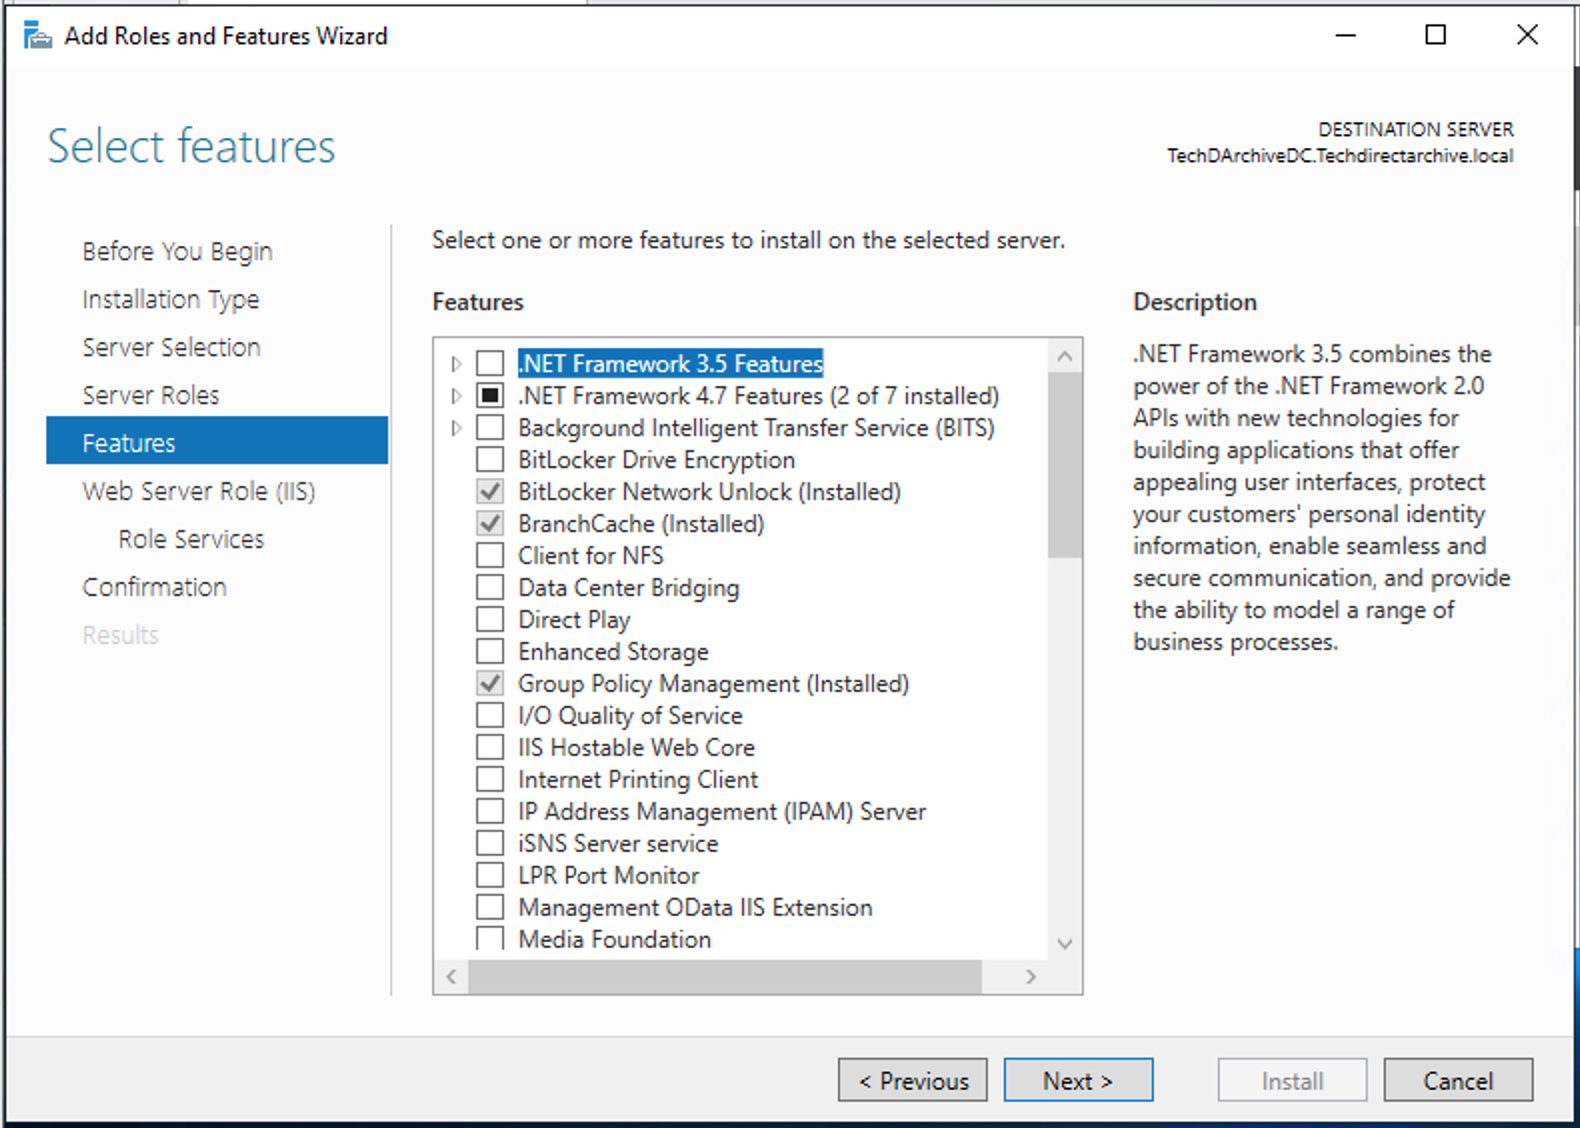
I will be clicking on Next to continue as I do not have any feature to install. However, this may not be your case!
Add Web Server (IIS) Features
You will receive prompt on the following Window below. Click on the Add Features to add the management tools for IIS

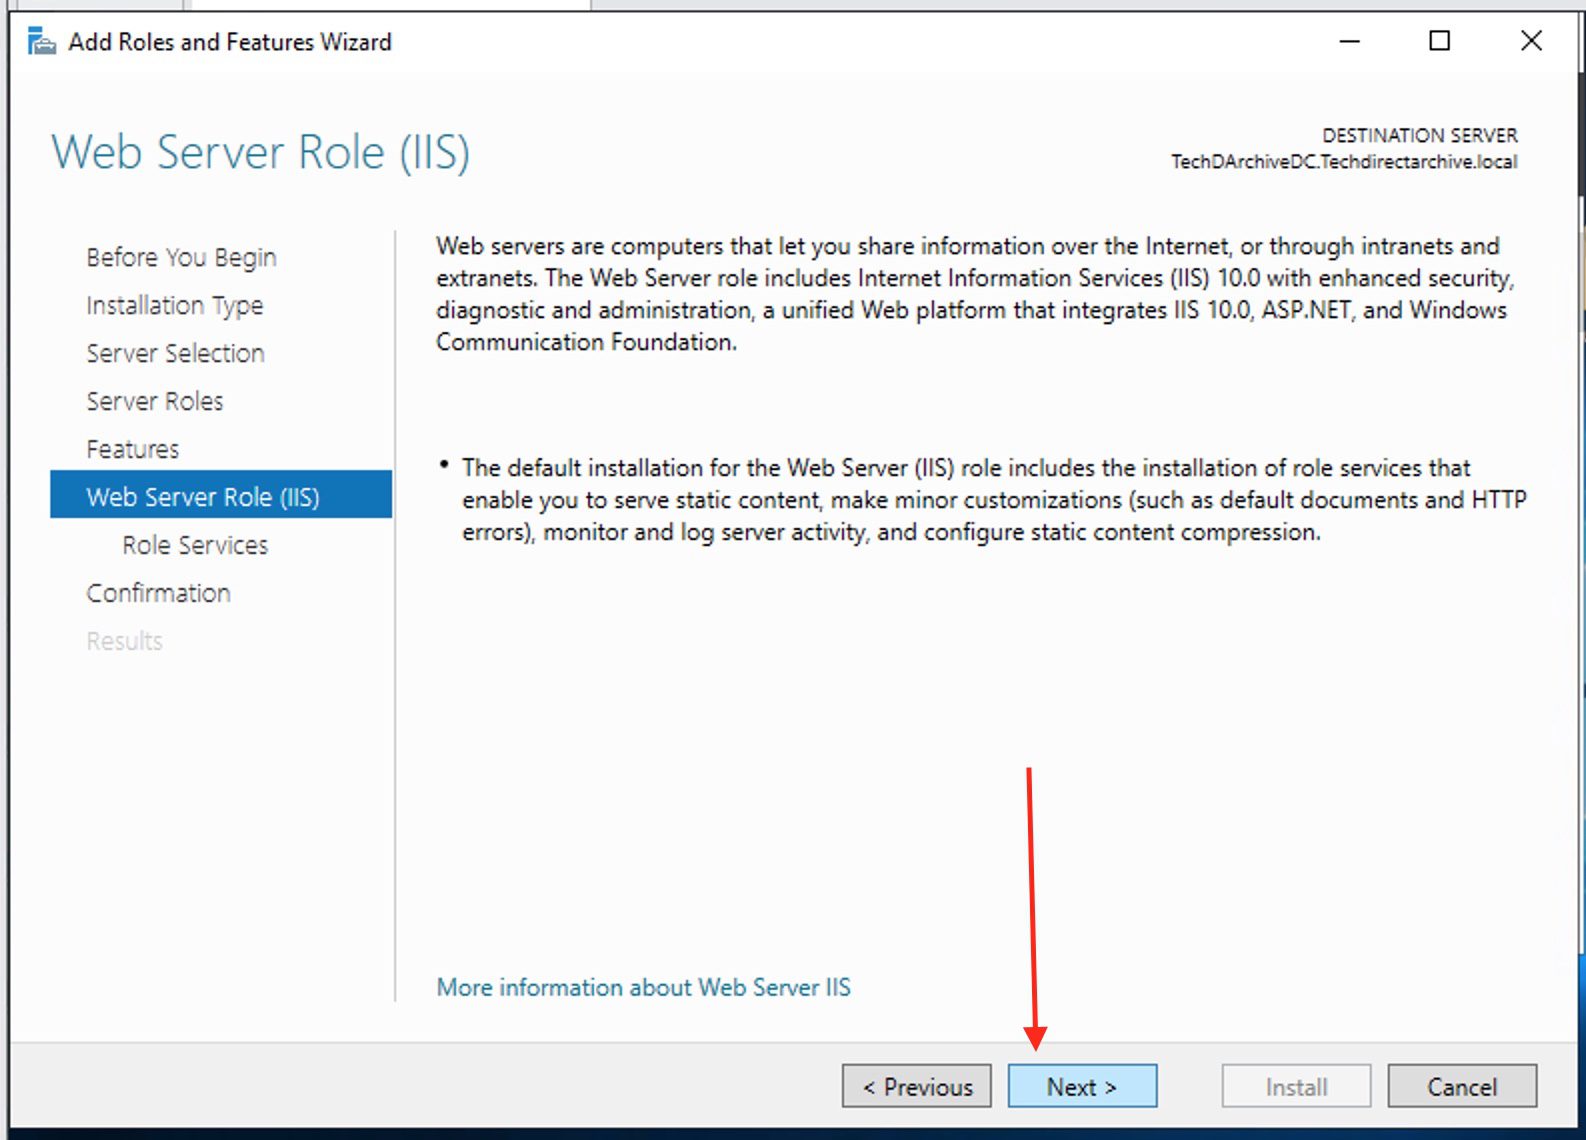
To proceed with the process of adding and removing the IIS Web Server, simply click “Next” on the Web Server Role (IIS) section. This step is for information purposes.
As I said, I will not be adding additional role service I need on purpose just to demonstrate how this can be done via PowerShell. Please check all applicable roles that you need.

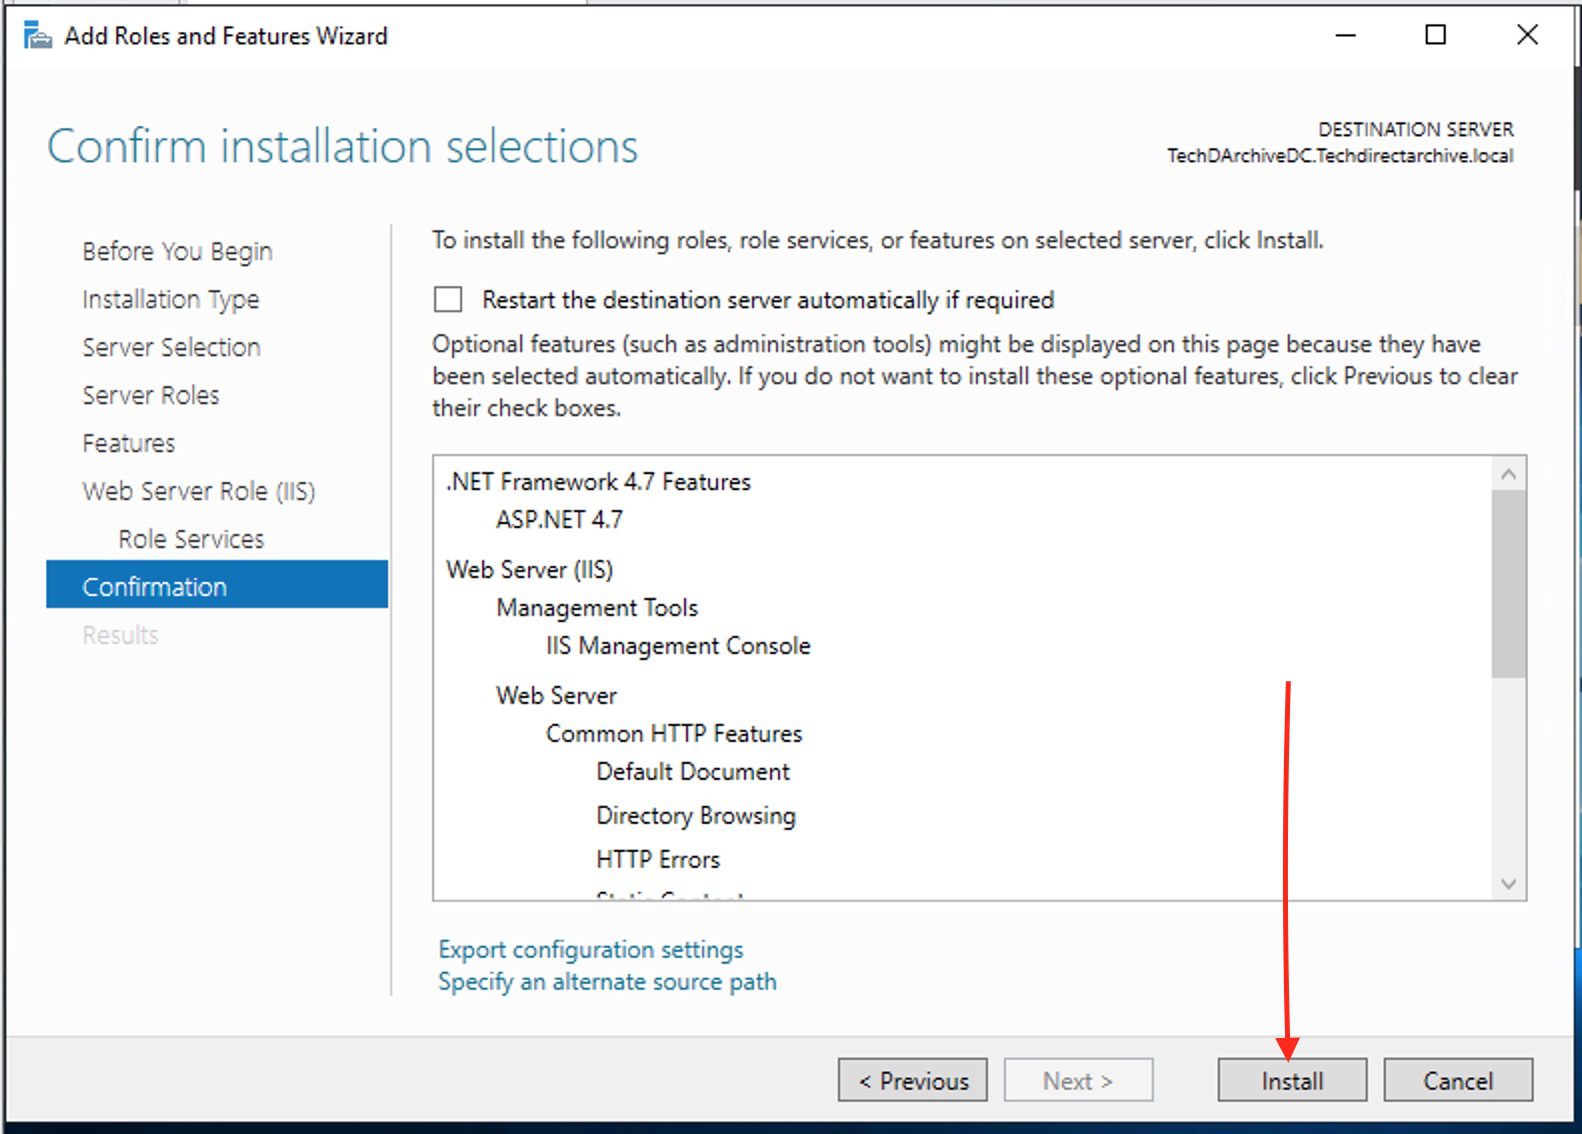
To add and remove IIS web server, you will have to confirm (verify) on this page that the features, roles, and role services which you have selected are correct.
When they are not correct, please use the “Previous” button. Otherwise click on Install to install the role, features and role services.
On the result page, the installation progress will be displayed. You can close this window below if you are impatient even when the installation has not completed and it will complete in the background.
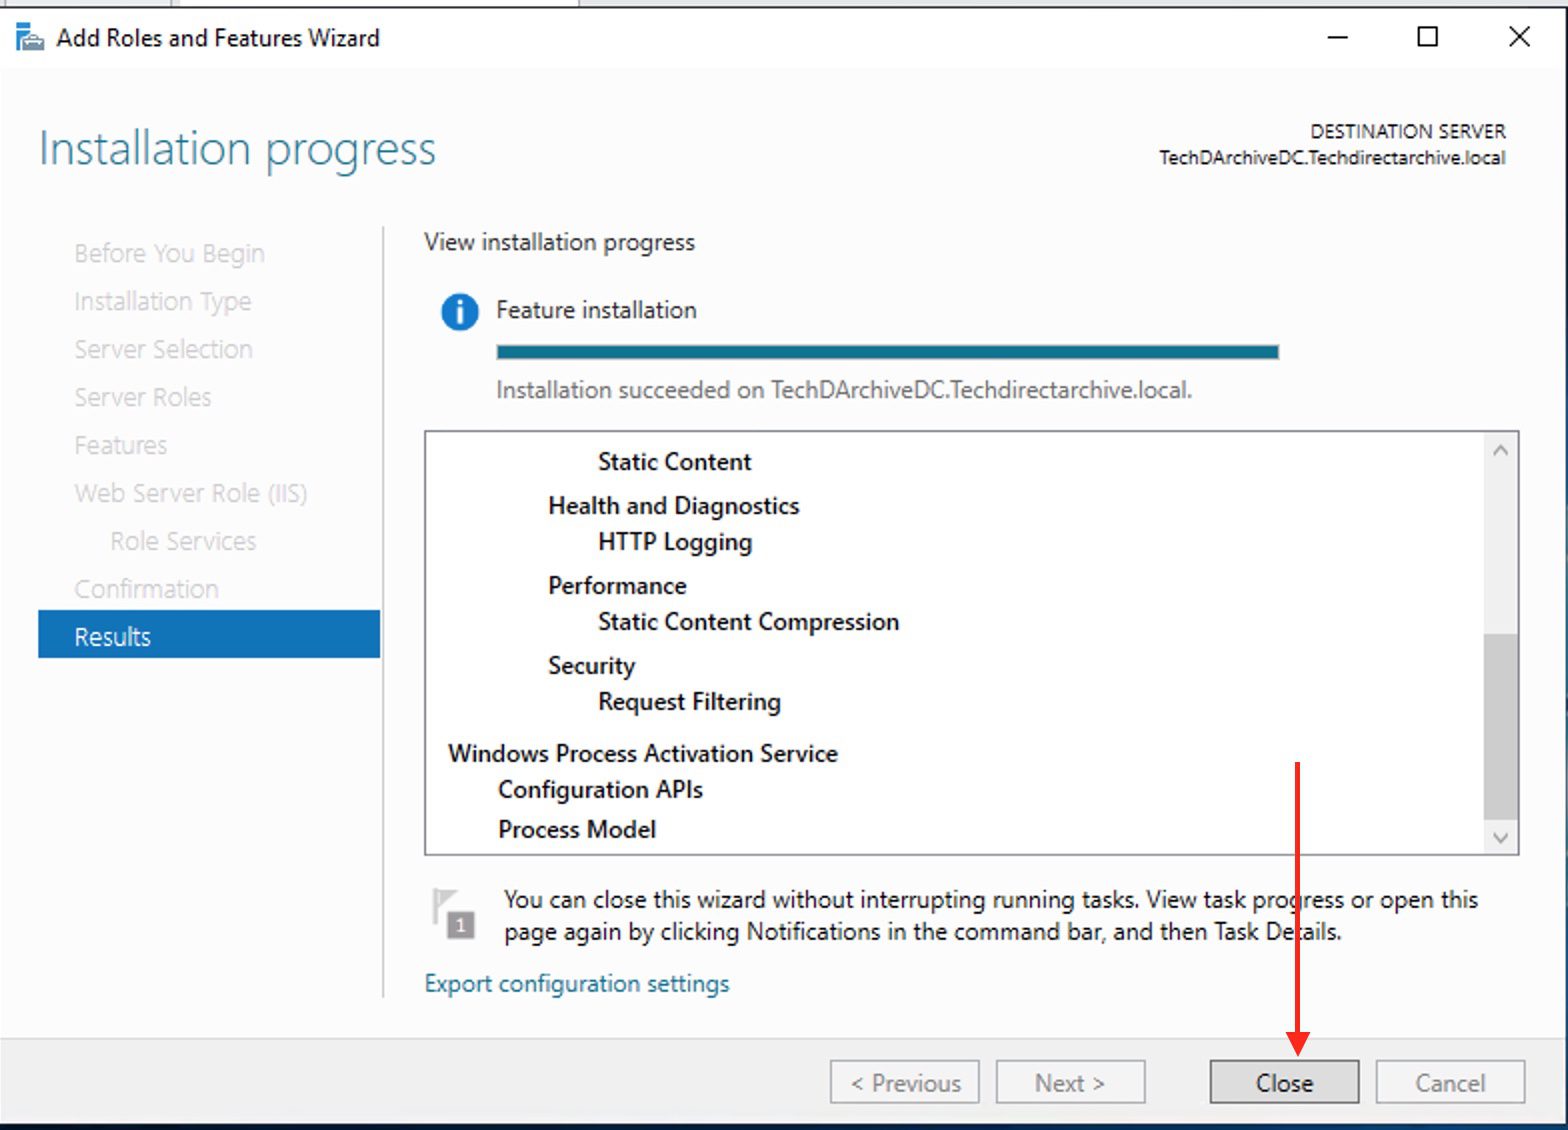
As you can see from the image above, the installation has succeeded. Thus, we will not launch the IIS tool. There are various ways to launch the IIS console when adding and removing IIS web server.
However, you can use the Tool menu and select “IIS Manager” or select IIS as shown below, right click on the server and select “IIS Manager”

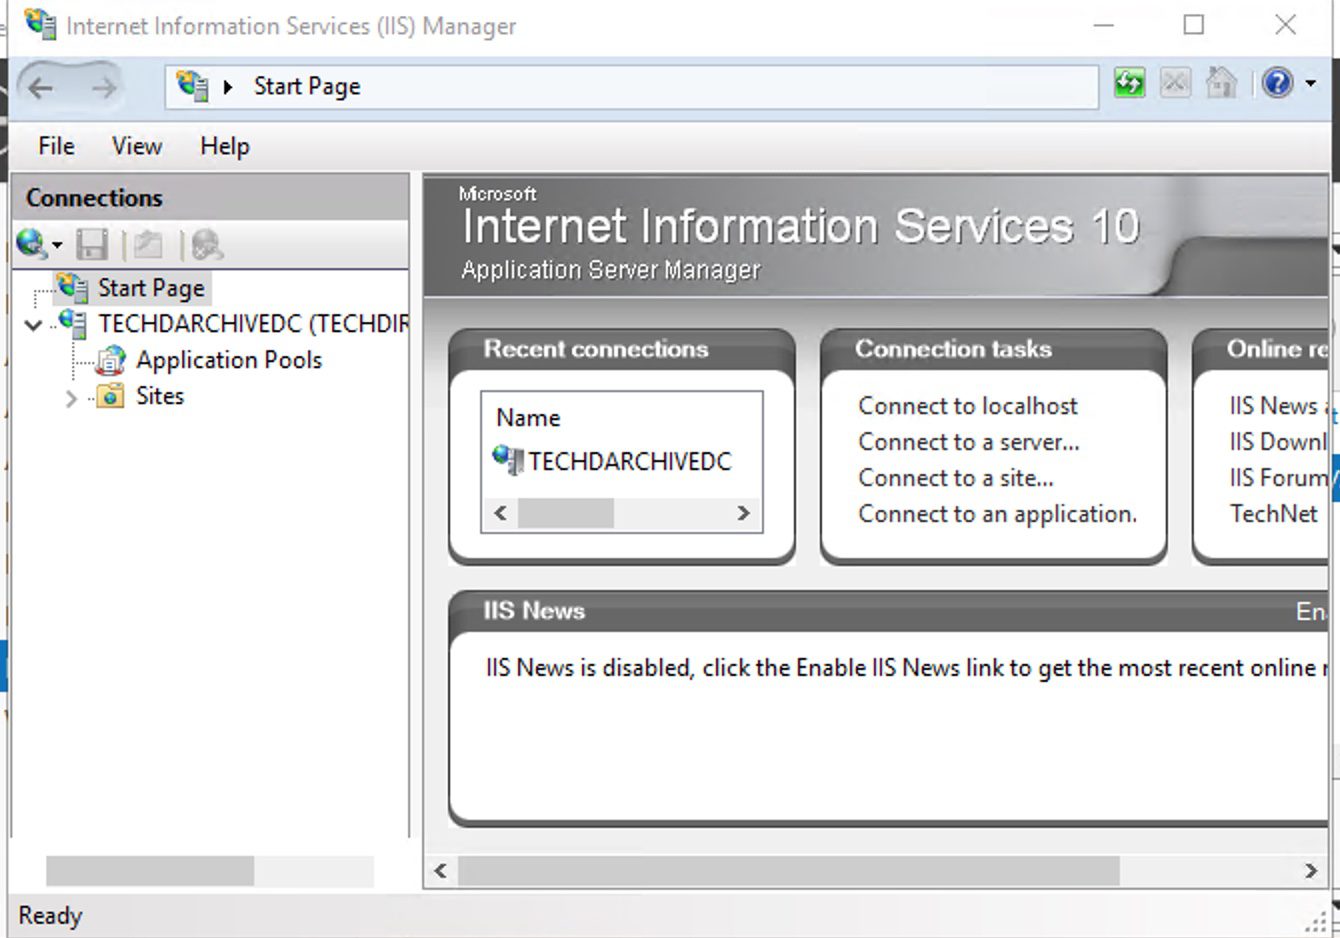
This will Open IIS 10 console as shown below. That is all you need to install the IIS web server role.
Install IIS with PowerShell
You can automate the IIS role and features installation by using the Powershell cmdlet. Please run the commands below. You can optionally also install additional features by using the “Add Roles and Features” wizard.
Install-WindowsFeature -name Web-Server -IncludeManagementToolsInstall WebDAV redirector server 2019
This guide walks you through the installation of WebDAV redirector. If you want to access a WebDAV share on a Windows Server 2016 or 2019, you have to install a feature that is not activated in the standard installation.
The best way to do this is to start a PowerShell as admin and enter the following:
Install-WindowsFeature WebDAV-Redirector –Restart
Note: You can also launch the Add roles and features wizard and select the WebDAV-Redirector and have it installed as well. But I just wanted to show to you that PowerShell is capable of doing this.
To uninstall IIS via the Server Manager
If you wish to remove certain roles (IIS in my case) and features, you will have to use the “Remove Roles and Features” wizard of Server Manager. By just unchecking the IIS Web Server Role, you will be able to remove (uninstall) the IIS web server role at once.
You can remove a single role, role service, or feature by simply unchecking it in the wizard. Please follow the steps below to remove the ISS role from Windows Server 2019.
Remove Roles and Features
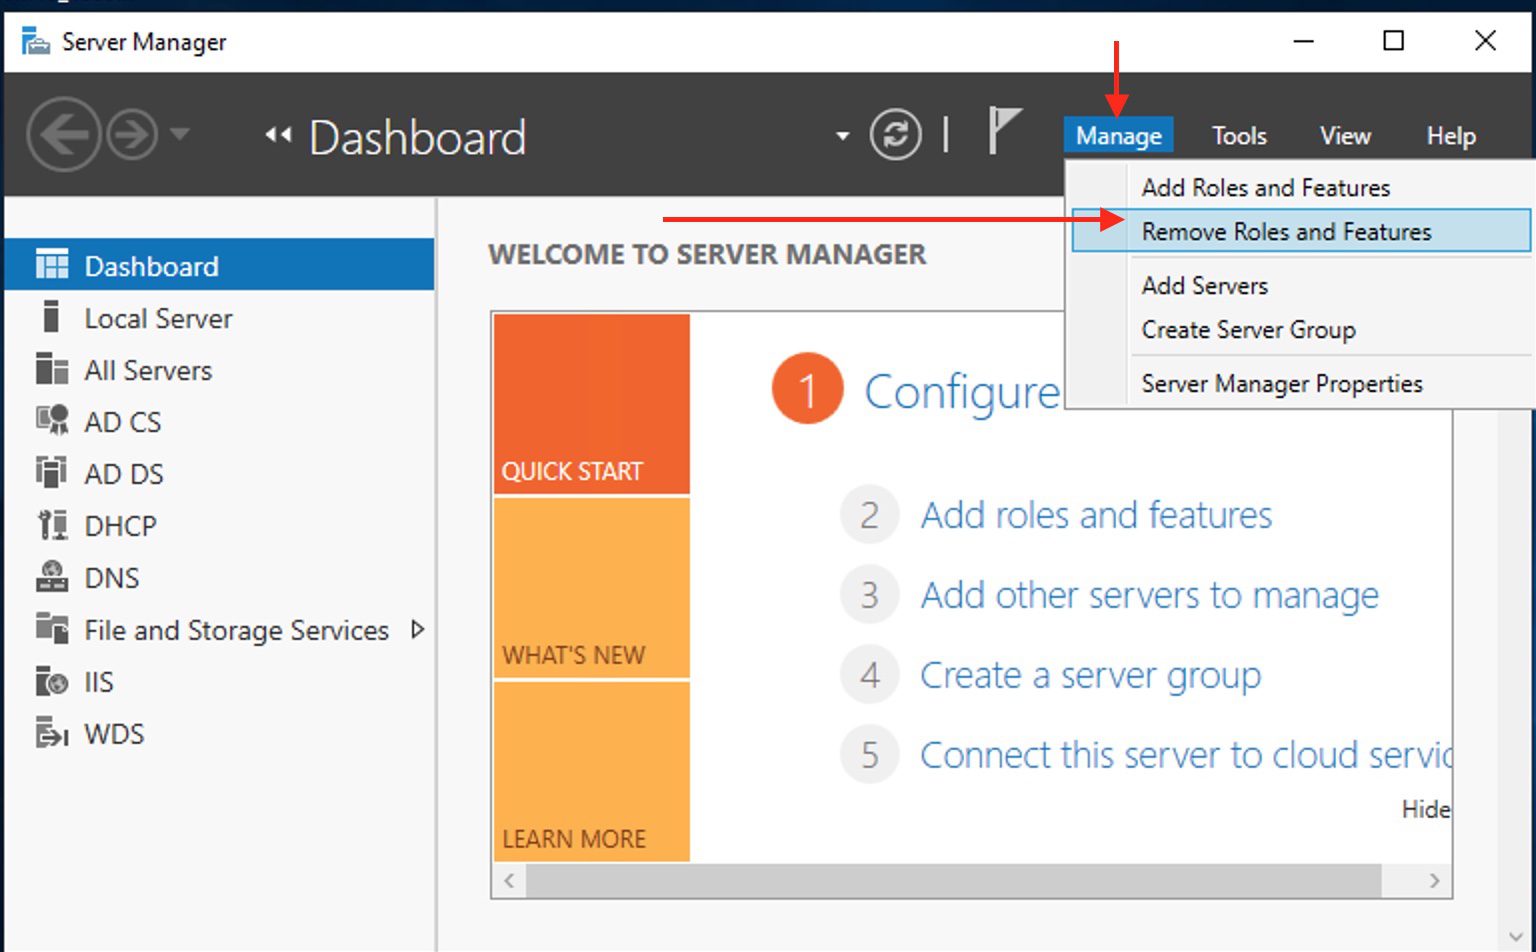
Click on the Server Manager icon on your desktop in order to open Server Manager. From the Server Manager, click on Manage and then click on click on the “Remove Roles and Features”.
Note: You can decide to skip the “Before you begin” page for just click on Next as shown below.

Choose the server from the server pool on the Server Selection page and then click on Next.
We currently have one server and this is selected by default. When there are multiple serves in the server pool, please take not to select the right server.

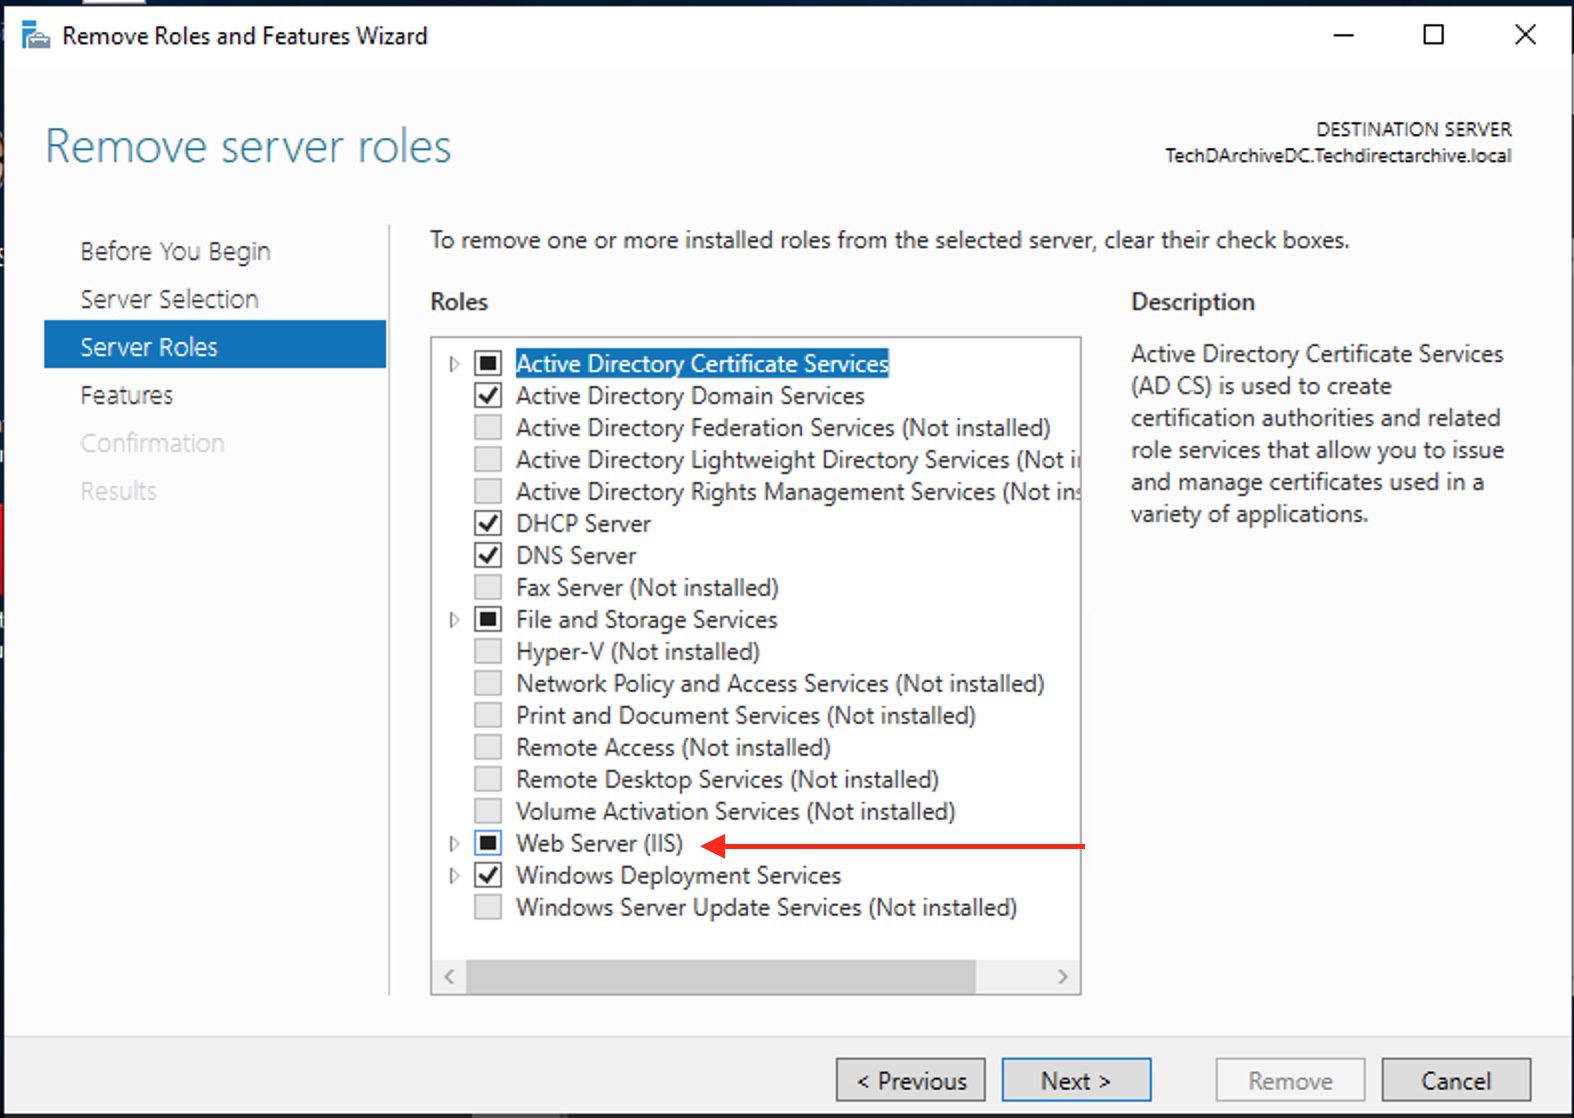
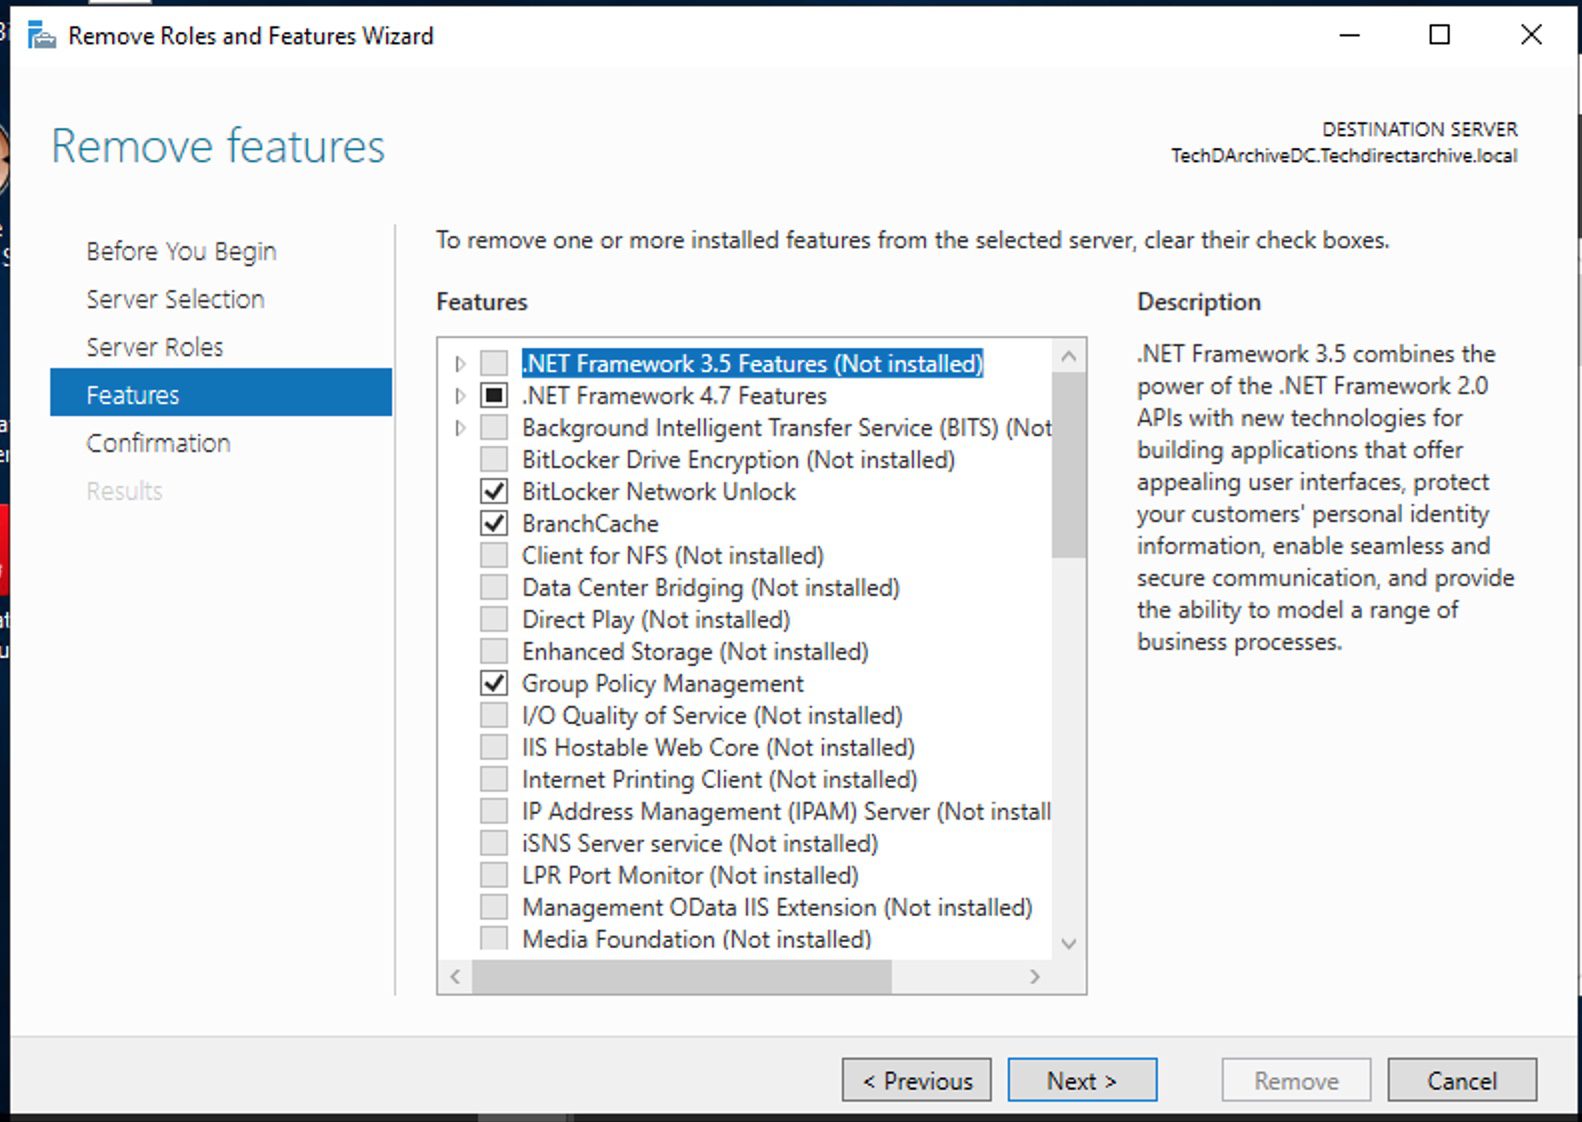
Here, I will be unchecking the Web Server (IIS) as shown below. Adding and removing IIS web server also involves removal of every other role you no longer want from this window.
Just clear its checkbox. If you have additional features installed, you will be promoted to remove them. In my case, I do not have any feature, so I will skip this window below.
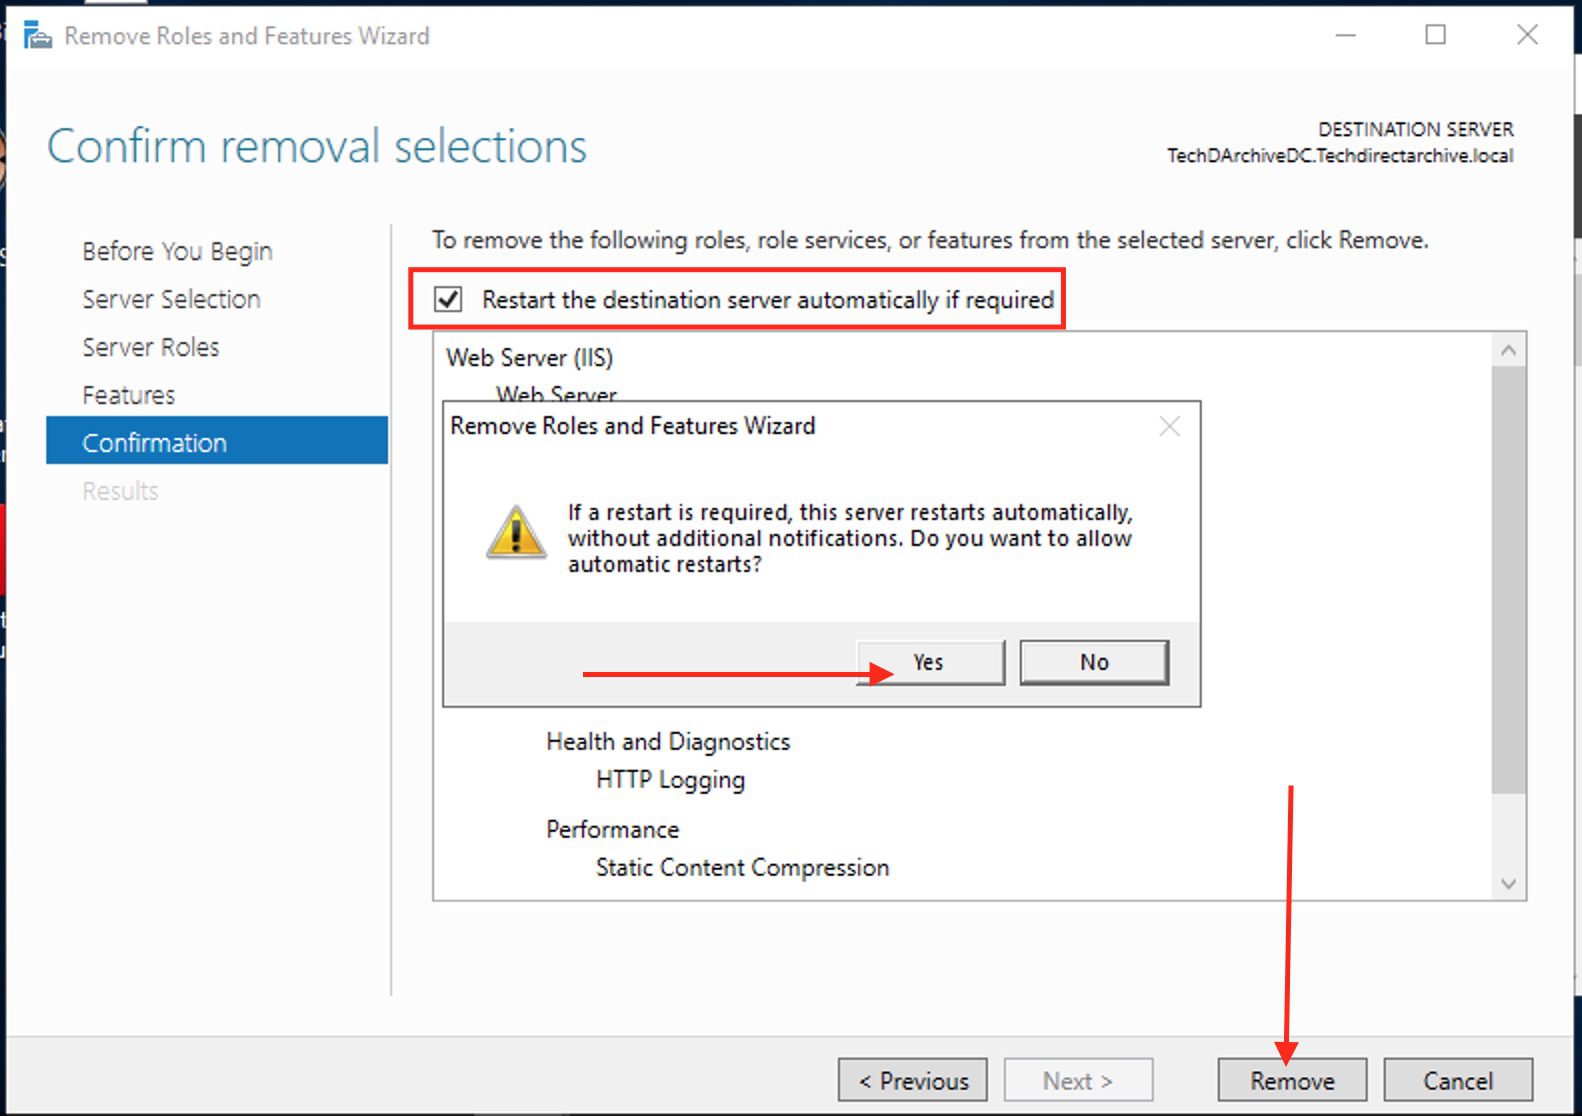
Another step to follow to add and remove IIS web server is the verification of features and role services. Now, you will have to confirm (verify) on this page that the features, roles, and role services which you have selected are correct.
You can optionally click on the “Restart the destination server automatically if required”. When you are done, please click on Remove. Click on YES when prompted to acknowledge the automatic server restart

It is recommended to have your server restarted after removing features, roles, and role services. You can continue working if you have other actions to perform on the server, but remember to restart the server afterwards.
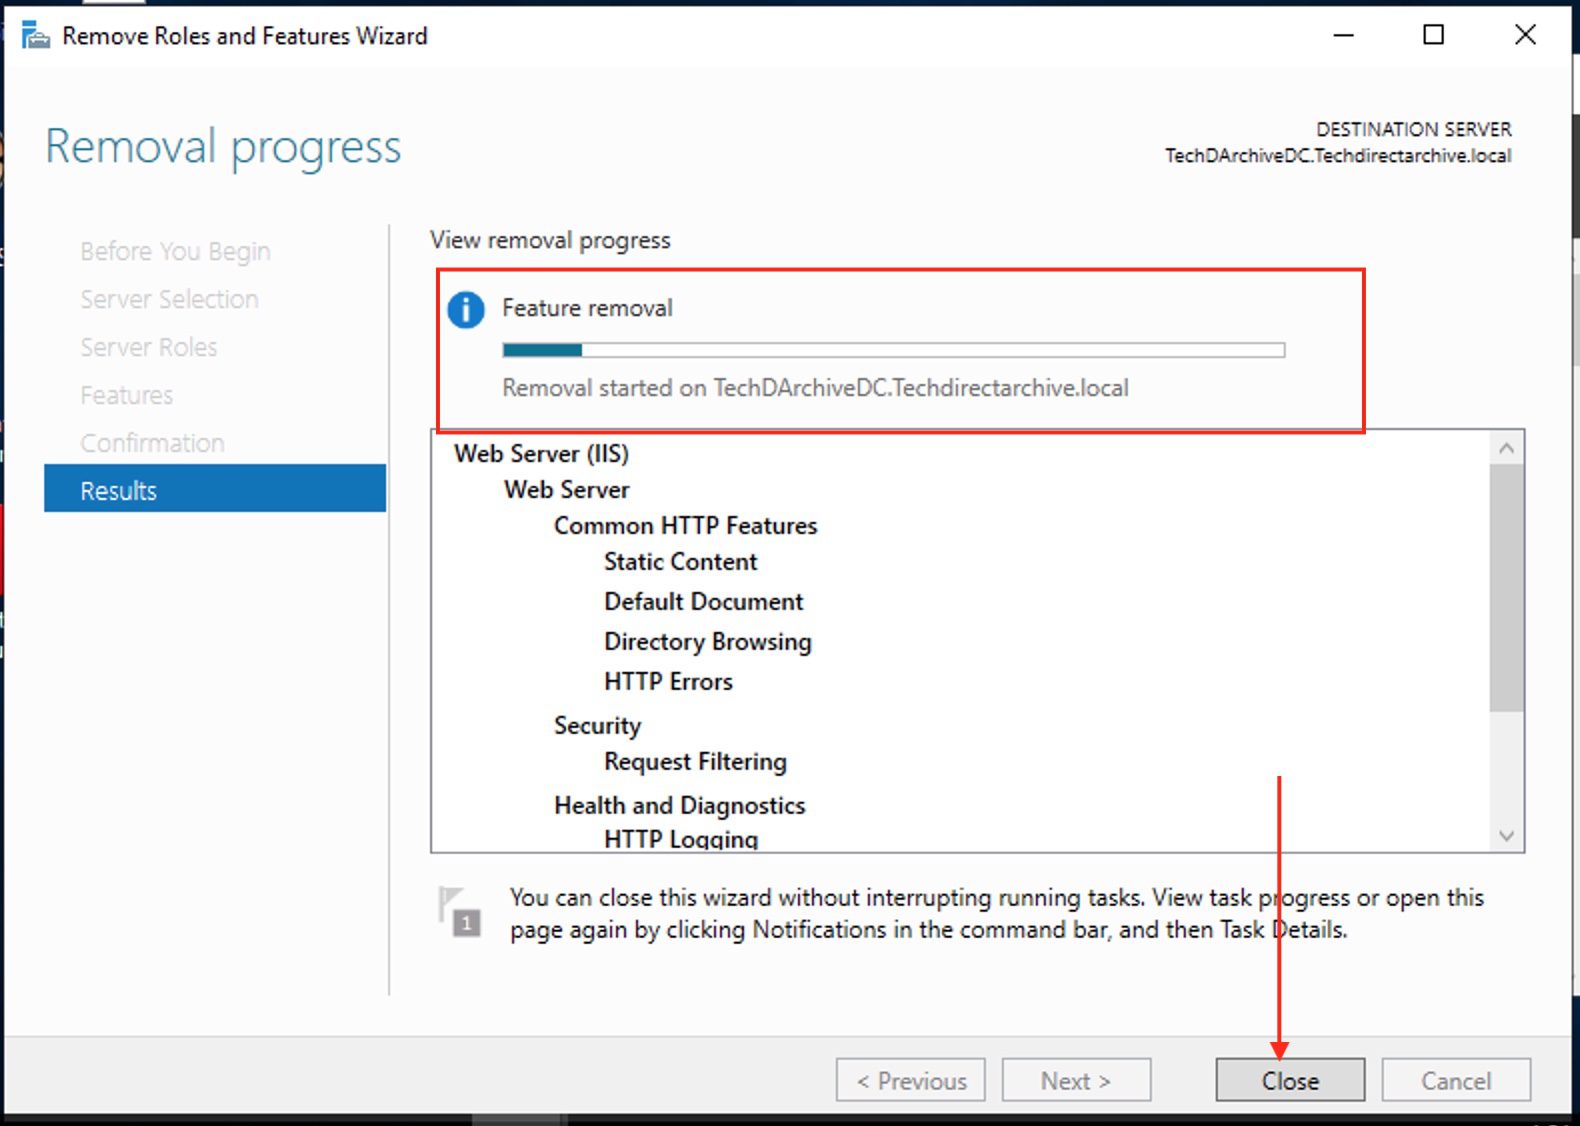
You will be prompted with the result page as shown below. This will also show you the IIS web server removal progress
Remove the IIS Web Server Role with PowerShell
To remove the webserver role via PowerShell, you will have to launch the PowerShell console as administrator and issue the following command in PowerShell. This will remove your IIS configuration and yu must restart your server.
Uninstall-WindowsFeature -remove Web-Server
I hope you found this blog post on how to Add and remove IIS Web Server on Windows Server 2019 via the Server Manager and PowerShell helpful. If you have any questions, please let me know in the comment session. Adding and removing IIS web server has become easy with these steps.


