
This guide discusses How to Install Jenkins Automation Server on Ubuntu 20.04 LTS. Finding automation solutions that work when faced with repetitious technical activities can be a challenge. You can quickly handle tasks from building to delivering software with Jenkins, an open-source automation server. Here are some guides you may be interested in: How to use AWS CodeCommit, how to install, register, and start GitLab Runner on Windows, and how to clone a repository and install software from GitHub on Windows.
You can install Jenkins, a Java-based application, through Ubuntu packages or by downloading and executing a web application archive (WAR) file. This file comprises the components for a functional web application on a server.
To initiate your exploration of Jenkins capabilities, this article guides you through installing Jenkins on Ubuntu 20.04 LTS, launching the automation server, and establishing an administrative user. In the end, you’ll have a development-level server ready for use for your CI/CD automation tasks.
Prerequisites to install Jenkins on Ubuntu:
To get along with this guide, you will need:
- An installed version of the Ubuntu 20.04 configured with a non-root Sudo user and firewall by following the Ubuntu OS install on Oracle VirtualBox Set-Up guide. It is recommended that you have at least 1 GB of RAM installed. You can visit Jenkins’s “Hardware Recommendations” for guidance in planning the capacity of a production-level Jenkins installation.
- Oracle JDK 11 installed, which will be our first step in this guide.
Oracle JDK 11 Installation on Ubuntu 20.04
Ubuntu launched Focal Fossa, the latest LTS version of the popular Linux distribution, in April of 2020. As a result, DevOps engineers interested in using the latest Ubuntu features in their CI builds should an installation of Jenkins on Ubuntu 20.04 Jenkins , which is the subject of this post.
The most convenient way to install Java is to use the version that comes with Ubuntu. Ubuntu 20.04 includes Open JDK 11, an open-source version of the JRE and JDK, as the default option. To install this version, first, make sure the package index is up to date:
sudo apt updateNext, check if Java is already installed:
java –version
The output above shows that we’ve not installed Java yet.
Install Java Runtime Environment
To install the default Java Runtime Environment (JRE), run the following command, which will install the JRE from OpenJDK 11:
sudo apt install default-jreThe JRE will allow you to run almost all Java software. Verify the installation with:
java --version 
Some Java-based software may require the Java Development Kit (JDK) in addition to the JRE to compile and run. Execute the following command to install the JDK, which will also install the JRE:
sudo apt install default-jdkCheck the version of javac, the Java compiler, to see if the JDK is installed:
javac --versionYou should see the image below as your output:

Step 1: Installing Jenkins on Ubuntu
The default Ubuntu package often includes an outdated version of Jenkins compared to the project’s latest release. As such, you should install Jenkins using the project-maintained packages to ensure you have the most recent fixes and features.
To begin, enter the repository key into the system:
wget -q -O - https://pkg.jenkins.io/debian-stable/jenkins.io.key | sudo apt-key add -
The system will respond with OK once the key has been inserted. Next, update the server’s sources. list with the Debian package repository address:
sudo sh -c 'echo deb http://pkg.jenkins.io/debian-stable binary/ > /etc/apt/sources.list.d/jenkins.list'After we’ve typed both commands as stated above, we’ll run the update to force apt to use the new repository.
sudo apt updateFinally, Jenkins and its dependencies will be installed on Ubuntu. To run, use the command:
sudo apt install jenkins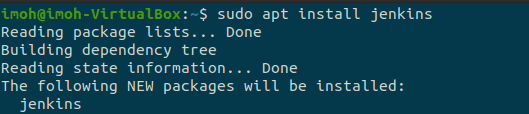
We’ll start the Jenkins server now that Jenkins and its dependencies are installed.
Step 2 — Starting Jenkins
We now have Jenkins installed on Ubuntu, so let’s start Jenkins by using systemctl:
sudo systemctl start jenkinsWe’ll use the status command to verify that Jenkins launched correctly because systemctl doesn’t display status output:
sudo systemctl status jenkins.serviceIf everything went fine, the service should be active and configured to start upon boot, as seen at the top of the status output:

Now that Jenkins is up and running, we can finish the initial setup by adjusting our firewall rules so that we can access it from a web browser.
Step 3 — Opening the Firewall
Following the install and start of Jenkins on Ubuntu, it will operate on port 8080 by default. We’ll use ufw command to open that port, run:
sudo ufw allow 8080
Note that if the firewall is turned off, the the below command will allow and turn it on:sudo ufw enable
Next, check the firewall status to verify the new rules. Run:
sudo ufw statusYou’ll observe that traffic to port 8080 can come from anywhere as shown in the image below:

Now, we have installed Jenkins on Ubuntu and the firewall is configured, so it is time to go into Jenkins setup.
Step 4: Setting Up Jenkins on Ubuntu
To complete the installation of Jenkins on Ubuntu, we have to install and configure plugins and instance. Visit Jenkins on its default port, 8080, using your server domain name or IP address to start up your installation: server IP or domain:8080
To check your IP, run: hostname -i. The Unlock Jenkins screen should appear, displaying the location of the original password:

Use the cat command to display the password in the terminal window:
sudo cat /var/lib/jenkins/secrets/initialAdminPasswordClick Continue after copying the 32-character alphanumeric password from the terminal and pasting it into the Administrator password field as shown in the above screenshot.
The next screen gives you the choice to install recommended plugins or to select particular plugins:
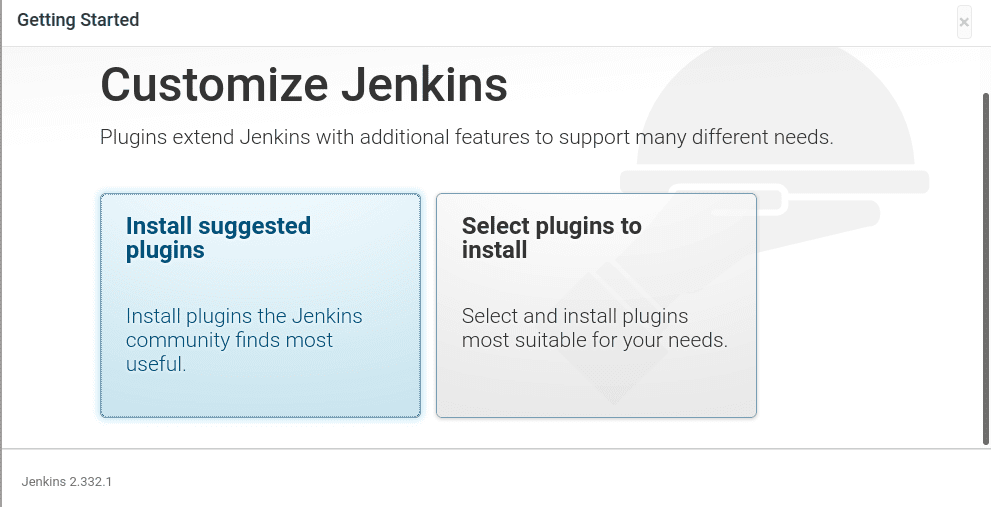
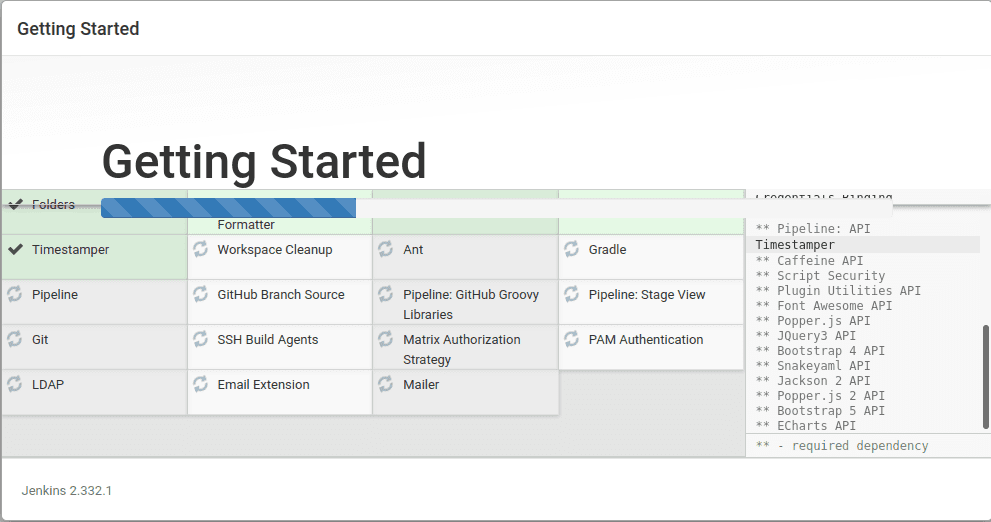
We’ll select Install suggested plugins, which will start the installation process right away.
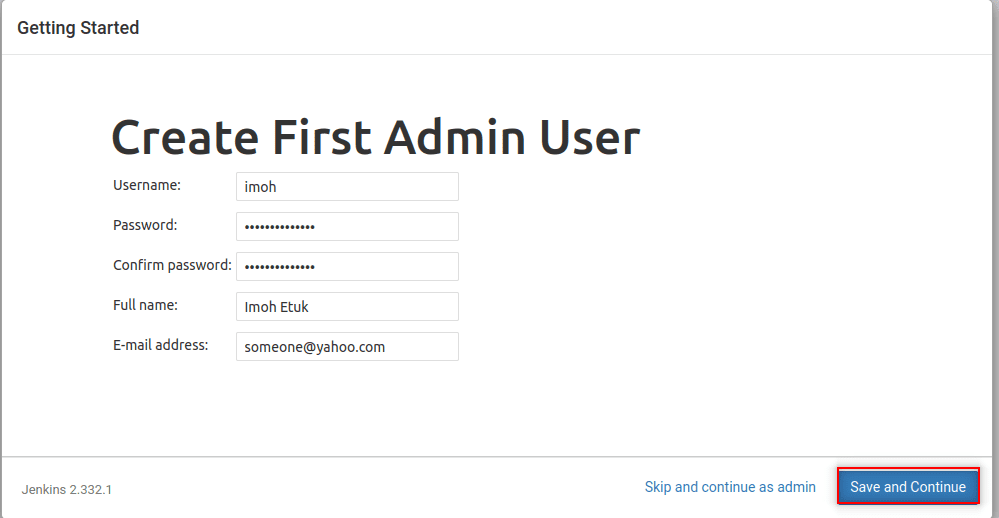
You’ll be requested to create the first administrative user after the installation is complete. It’s possible to skip this step and continue as admin with the same password as before, but we’ll spend a few moments creating the user.
Fill up your user’s name and password:
You’ll be taken to an Instance Configuration page, where you’ll be asked to confirm your Jenkins instance’s chosen URL. Confirm either the domain name or the IP address of your server:
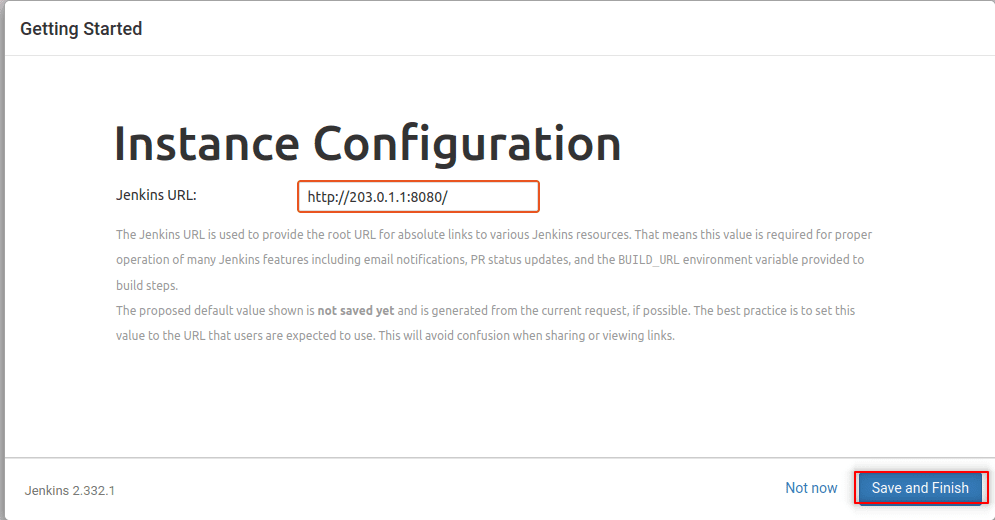
After you’ve double-checked the information, click Save and Finish. A confirmation page will appear, stating that “Jenkins is Ready!“:

To access the main Jenkins dashboard, click Start using Jenkins:

You’ve now completed a Jenkins installation successfully. Congratulations!!
I hope you found this article on How to install Jenkins on Ubuntu 20.04 LTS for automation useful. Please feel free to leave a comment below.


