In this article, we shall discuss how to install and configure Veeam Backup and Replication server with its default SQL Server Express Edition. Please see how to set up Veeam Backup for Microsoft Azure. Veeam Backup and Replication is a comprehensive data protection and disaster recovery solution capable of creating image-level backups of virtual, and physical servers, and cloud machines, and restoration as well.
The technology used in the product optimizes data transfer and resource consumption, which helps to minimize storage costs and recovery time in case of a disaster. I have actually used this tool in production and I highly recommend you to as well. You can download the Veeam Community Edition.
Veeam Backup and Replication provides a centralized console for administering backup, restore, and replication operations in all supported platforms (virtual, physical, and cloud environments). Here are some related articles: How to migrate Veeam MsSQL Database to a new MsSQL Server, Cloud Protection Manager: How to recover backup via N2WS Veeam CPM.
Also, the console allows you to automate and schedule routine data protection operations and integrate with solutions for alerting and generating compliance reports.
Functionalities of Veeam Backup and Replication
Here is a fix should in case you run into the following issue “Failed to connect to Veeam Backup and Replication server: Remote Channel Sink UriNotPublished, remote connection refused, and failed to start the service“. Below are some of the functionalities of Veeam Backup and Replication.
- Backup: Furthermore, It can create image-level backups of virtual, physical, and cloud machines and backups of NAS share files.
- Restore: However, Capable of performing a restore from backup files to the original or a new location.
- Replication: Can create an exact copy of a VM and maintain the copy in sync with the original VM.
- Backup Copy: Moreover, Capable of copying backup files to a secondary repository.
- Tape Devices Support: Can store copies of backups in tape devices.
- Recovery Verification: This can be used in testing VM backups and replicas before recovery.
Capabilities of Veeam Backup and Replication
With Veeam Backup & Replication, you can back up and restore the following objects: Here is the advantage of using a 3rd party software for Backup (N2WS by Veeam) over AMI, and how to download and install MSSQL 2019 Express Edition and SSMS on Windows Server.
- Virtual machines (VMware vSphere VMs, Microsoft Hyper-V VMs, and Nutanix AHV VMs (require an additional plug-in)
- Cloud VMs (AWS EC2 instances and Microsoft Azure VMs)
- NAS Share – Veeam Backup and Replication supports backup of file shares from the following sources (Microsoft Windows, Linux-managed server, Enterprise NAS systems such as NetApp Data ONTAP, Lenovo ThinkSystem DM Series, Dell EMC Isilon, NFS file shares, and SMB file shares.
- Physical machines. In addition, To back up machines running Windows, Linux, or macOS operating systems, Veeam Backup and Replication uses backup agents installed on each computer.
The agents can also be downloaded from the following link. Veeam Backup and Replication is a centralized control center for deploying and managing Veeam Agent for Microsoft Windows, Veeam Agent for Linux, and Veeam Agent for Mac.
Protected Applications
Native functionality of Veeam Backup and Replication allows you to create application-consistent backups for Microsoft SQL Server, Oracle Database, Active Directory, Microsoft Exchange, Microsoft OneDrive, and Microsoft SharePoint. Also, you can install the following additional tools:
- Veeam Backup for Microsoft Office 365: For full protection of Microsoft Office applications.
- Veeam Plug-ins for Enterprise Applications: For the integration of Veeam Backup & Replication with Oracle RMAN, SAP HANA Backint, and BRTools.
You may be interested in this guide: How to Fix critical Veeam Backup and Replication 9.5, 10, and 11 vulnerabilities.
Management and Reporting
Veeam Backup & Replication integrates with a set of solutions that provide reporting and management capabilities for enterprise environments: Management Pack for Veeam Backup & Replication, Veeam Availability Orchestrator, VeeamOne and Veeam Backup Enterprise Manager.
Currently, I only have a capable environment to test VeeamOne and Veeam Backup Enterprise Manager!
- Veeam ONE: A solution that enables real-time monitoring, business documentation and management reporting for Veeam Backup and Replication, VMware vSphere and Microsoft Hyper-V.
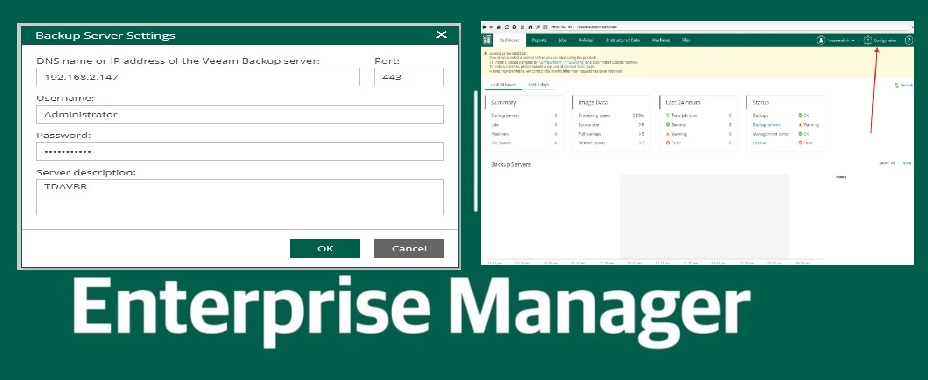
- Veeam Backup Enterprise Manager: A management and reporting component that allows you to manage multiple Veeam Backup & Replication installations from a single web console. You CANNOT use the Veeam Community Edition license for this service. You need a license.
If you are a service provider, you can use Veeam Service Provider Console to deliver Veeam-powered Backup-as-a-Service (BaaS) and Disaster Recovery-as-a-Service (DRaaS) services to your customers.
You can also use Veeam Backup and Replication to offer cloud repositories as a service and disaster recovery as a service. For details, see Veeam Cloud Connect. If you would like to set up Veeam One Monitoring to monitor your Servers and objects, please click on this hyperlink “Standalone Veeam ONE installation: How to set up Veeam ONE 11 Server“.
Download and Install Veeam Backup and Replication
Before you start installing the Veeam Backup and Replication tool, please ensure the following prerequisites are met.
- Ensure you have sufficient disk space available for your repository on the server where Veeam Backup & Replication will be installed.
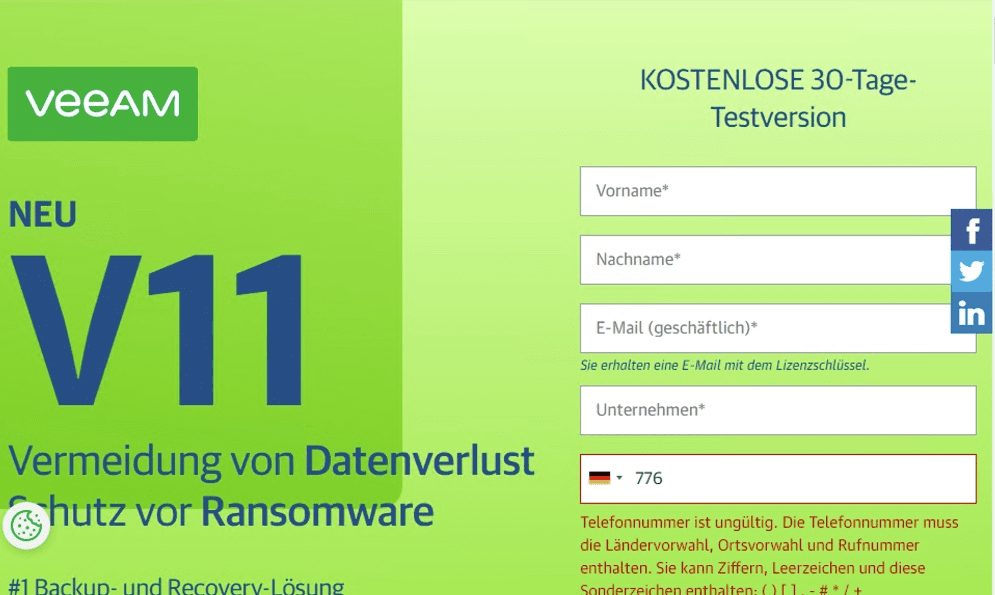
- The setup can be downloaded Veeam Community edition from the link shared above. You will be required to create an account in order to have access to the 30-day trial version.
Shortly, you will get an email where you will be able to download the Veeam Community edition as shown below. Please be aware that, the Community Edition only supports 10 nodes.

Once you have the .iso file downloaded, you can either mount it on your server or extract it to a folder. Next, you can run the setup as shown below.

Accept the User Account Control.

This will open the Veeam Backup and Replication window as shown below. I will recommend installing the entire suite. Because if you install just a single component, you will have to run the setup.exe file again to install the backup and replication console.
Install Veeam
I will be installing the Veeam Backup and Replication as shown below. Click on Install under Veeam Backup and Replication.

Accept the agreement as shown below and click on Next. See this guide on how to install Veeam Backup and Replication 11 Community Edition with a dedicated SQL Server.

As I am installing the Community Edition, I will click on “Next” to operate in Community Edition mode. If you have a license, you can specify the path to the license key.

The following window below should be left as default without making any changes.

In the step below, I got some errors, this was because some prerequisites were not met as shown below.
Here are some exciting guides: How to recover backup via N2WS Veeam CPM, how to implement N2WS Veeam Cloud Protection Manager (CPM 2.3.0d), Wbadmin:How to stop Windows backup job via the Windows Server Backup utility, how to setup Windows server backup and create backup jobs, and how to create a HyperV checkpoint.
Gladly, instead of manually installing this, Veeam provides an opportunity to have these prerequisites installed within the installation steps.


As you can see below, the prerequisites have been met. Click on Next to continue

Installing Veeam with the default MSSQL Express
I am okay with the default configuration, therefore, I will click on Install as shown below.

When complete, you will see the following window below showing installation succeeded. A SQL Server Express Edition will be deployed by default during the installation. This step can take a while, so please be patient 🙂

Note: This is for your information only. If you had checked “let me specify different settings” above, you will be able to select a different database instance and the default SQL Express will not be installed.
Note that after installation, you can also switch to a dedicated SQL server. Please refer to this link on how to perform this “How to migrate Veeam MsSQL Database to a new MsSQL Server“. The below image shows how you will approach this.


Start the Veeam Backup and Replication Console: In the Windows Start menu, select Apps > Veeam > Veeam Backup & Replication Console.
Alternatively, to access the Backup and Replication console, open Veeam using the Veeam Backup and Replication Console shortcut created on your desktop and click on connect as shown below.

If you are prompted to apply updates, please apply these updates when complete. Now the Veeam Backup & Replication is completely installed and patched with the latest update. Next, click on Finish.


1: Configure the Repository
By default, Veeam Backup and Replication creates a backup repository at C:\backup. All we need to do is change the repository to a different volume with enough free space.
Click on Backup Infrastructure to bring up the configuration pane. Below is is the image showing the default repository configuration.

You can right-click on the Backup Infrastructure and select Add Backup Repository.

This brings up the New Backup Repository configuration window. I will select Network Attached storage as shown below.

I will select SMB shares as shown below.

This will open the New Backup Repository wizard


As you can see, we have defined our new repository. Click on Next to continue. If you wish to make other changes on this window, you are free to. This is just a lab system and will be deleted afterwards.

On the mount window, click on Next as shown below

In the next wizard, click on “Apply” and follow the prompt to complete.

2: Add credentials
You may want to add your credentials for your servers (ESXi), add users and roles, manage passwords, etc. Click the settings button at the top left and then click Manage Credentials


3 – Adding Virtual Infrastructure Servers
To protect virtual machines with Veeam Backup & Replication, you must add the virtual infrastructure servers hosting these machines to the backup infrastructure.
You can add Microsoft Hyper-V, vCenter Servers and ESXi hosts. If an ESXi host is managed by a vCenter Server, it is recommended that you add the vCenter Server, not a standalone ESXi host.
Right-click on “Manage Servers” and select “Add Servers” or click on any of the “Add Servers” menu as shown below.
Right-click on “Manage Servers” and select “Add Servers” or click on any of the “Add Servers” menu as shown below.

In the Add Server window, click Microsoft Hyper-V to launch the New Microsoft Hyper-V wizard.

Below is the New Microsoft Hyper-V wizard. Click on Hyper-V as shown below

Enter the DNS Name or IP Address
At the Name step of the wizard, specify the DNS name or IP address of the server.

Select the Hyper-V type (I do not have a cluster setup yet, therefore, I will be selecting a standalone environment.

At the Credentials step of the wizard, specify credentials for the user account with Administrator permissions on the added server. To add the account, do the following:
- Click Add. In the Credentials window, specify the username and password used to connect to the added server.
- Click OK.


Follow the next steps of the wizard. Below shows the Hyper-V discovery process. If this machine is not a Hyper-V host, the connection will fail.

At the Summary step, click Finish. Next, you will have to open the Backup Infrastructure view and click the Managed Servers node. The added server must be available in the working area. If you wish to uninstall Veeam Backup and Replication from your server.
I hope you found this blog post on how to install and configure Veeam Backup and Replication server helpful. If you have any questions, please let me know in the comment section.