In the previous tutorial, we deployed AWX. Kindly view the tutorial on Ansible AWX. Now we will use AWX to deploy a simple playbook and show how to run, schedule, and manage jobs from the AWX console. Kindly check out some of my other guides: Openstack Deployment with Devstack, Deploying a load balancer from scratch and adding backend servers, how to monitor services using Zabbix, and how to set-up PowerShell on a Linux server.
First, log in to our Awx console using the admin credentials and create an inventory.
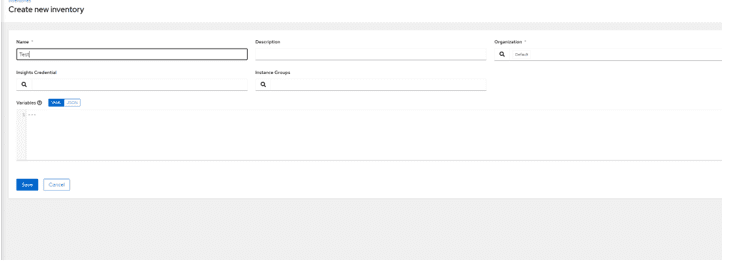
Setting Up the Deployment Host and Inventory Configuration
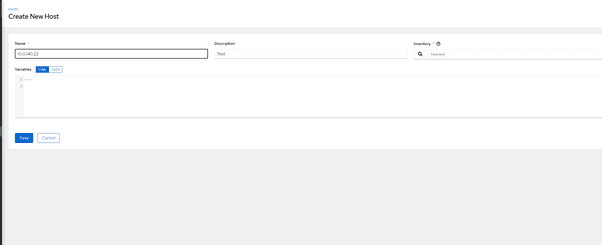
Next, Create a host. This host is where all your playbooks will be deployed on and add the IP address and description also select your test or default inventory
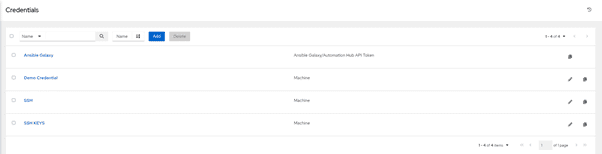
Create your credential. Ansible uses SSH Keys, however from AWX, you can use login credentials like username and password

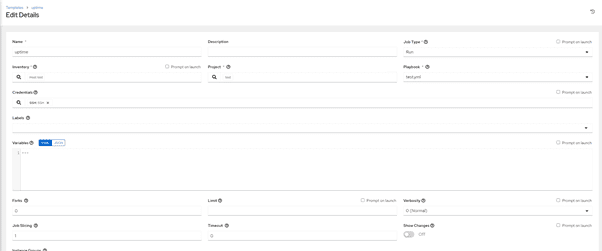
The next step is to create a template. However, your template needs to have an existing playbook in the AWX server. Let’s create a sample uptime playbook to test.
cd /var/lib/awx/projects/ (The default awx directory)
mkdir playbook
Therefore, mkdir playbook for your current project and create your playbook in the directory
vim uptime.yaml and paste the below content (In my case I used test.yaml)
---
-hosts: all
gather_facts: true
become: yes
become_user: root
become_method: sudo
tasks:
- name: uptime
command: uptime
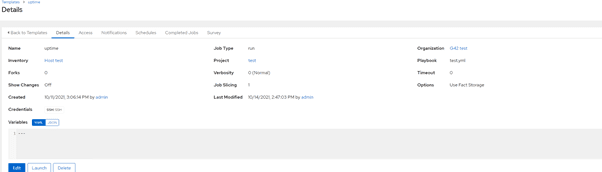
register: uptimeNevertheless, Once done, we can go back to the dashboard and create our template
Save and launch
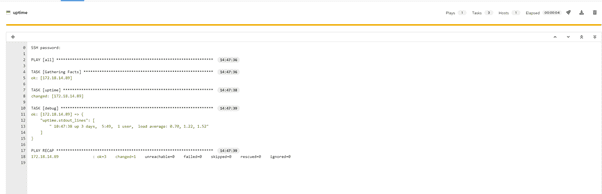
Similarly, Now we can see if the task was successful
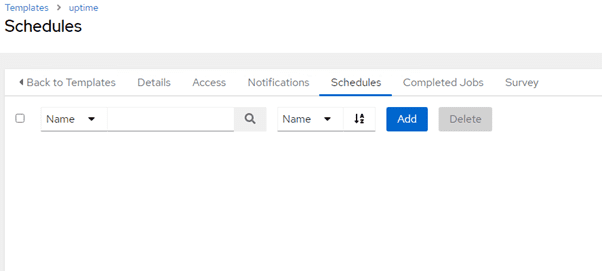
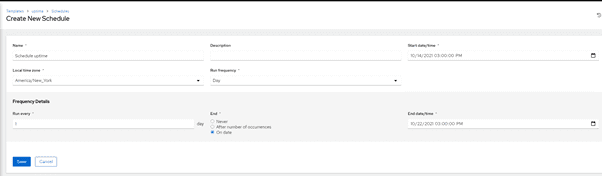
Consequently, We can also schedule a playbook to be run daily, weekly, or monthly. Nonetheless, Go to template, click on the preferred template navigate to schedule, and add a schedule
With the capabilities of AWX, deploying schedules and running playbooks has never been more seamless. Moreover, Utilizing AWX, you can now conveniently monitor the progress of your playbook jobs, whether they were executed successfully or encountered failures.

Furthermore, Utilizing AWX to deploy, schedule, and run playbooks enables efficient management and execution of tasks across lab and production environments.
However, AWX is a powerful tool that enhances the usability of Ansible, offering accessible control, graphical management, and seamless inventory synchronization. Additionally, AWX ensures comprehensive job logging, providing a comprehensive record of all executed tasks.
Now, you can create your playbooks and run them from AWX.I hope you found this article useful on “Using Awx to deploy schedule and run playbooks”. Please feel free to leave a comment below.


thanks for this article. can you please look over the published playbook above? when I try to use it I get no end of syntax error warnings in awx and I can’t follow the example. it starts with four dashes and yaml is supposed to start with three then it complains about other yaml syntax issues. thanks for fixing those.