
Microsoft SQL Server Management Studio (SSMS) is an integrated environment where you can manage your SQL infrastructure. SSMS can be used to access, configure, manage, administer, and develop all components of SQL Server and Azure SQL Database. Microsoft SQL server management studio is a free software for public use and can be connected to any of your SQL server instances. MsSQL is a collection of tables that stores structured data in the form that contains a collection of rows that is referred to as records and columns that is referred to as attributes.
Here are some similar guides you can read: How to install Microsoft SQL Server Management Studio, How to uninstall Microsoft SQL Server Management Studio, How to download and install Microsoft SQL Server 2019 Express Edition and Microsoft Management Studio on Windows Server, How to uninstall Microsoft SQL Server on Windows 10 and Windows Server
Step-by-Step Guide: Exporting and Importing Azure Database to Local Computer
In this guide I will show you how to quickly export and import your database from Azure account to your local computer.
- Login to your Azure Portal: https://portal.azure.com
- Under Azure Services click SQL databases and select the Database you want to access.

- Click Set server firewall and add your system IP to the firewall rule and Save.

- Download SSMS and install on your local system.
- Copy the Server name and login name from the Azure portal and enter the valid password and connect to your Azure database.

Exporting Database
- After you have connected right-click database. Click Tasks > Export Data-tier Application.

- Select Save to local disk and browse to the location you want to export the data.
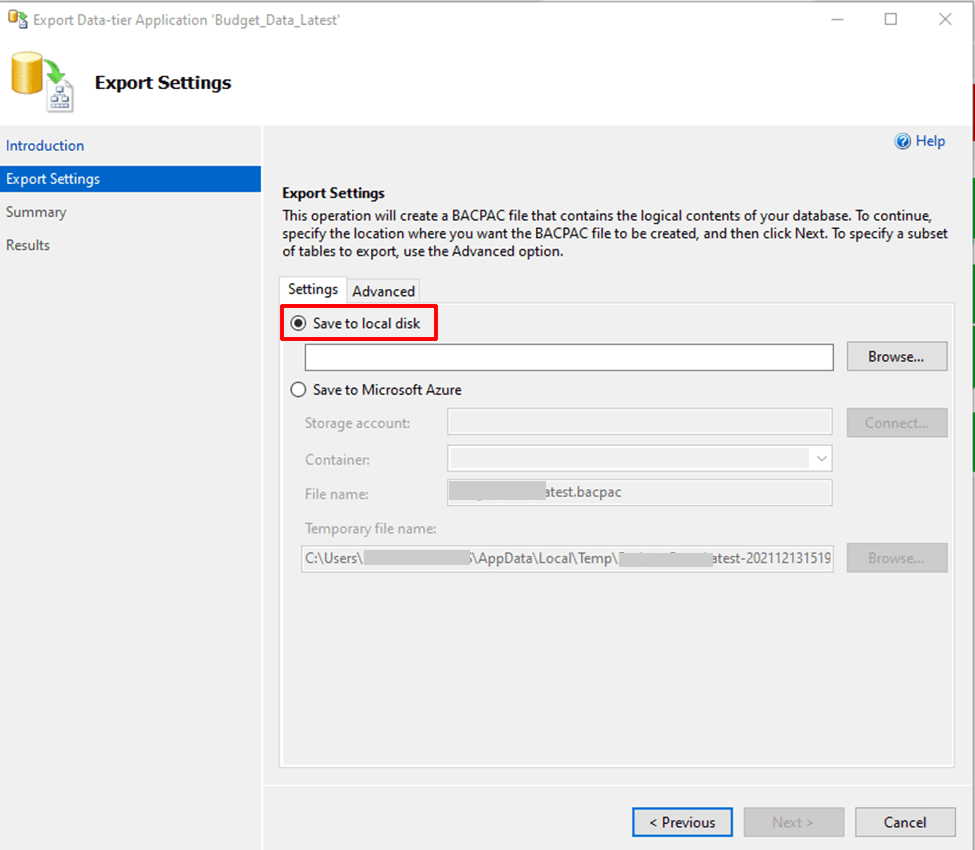
- Click on Next and you start exporting

Importing Database
- After you have connected right-click database and select Import Data-tier Application.

- Select Import from local disk and browse to the location you have the database file you want to import.

- Make sure you give the database a name, enter the edition, maximum database size and service objective.

- Importing of Database starts.

I hope you found this blog post on How to use Microsoft SQL Server Management Studio to Export and Import your MsSQL database from Azure to local computer very interesting and helpful. In case you have any questions do not hesitate to ask in the comment section.


