How to install MariaDB on Ubuntu

MariaDB is an open-source, multi-threaded relational database management system, backward compatible replacement for MySQL. The MariaDB Foundation including some of the original developers of the MySQL developed and maintained the system. Installing MariaDB on Ubuntu is a simple process that lets you set you a massive database server for your applications.
                             Benefits of Using MariaDB

Installation that is simple to use
Your database administrators won't be complaining about your company's operations being affected by prolonged deployment. You could set up MariaDB ColumnStore as a stand-alone server or use it in combination with a Hybrid Transactional/Analytical Processing platform. The underlying structure has a lot of flexibility as well. Choose whether to deploy to the cloud or on-premises, and whether to deploy it on a server or a container.

Large - scale data Operations Support
Because the amount of data that businesses collect and process is tremendous, it's necessary to have a database framework that can help to reap benefits from it. ColumnStore can manage large petabytes of data, which truly supports corporate world's ever-growing collection of data sources. Standard SQ can be used.

MariaDB has Columnar storage
Columnar storage presents numerous benefits to analytics activities, including significantly faster rate when dealing with MariaDB Platform's huge data and magnification compression. By moving workloads to the storage type that makes the most sense for the way you're using it, you can improve the effectiveness of your database operations. Traditional database operations continue to use a row-based method, while analytical data is moved to columnar storage.
In this tutorial I will walk you through on how to install MariaDB on your Ubuntu 18.04 or even 20.0 as the commands work fine on either of them from the Ubuntu repositories. Explore other guides in this link: How to Install LAMP Stack on Ubuntu 18.04/ and What are the differences between dnf and apt package managers?/ and How to Configure Advanced PAM in Linux/ also How to create and deliver a report on System Utilization on a Linux based OS
Requirements for Installing MariaDB on Ubuntu
Before proceeding, ensure that you log in as a user with sudo privileges. Follow the steps below to install MariaDB on your Ubuntu system.
Method 1:
Step 1: Update packages index.
sudo apt updateStep 2: use the command below to install MariaDB on Ubuntu
sudo apt install mariadb-server
The error showed up because I had MySQL installed in the system. To proceed, we will need to remove with the command below:
$sudo apt-get remove --purge mysql*
So, if you have not had any similar databases like mysql,  just follow the steps because you won't have any installation errors
Step 3: verify the status of mariadb with the command:
$sudo systemctl start mariadb.service
$sudo systemctl status mariadb.service
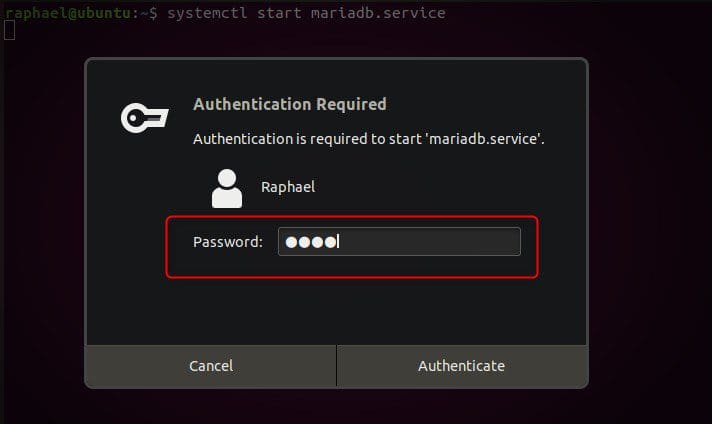
Just enter your user password and you are good to go
Method 2: Installing MariaDB from MariaDB Repositories
You can find the latest versions of MariaDB in the official MariaDB repositories. Before you begin the installation, you should go to the official MariaDB repository page and download the most recent version of MariaDB.
Step 1: Install MariaDB on Ubuntu to add the MariaDB GPG key to the system, run the following command:
sudo apt-key adv --recv-keys --keyserver hkp://keyserver.ubuntu.com:80 0xF1656F24C74CD1D8Step 2 : Once the key has been imported, run the following command to add the MariaDB repository:
sudo add-apt-repository 'deb [arch=amd64, arm64,ppc64el] http://mirrors.accretive-networks.net/mariadb/repo/10.3/ubuntu bionic main'After adding the repository, proceed with the update.
Step 3: You should first update the package list before installing any package from the MariaDB repository. Besides. this necessitates the execution of the following command:
sudo apt updateStep 4: Now that you’ve added the repository, run the following command to install the MariaDB package on Ubuntu:
sudo apt install mariadb-server
If you see this you this without error messages, then everything is alright.
Step 5: The MariaDB service should be started automatically. Run the following command to check its status:
systemctl status mariadb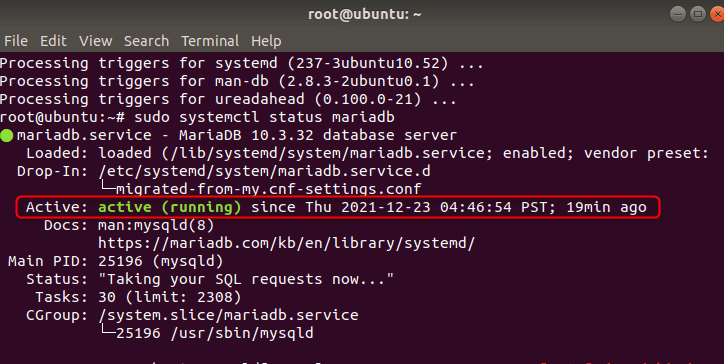
Configuring MariaDB on Ubuntu
Now that you’ve installed MariaDB on Ubuntu, next is to configure it. The line of code shown below modifies a few of the less secure default settings. Furthermore, it will be used to prevent remote root logins and to remove unutilized database users. Run the command and answer all the questions the prompt will present to you. They are either yes or no
$sudo mysql_secure_installation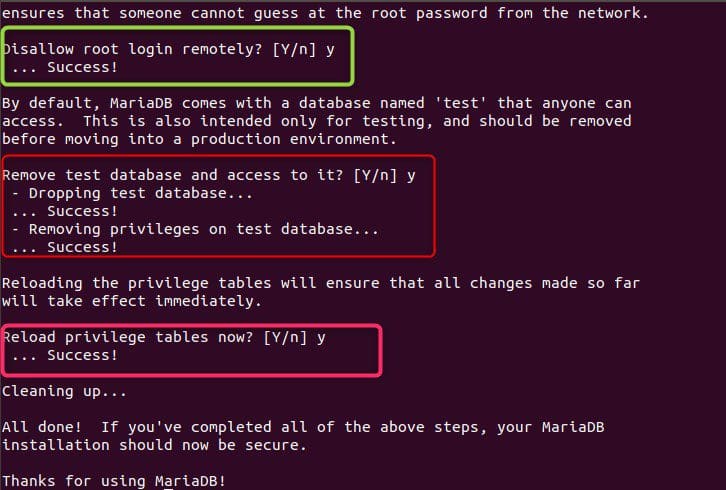
Summary
MariaDB is an open-source database maintained by MariaDB foundation. Furthermore, you can install the application on ubuntu18.04 by following a series of simple steps described in the guide above.