In this article, I’ll be showing you how to install a Windows server container host. Containers are a game-changing technology, especially for teams that have developers who need dynamic environments to work from. Please see how to configure SSL between WSUS upstream and downstream servers, how to setup and configure Windows server update services (WSUS) and how to perform redirection from HTTP to HTTPS.
A developer can launch a container that supports the needs of her application within minutes, and many of the container images are purpose build with the various programming frameworks called out in the title of the container image.
Kindly refer to the following related contents: Event ID 5059: Application pool has been disabled or Changing identity user for IIS Application Pool, and how to install Pleasant Password Server.
Install a windows server container host
Installing Windows containers is simple. After launching your window server, and from the Server Manager, choose Manage → Add Roles and Features.

On the Before You Begin screen, click Next.

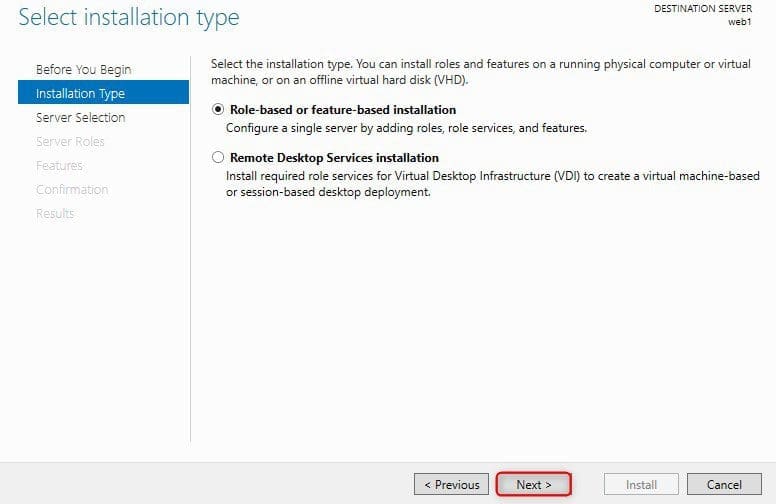
On the Select Installation Type screen, click Next.
In the Select Destination Server screen, click Next.

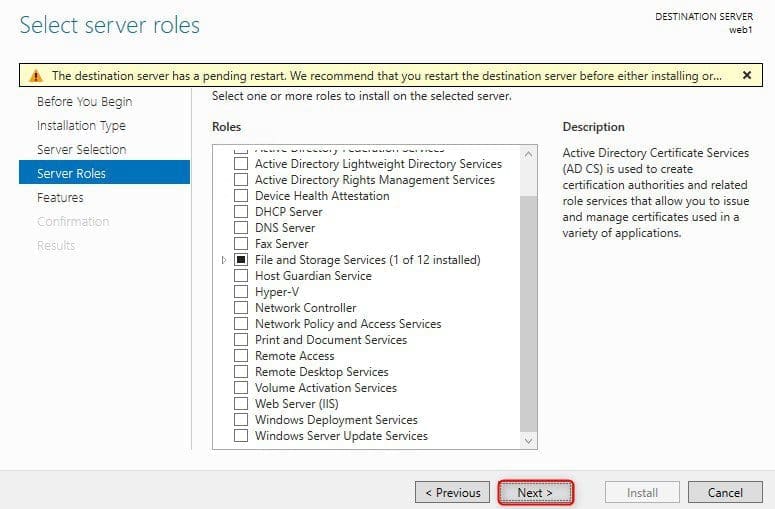
In the Select Server Roles screen, click Next.
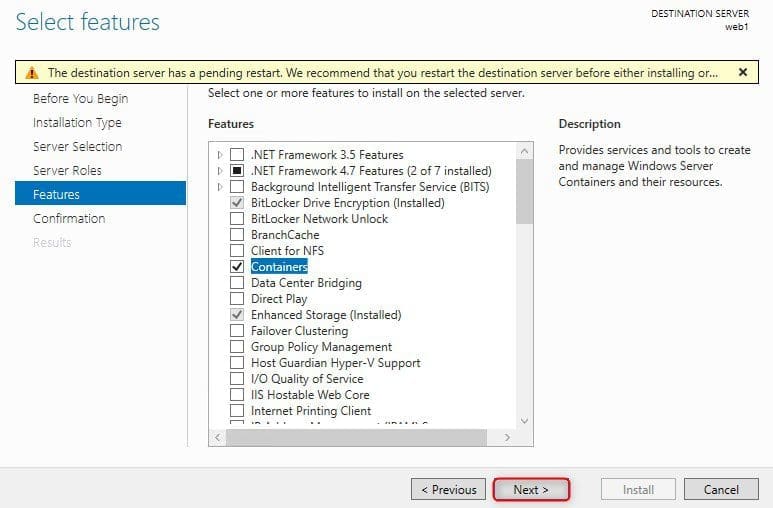
From this window, choose Features screen and click on Containers (shown in the following figure below), and then click Next.
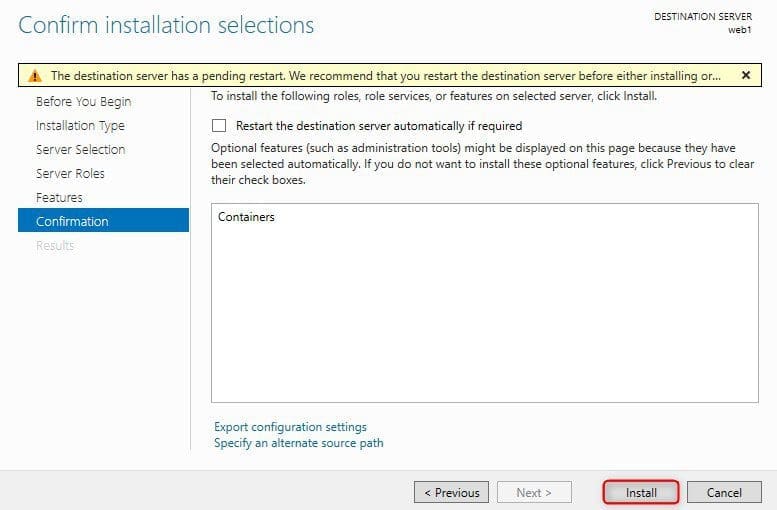
From this page “Confirm Installation Selections” screen, click on Install.
Click Close and restart the server.

To use Windows Containers, you only need to install the Containers feature and then install Docker.
How to install Docker
At this point, you’ve at least got the containers to feature installed. Now you need to install the Docker Engine. This is the piece that really ties all the other pieces together.
You’ll need to open PowerShell to run these commands, as well as the commands that follow under “Test Your Container Installation.” To open PowerShell, right-click on Start and select Windows PowerShell (Admin).
After you’ve opened PowerShell, your first step is to install the Microsoft Package Provider for Docker. This is done with the following command:
Install-Module -Name DockerMsftProvider -Repository PSGallery -Force
Now you can install the latest version of Docker with the following command:
Install-Package -Name docker -ProviderName DockerMsftProvider
After Docker is installed, you need one more restart. You can do this through the graphical user interface (GUI), or you can just type the following into PowerShell:
Restart-Computer -Force
Please see Pull and Deploy Nginx Container Images from Docker Hub, How to stop Docker from automatically starting on Mac, and “Failed to remove network for build: Error during connect in the default daemon configuration on Windows, the Docker client must be run with elevated privileges“.
Test your container installation
After your server is configured and Docker is installed, you’ll want to test to ensure that your container installation is working properly.
There is a simple way to test that your Windows container installation is installed properly: Download and run a container image. One of my favourites is a sample image because it prints out a “Hello world”–style message and then exits.
To run this test, you use the docker run command. Because the container image is not downloaded yet, it will download the container image first, and then run it.
If you want to stage the image so you can play with it later, you can use the docker pull command instead of docker run, and it will only download the container image. Here is the command to see the downloaded image container:
docker images
I hope you found this blog post helpful on how to install a Windows Server Container Host. Please let me know in the comment session if you have any questions.