
In this article, we are going to learn how to deploy a React Application to AWS S3. Simple Storage Service, aka S3, is a block storage service offered by AWS. It is the most commonly used, go-to storage service for AWS users. It provides valuable features like high availability, security, easy connection to AWS services, and hosting static websites. In this tutorial, we will create a sample react app and deploy it as a static website to AWS S3.
There is almost negligible cost to host your websites using S3 website hosting so this can be a great way for you to host your websites for personal work.
Kindly refer to our related AWS guides: Creating IAM Users, Adding MFA and Policies on AWS, how to manage cost with AWS Budgets, how to deploy an Angular App to AWS S3, and how to deploy Dynamic Website to AWS EC2.
Take a look at what we shall be covering in this article:
- We shall create a simple React  App using the "create react app" command
- We shall configure an S3 bucket for static web hosting
- We will be deploying to AWS Cloud
For this tutorial, you should have NodeJS installed on your computer and access to an AWS Account. So, let’s get started.
Creating a ReactJS Application
Go to the CLI in your computer, access the directory where you want to create the react app, and run the following command with any app name of your choice. I have chosen to create a “techdirectarchive-app”
npx create-react-app techdirectarchive-app
This will create a new “techdirectarchive-app” folder in our current directory. Let us move into this directory by running the following command.
cd techdirectarchive-appBefore we start the default React App. We need to install all the application dependencies by running the following command.
npm install Let us now start our React App by running the following command
npm startThis should open a browser tab for you and you should see the default react app running on a localhost port. You can stop the application by pressing Ctrl+C in the terminal.
With this, we have now successfully created our first react app. Let us now access the AWS Console and configure our S3 bucket for website hosting.
Setting up your AWS S3 bucket for website hosting.
– Sign in to the AWS Management Console.
– Navigate to AWS S3 dashboard.
This is the S3 dashboard where you can see the S3 buckets created in your account. Click on Create bucket to create your S3 bucket for website hosting.

The first option when creating the S3 bucket is to give it a name. Note here that your bucket name should be unique across All the S3 buckets in the world, so, if you try to keep common names, you might get some conflicts. See S3 bucket naming rules. Choose a unique name for your bucket. The next option is the AWS region. Choose a region closest to your location.

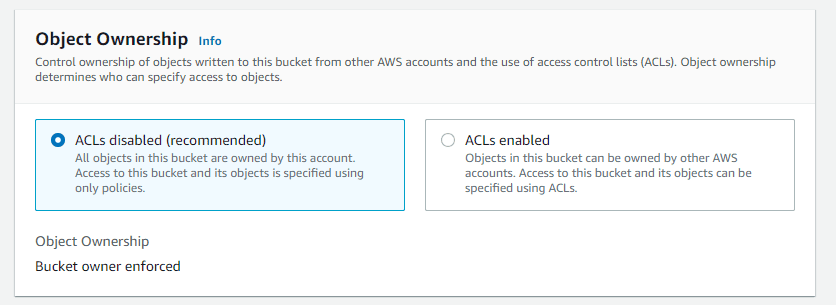
Leave the Object Ownership Option as default.
For the Bucket Public Access option, uncheck the default Block all public access and acknowledge the box below as shown in the image. We want our S3 website to be accessible to anyone in the world. SO, it is important that we do not restrict public access.

You can leave all the other parameters as default and click on the Create Bucket button at the end of the page.
You can now see your S3 bucket in the list. Click on the bucket name.

Go to the properties tab.

Now scroll down to find the Static website hosting property. Click edit.

Enable the Static website hosting
Choose to enable Static website hosting. Add index.html as your Index and Error document. Click on the Save Changes button below.

Scroll to the top of the page and choose the Permissions tab. We need to make changes to the S3 bucket policy. Click the Edit button as shown below.

Copy and enter the following bucket policy and replace the REPLACE_ME value with the bucket ARN of your bucket.
{
    "Version": "2012-10-17",
    "Statement": [
        {
            "Sid": "PublicReadGetObject",
            "Effect": "Allow",
            "Principal": "*",
            "Action": "s3:GetObject",
            "Resource": "REPLACE_ME/*"
        }
    ]
}
Click on save changes. We have now successfully configured a new S3 bucket for website hosting. Let us now deploy the React application to S3.
Deploy the React App to S3
Move to the project directory using your command line and run the following command.
npm run buildNote that this command created a build directory in your project.

Now go to your bucket in the S3 console and Click on the Upload button.

Use the Add files and Add folder button to upload all the files and the static folder in the build folder as shown below. Click the Upload button at the bottom of the page.

After a successful upload, close the upload page. Back in your S3 bucket Go to the properties tab find the URL of your S3 website in the static website hosting option and click on it.

You should see your create-react-app website on the screen.

You have now successfully created and deployed a React app to AWS S3.
I hope you found this blog post helpful on how to deploy a React Application to AWS S3. If you have any questions, please let me know in the comment session.


Thanks. This was helpful!
You are welcome