Skip to content

TechDirectArchive

Hands-on IT, Cloud, Security & DevOps Insights

  • Home
  • About
  • Advertise With US
  • Reviews
  • Contact
  • Toggle search form
Home » Linux » How to Install Apache Subversion on a Linux System

How to Install Apache Subversion on a Linux System

Posted on 25/08/202221/03/2024 Raphael Gab-Momoh By Raphael Gab-Momoh No Comments on How to Install Apache Subversion on a Linux System
SUBVERSION-FEATURE

This article will teach you how to install Apache Subversion on a Linux machine. Apache Subversion(SVN) is a free and open-source version control system that saves earlier versions of your files and folders and modifications to them. This will allow you to retrieve older versions of files if necessary. Please see How to Install Apache HTTP Server on Ubuntu 20.04 LTS, How to Install LAMP Stack on Ubuntu 18.04, and How to install Apache Tomcat on Ubuntu.

You may also track the repository and see who made what improvements. Subversion and Git are quite similar, with the main distinction being that Git is a distributed version control system, whereas SVN is a centralized version control system.

Subversion provides a single central repository, which makes it easier to maintain a top-down control strategy.

Other similar guides are here: How to install Rust in a Linux System and How to fix unable to access microphone on Zoom and How to install Gradle on Ubuntu and How to modify Windows 11 Taskbar via Intune and GPO an upgrade from Ubuntu 20.04 LTS to 22.04 LTS.

Requirements for Installing Apache Subversion

A Ubuntu operating system, and a user account with sudo privileges

Step 1: Update your packages

Run the following command to update your base system with the latest available packages.

apt update 
How to Install Apache Subversion on a Linux System-apt-
apt update

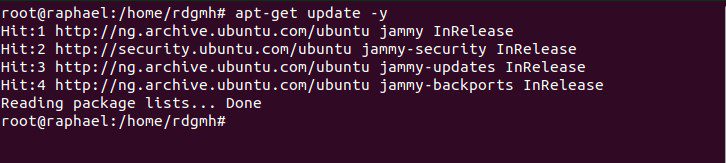
Step 2: Install Apache Subversion

Apache webserver must be installed on your server before proceeding. If it is not already installed, use the following command to do so:

apt-get install apache2 apache2-utils -y
svn
svn utils

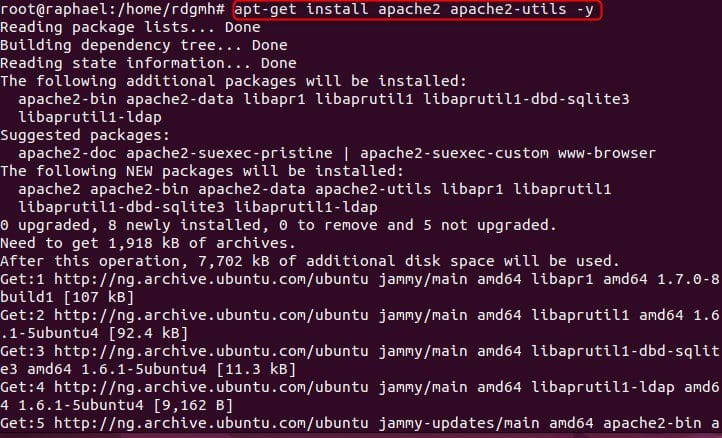
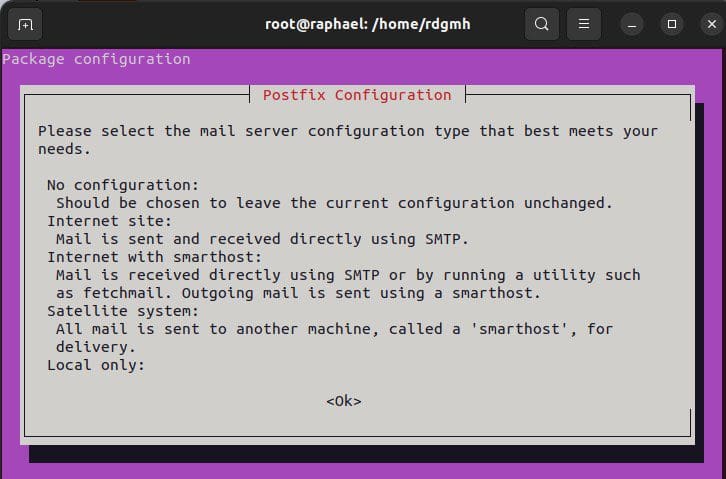
Once the installation is complete, run the following command to install Subversion:

sudo apt-get install subversion libapache2-mod-svn subversion-tools libsvn-de
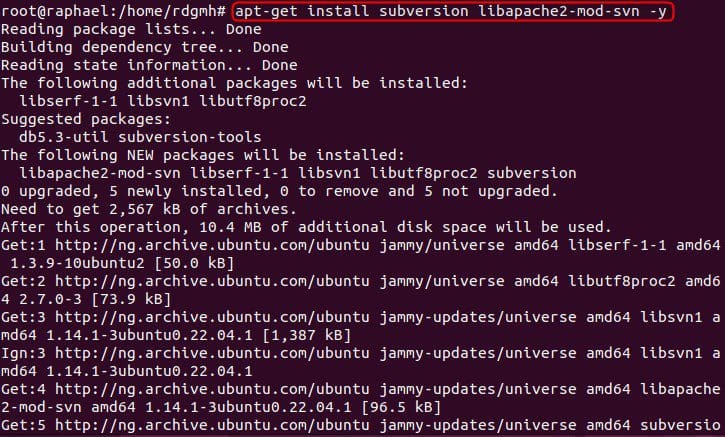
How to Install Apache Subversion on a Linux System-svn-
svn
postfix
internet-sites

configuration

You must activate some SVN modules after installing Apache Subversion. You can use the following command to enable them:

a2enmod dav
a2enmod dav_svn
a2enmod authz_svn

The modules have been enabled from step 1 as we can see from the image below. But try to run them just like I did just to ensure

modukes
modules

After you’ve enabled all of the modules, restart the Apache service to apply the changes:

systemctl restart apache2

While Apache Subversion has now been installed and we can verify it using systemctl status apache2. You can now start working on your first repository.

How to Install Apache Subversion on a Linux System-status

You can confirm this further by typing your local IP Address on the browser you can get your IP by typing IP add show in terminal

apache2
apache2

Step 3: Create a Subversion Repository

To begin with, create a directory for Subversion using this command:

sudo mkdir /opt/svn

Next, create a repository named techdirecarchive inside the /svn directory you can choose to call your repo any name :

sudo svnadmin create /opt/svn/techdirectarchive

So, once you’ve created the repository, change the ownership of the repository to www-data:

sudo chown -R www-data:www-data /opt/svn/techdirectarchive
 sudo chmod -R 775 /opt/svn/techdirectarchive
How to Install Apache Subversion on a Linux System-chown
change ownership & permission

Afterwards, use the following command to create a new Subversion user:

htpasswd -cm /etc/svn-user raphael

Then, enter the password you want to use, as indicated below:

New password:
Re-type new password:
Adding password for user raphael
How to Install Apache Subversion on a Linux System-usr
user & password

Also, see How to update WampServer to Latest Version, and how to Configure Virtual Host for Apache HTTP Web Server to Host Several Domains on Ubuntu 20.04 LTS.

Step 4: Configure Apache Subversion

After installing Apache Subversion, the next step is to configure it.

To use Apache Subversion with a web browser, you must first set up an Apache virtual host file. You can create it with the following command:

 sudo vim /etc/apache2/mods-enabled/dav_svn.conf
How to Install Apache Subversion on a Linux System-configfile
configuration file

Uncomment the following lines:

<location/svn>
DAV svn

SVNParentPath /var/www/svn

AuthType Basic

AuthName “Subversion Repository”

AuthUserFile /etc/apache2/dav_svn.passwd

Require valid-user
</location>

When you’re finished, save and close the file. The Apache service should then be restarted to apply the changes:

How to Install Apache Subversion on a Linux System-configedit
uncomment
systemctl restart apache2
restart
restart

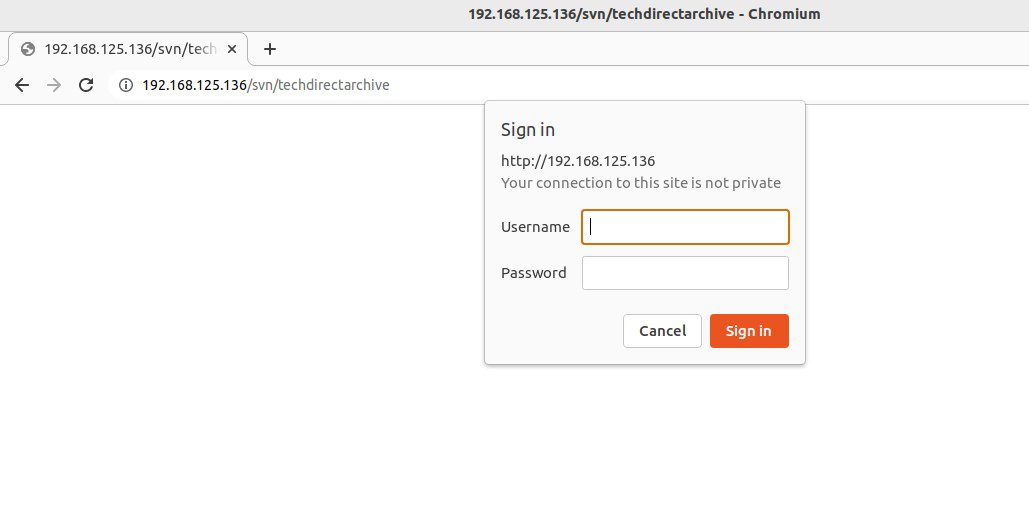
Step 5 : Access Apache Subversion

Open a web browser and navigate to the URL. Please visit the following page. If you followed along, congratulations you have successfully installed Apache subversion.

apache-home
svn admin page

We can install and figure Apache subversion by following a series of steps as shown above. Please feel free to leave a comment below.

Rate this post

Thank you for reading this post. Kindly share it with others.

  • Share on X (Opens in new window) X
  • Share on Reddit (Opens in new window) Reddit
  • Share on LinkedIn (Opens in new window) LinkedIn
  • Share on Facebook (Opens in new window) Facebook
  • Share on Pinterest (Opens in new window) Pinterest
  • Share on Tumblr (Opens in new window) Tumblr
  • Share on Telegram (Opens in new window) Telegram
  • Share on WhatsApp (Opens in new window) WhatsApp
  • Share on Mastodon (Opens in new window) Mastodon
  • Share on Bluesky (Opens in new window) Bluesky
  • Share on Threads (Opens in new window) Threads
  • Share on Nextdoor (Opens in new window) Nextdoor
Linux, Version Control System Tags:Version Control

Post navigation

Previous Post: How To Install Nextcloud on a Linux system
Next Post: How to Install Unison on Linux System

Related Posts

  • bitbucketexportimport
    Import Repo to Bitbucket Cloud: Seamless Migration to GitLab Version Control System
  • FimageUbuntuUpgrade
    How to Upgrade From Ubuntu 20.04 LTS to 22.04 LTS Linux
  • uninstall gtla runner
    How to uninstall GitLab Runner from your Windows device Version Control System
  • featureunions
    How to Install Unison on Linux System Linux
  • Slide4
    How to install Let’s Encrypt on Apache Web Server Linux
  • download
    Remove Packages from a Linux: Quick Guide Linux

More Related Articles

bitbucketexportimport Import Repo to Bitbucket Cloud: Seamless Migration to GitLab Version Control System
FimageUbuntuUpgrade How to Upgrade From Ubuntu 20.04 LTS to 22.04 LTS Linux
uninstall gtla runner How to uninstall GitLab Runner from your Windows device Version Control System
featureunions How to Install Unison on Linux System Linux
Slide4 How to install Let’s Encrypt on Apache Web Server Linux
download Remove Packages from a Linux: Quick Guide Linux

Leave a Reply Cancel reply

You must be logged in to post a comment.

Microsoft MVP

VEEAMLEGEND

vexpert-badge-stars-5

Virtual Background

GoogleNews

Categories

veeaam100

sysadmin top30a

  • gfhj
    Debugging: How to debug a PowerShell script Windows
  • appp
    How to automatically reopen Windows Apps and Folders upon Startup Windows
  • image 43
    Configure GPS location “Google Map” on your Android Studio Emulator Windows
  • redisf
    How to install Redis on Linux System Linux
  • Distributed File System DFS
    How to find Dfs Referral Path and clear Dfs referral Cache Storage
  • SUID GUID Sticky Bit 1
    Set Special File Permissions with SUID or GUID and Sticky Bit Linux
  • sonarcloud
    How to Integrate SonarCloud with Azure DevOps Pipeline AWS/Azure/OpenShift
  • how to install software packages from source files
    How to install a software package from source file in Linux Linux

Subscribe to Blog via Email

Enter your email address to subscribe to this blog and receive notifications of new posts by email.

Join 1,824 other subscribers
  • RSS - Posts
  • RSS - Comments
  • About
  • Authors
  • Write for us
  • Advertise with us
  • General Terms and Conditions
  • Privacy policy
  • Feedly
  • Telegram
  • Youtube
  • Facebook
  • Instagram
  • LinkedIn
  • Tumblr
  • Pinterest
  • Twitter
  • mastodon

Tags

Active Directory AWS Azure Bitlocker Microsoft Windows PowerShell WDS Windows 10 Windows 11 Windows Server 2016

Copyright © 2025 TechDirectArchive


Loading Comments...
 

You must be logged in to post a comment.