Recently, I created a guide on how to migrate Windows Servers from Hyper V to Proxmox Correctly. In this article, the VM was previously running on Hyper-V. Therefore, I will show you how to create a backup job for Proxmox VMs using VBR (Veeam Backup and Replication). This is because, editing the job does not work in this case at the time of writing this piece. Please, see how to delete a VM and Storage in Proxmox, and how to resolve the Update Package Database failure on Proxmox VE.
Veeam Backup & Replication creates VM backups by running backup jobs that define what data to back up, where to store it, and when to perform the backup.
Also, see how to Create a bootable USB on Mac: Proxmox VE Setup, how to Fix missing path and delete a Veeam Backup Repository, and How to Resize or Expand Proxmox Hard Drive.
Create a backup job for Proxmox VM
The following article on backup and restore Proxmox VE virtual machines with Veeam discusses how to integrate Proxmox to Veeam Backup and Replication.
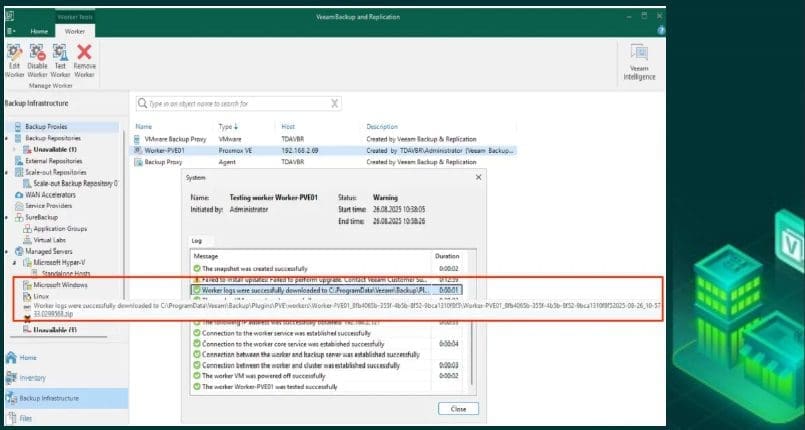
To reduce backup time and optimize performance. Create separate jobs for VMs in different locations since Veeam Backup & Replication selects and launches workers based on the source data location.
To perform a backup, in the Home view, select Jobs in the inventory pane. Then click Backup Job > Virtual Machine > Proxmox VE on the ribbon. Alternatively, you could right-click the working area and choose Backup > Virtual Machine > Proxmox VE.

Enter the backup job name and description and click next.

Please, see Hyper V Disk allocation: Why Veeam reports full size after Shrinking, and how to restore VM to Original location using Veeam Entire VM restore.
Add VM(s) to the Backup Job
You configure a job to define where, when, and how Veeam protects VM data while considering factors like exclusions, job chaining, and the most suitable backup method for the repository.
For those using Exclusions, remember that the virtual infrastructure is dynamic and changes rapidly. It is quite possible that a VM gets moved to a folder. Or resource pool that is excluded which makes it unprotected.
In this case, monitoring with Veeam ONE is highly recommended in tracking VMs that are under protection. Also, remember that exclusions have higher priority over inclusions in Veeam Backup & Replication. Please, see Real-Time Monitoring: How to setup VeeamONE.
In the Virtual Machine on the New Backup Job wizard, click on Add.

Note: According to the bp veeam guide. It is recommended to avoid using one VM per job unless is strictly necessary. By using multiple VM per job we will reduce management complexity. This is because, it is much easier to manage a small amount of jobs than trying to manage hundreds of jobs.
On the other hand having too many VMs in a job can increase complexity of certain operational activities. Sticking to up to 300 VMs per job provides a good balance for manageability of backups.
Select the VMs to backup as shown below. In a production environment, please pay attention to the recommendation above and click OK.

As you can see, the VM has been selected to backup.

Please, see Video Remoting was disconnected on Hyper V, and how to Fix Authentication failed: Invalid credential after installing VSA. Learn OOTBI Security Best Practices: Enable Honeypot on Object First.
Backup Repository
At the Storage step of the wizard, select the desired backup repository from the Backup repository drop-down list. Ensure the repository is already added to the backup infrastructure for it to appear in the list.
See how to achieve 3-2-1 rule with SOBR on Synology or OOTBI and Wasabi, and I will select this. For other backup repository ideas are: how to Configure Object First OOTBI Appliance, and how to deploy and integrate VHR with VBR.

In the Retention policy section, define how long Veeam Backup & Replication keeps restore points in a backup chain. The system automatically removes restore points older than the specified limit. This ensures each backup chain retains at least three restore points.
The Grandfather-Father-Son (GFS) policy reuses full backups for long-term retention instead of creating new ones each time, simplifying scheduling and improving performance. Veeam Backup & Replication marks full backups with weekly (W), monthly (M), or yearly (Y) flags to manage retention. Once flagged, a full backup is kept until its retention period expires, after which the flag is removed and the backup is deleted according to short-term retention settings.
Therefore, if you would need to configure GFS, ensure that the “keep certain full backups longer for archival purposes”.

To proceed with the backup job creation for Proxmox VM(s), click on Next.
Also, to help you implement a comprehensive backup strategy, Veeam Backup & Replication allows you to enable long-term retention policy for backups and to configure advanced job settings (such as notification settings, health check, active and synthetic full backups).

Please, see Best Storage for Veeam: Comparing OOTBI by ObjectFirst to VHR, and how to Fix Repository time shift detected: Immutability flag cannot be set.
Backup Schedule
At the Schedule step, set Veeam Backup & Replication to run the backup job automatically using a daily, monthly, or periodic schedule. To retry failed backups, select Retry failed items processing and specify the number of attempts and interval; the system will only reprocess VMs that failed previously.
Click on “Apply’ to proceed as shown below.

As you can see, the backup job is being created.

On the summary window, you can decide to run the job when I click Finish. Or start the job after creating the backup job.

Please, see Deep Dive into Protecting AWS EC2, RDS Instances and VPC, how to Install Veeam ONE and Add VBR: Fix failed to connect to VBR
As you can see, the backup has started and a full backup will be created.

I hope you found this article very useful on Create a backup job for Proxmox VM using VBR (Veeam Backup and Replication). Please, feel free to leave a comment below.