cPanel is a Linux-based GUI that is used to control, manage, organize and improve WordPress, Joomla, and any other type of website. With cPanel you can publish your website, manage your domains, and hosting and organizing the entire data on your website and many other features are available. cPanel is one of the most popular if not the most popular control panel in the world. In this article, we will discuss how to Install and Setup WordPress into a cPanel and Configure Your First WordPress Theme. Please see How to Deploy GitHub Repositories to cPanel using GitHub Actions.
A WordPress theme is one of the most popular Content Management Systems (CMS) that is used by millions of bloggers and website developers in the world, it is a website template that comprises a group of files like the graphics, stylesheets, colors, and many others. A WordPress theme controls the general outlook, layout, and even hyperlinks on your website.
If you like deployment of your website to either Azure or AWS kindly refer to these related guides: How to deploy your Angular App to Azure from Visual Studio Code, how to deploy an Angular App to AWS S3, how to Deploy Dynamic Website to AWS EC2, How to host Static Website and Versioning on AWS S3.
Prerequisite to Installing WordPress into a cPanel
You need to have the below Prerequisites before you can install and setup:
- A domain name
- Web hosting account that supports cPanel, PHP and MySQL. e.g qservers web hosting
- A cPanel username and password.
Also, see WordPress site on Azure: How to create a website hosted in Azure, How to Backup and Restore your WordPress Files and Database, and how to fix “There has been a critical error on this website please check your site admin email inbox for instructions“.
Setup WordPress on cPanel
Downloading of WordPress CMS. Log in to cPanel and uploading WordPress files. Creating a Database, DB User and adding the User to Database, and Installing WordPress
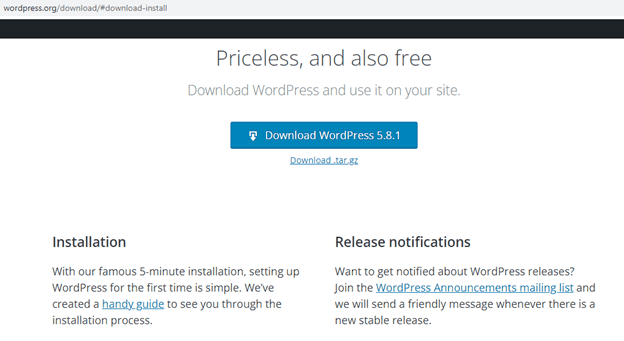
Follow the below steps as we begin the journey of installing and setting up WordPress inside cPanel. Go to the WordPress website to download WordPress.
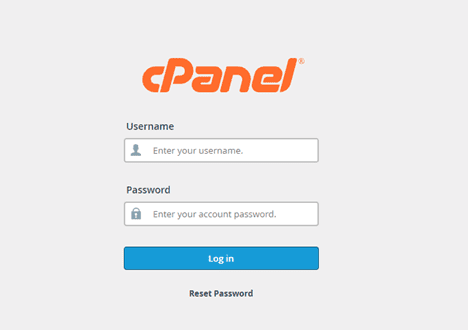
2. Log in to your cPanel Account
After getting all the prerequisites you can now login into your cPanel account by typing URL/cpanel.
In this guide we are assuming xyzwebsite.com is our domain name with active hosting on it. Enter the username and password that was given to you by your hosting provider. The Cpanel login page looks like the below:
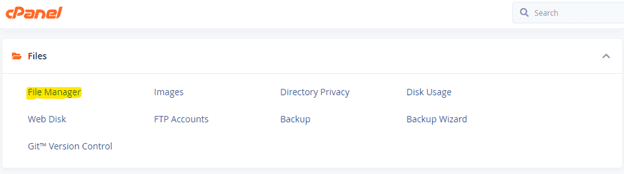
3. Upload your WordPress Files
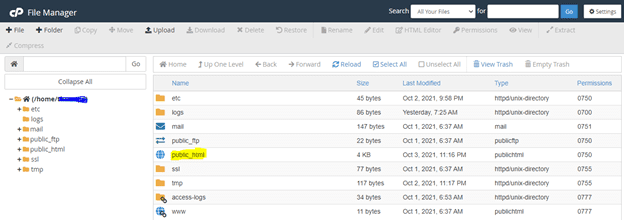
After downloading WordPress and login into cPanel the next step is to upload the downloaded WordPress files. Go to the Files section and click on File Manager
On the next page click on public_html. After it opens then click on the upload button at the top.
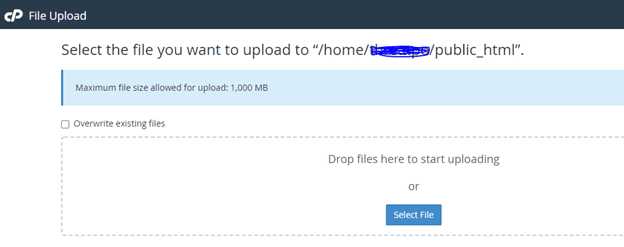
locate the WordPress zip file you downloaded to your system and upload the zip file.
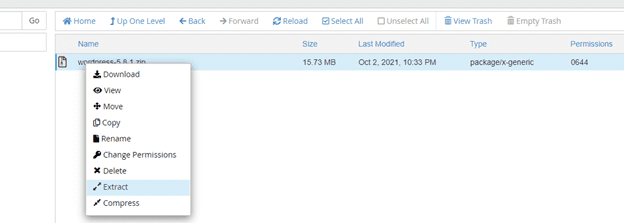
You need to extract the zip file into public_html
Install and Setup WordPress into a cPanel
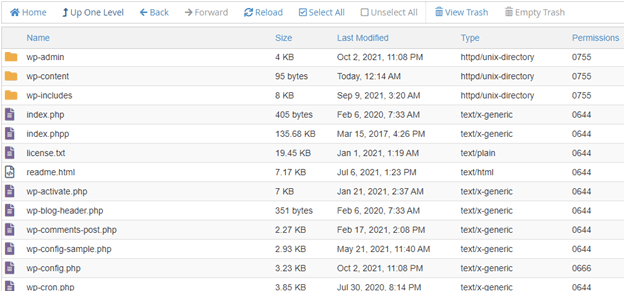
After extracting it you need to cut all the files out from the parent folder and paste them directly into the public_html folder. You can now delete the WordPress zip file. All the files will look like the below image.
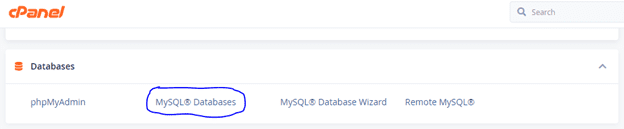
4. Creating a Database, DB User and adding the User to Database
Now it is time to create a database and database user. Scroll down to the Databases section and click on MySQL Database.
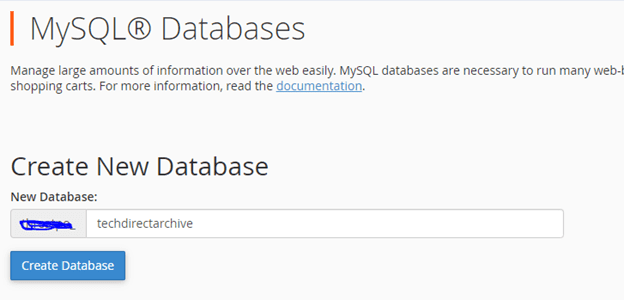
Enter the name you want to use for the database and click on Create Database
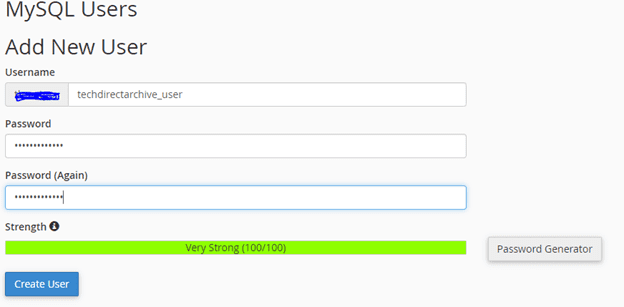
Then you need to create the DB User for the Database created.
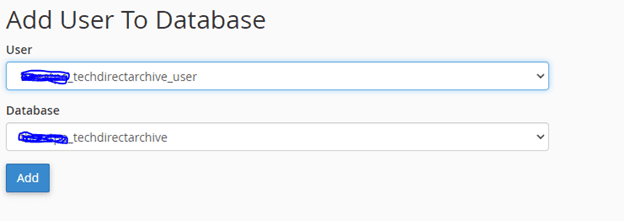
After creating the DB User then you need to add the user created to the Database by selecting the user and the database and click the Add button. On the next page, you can give it ALL PRIVILEGES and click on the Make Changes button.
5. Installing WordPress
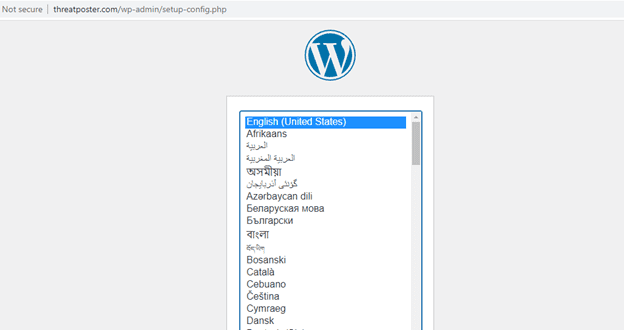
After the creation of the Database and the DB User the next step is to install the WordPress. write the domain name into the browser and hit the enter key, the below image will display. Make sure you select English as the language and click on Continue.
Click on Let’s go!
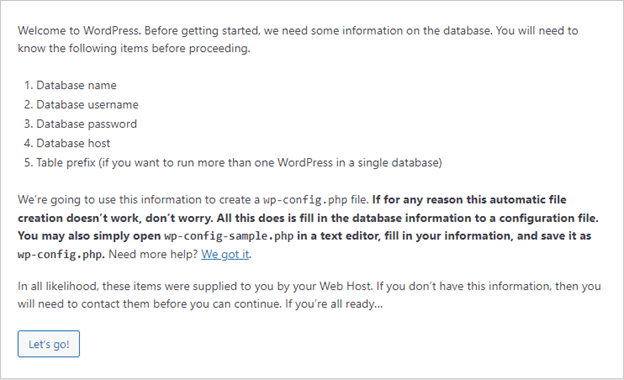
Database Configuration: Entering Previously Created Database Name and User
On the next page, you need to enter the Database Name and User name you created earlier and submit

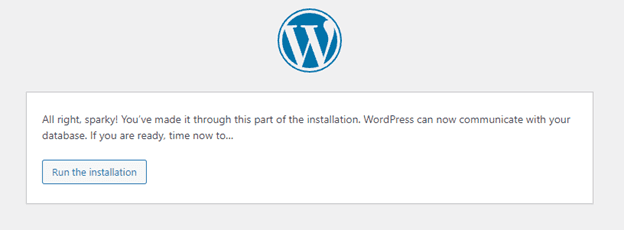
If all the details you submitted are right, then you can go ahead and run the installation.
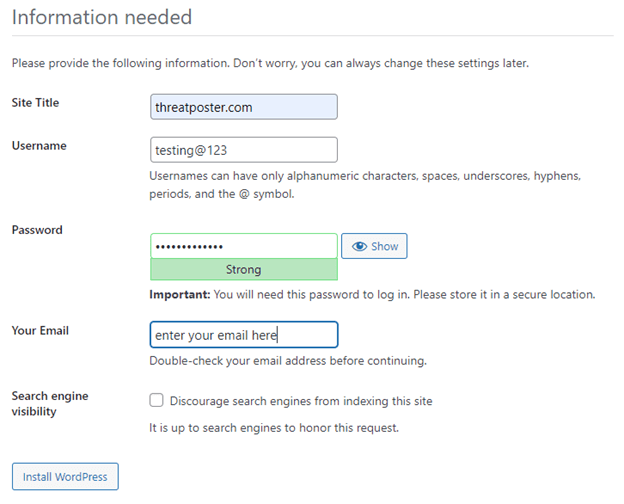
Then you see a welcome page where you will supply some information that is needed before WordPress installation can begin.
If all the information is supplied and everything goes well then you will receive a success! message
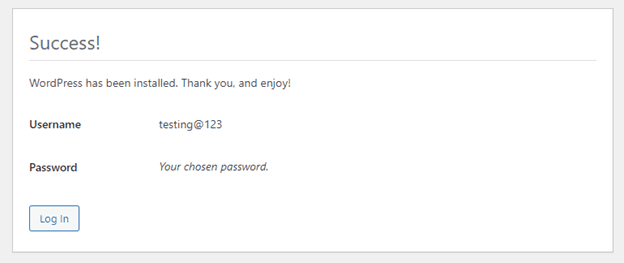
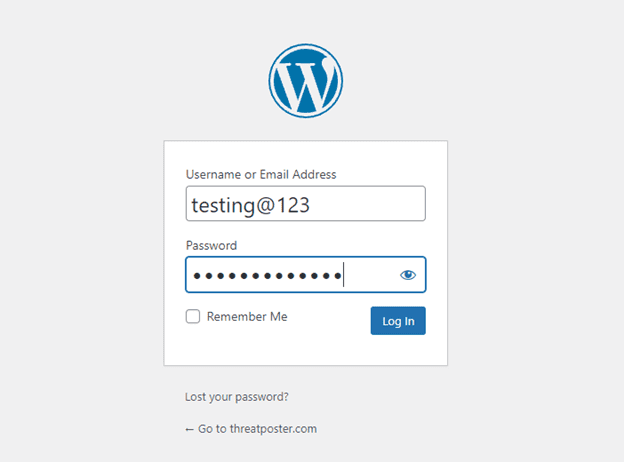
You can now go ahead and log in to WordPress.
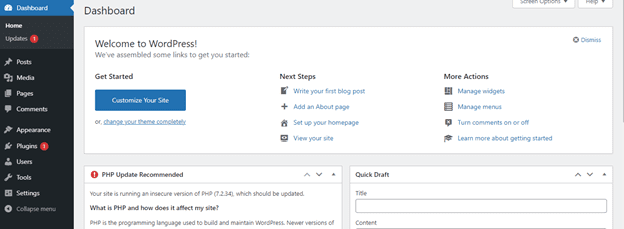
Successfully logged in to WordPress Dashboard.
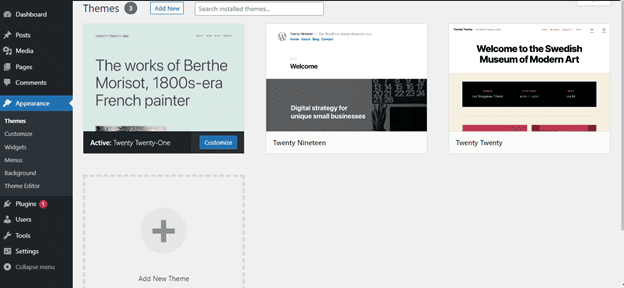
You can start using default themes or adding your preferred themes. Go to Appearance on the menu and select Themes. You can use the Add New or the Add New Theme button to add themes.
I hope you found this blog post on how to Install and Setup WordPress into a cPanel and Configure Your First Theme very interesting and helpful. In case you have any questions do not hesitate to ask in the comment section.