How to Install Apache HTTP Server on Ubuntu 20.04 LTS

The Apache HTTP Server is the most widely adopted open-source web server, with support across many operating systems such as Linux, Windows, macOS, and Solaris. It is fully customizable with so many powerful features that can be integrated with other modules. It is a cross-platform web server that is free and open-source software released under the Apache License 2.0. Under the aegis of the Apache Software Foundation, Apache is created and maintained by an open community of developers. The basic setup process of installing and configuring Apache is very easy. Just as we learned how to install Jenkins Automation Server on Ubuntu 20.04 LTS in our previous article, in this article we will learn how to install Apache HTTP Web Server and configure the firewall.
You may also learn about the following related topics: how to install Apache Tomcat on Ubuntu, how to Install Terraform on Linux, how to install MariaDB on Ubuntu. Creating and managing users in Linux is an important aspect of a system administrator’s job function. Review how to Create Multiple Users and Set password for each User in Linux to learn about it.
Prerequisite to Install Apache Server on Ubuntu:
To get along with this guide, you need to have Ubuntu 20.04 LTS installed on your system with a regular user or non-root user with Sudo capabilities configured on your server. In addition, you will need to enable a basic firewall rule to block non-essential ports. Sign in to your server once you’ve created a user account with root access to begin.
To check the current version of your Ubuntu OS, run:
lsb_release -a 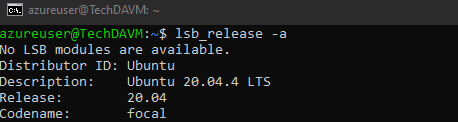
Step 1-Installing Apache on Ubuntu
Since Apache is part of Ubuntu’s default software repositories, you can install it using standard package management tools.
You can locate the Apache web server in Ubuntu’s default software repository, enabling the use of traditional package management tools for installation.. To do so, launch the Terminal by using the Ctrl+Alt+T shortcut and execute the command below to start updating the local package index to reflect the latest upstream changes:
sudo apt update
Next, install Apache2 by running the command below
sudo apt install apache2
You will be prompted to confirm the installation. Go ahead and type “Yes” and press Enter. The package installation is completed.
Next is to check the status of Apache to ensure it is active and running. To do this, run :
sudo systemctl status apache2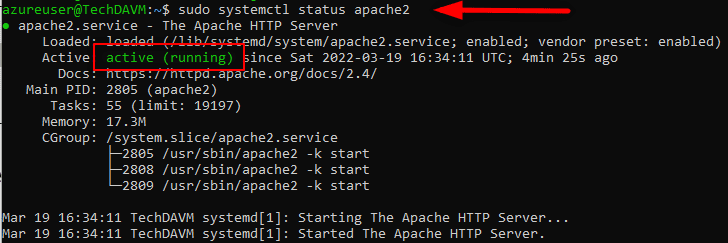
From the screenshot above, The Apache2 Web Server is active and running!
Step 2 – Configuring the Firewall
Before you can test Apache, you’ll need to change the firewall settings to allow outside access to the default web ports. You should have a UFW firewall configured to restrict access to your server if you followed the necessary instructions. During installation, Apache registers with UFW and provides a few application profiles that can be used to permit or disable access to Apache over the firewall.
List the UFW application profiles by typing:
$sudo ufw app list
A list of application profiles identical to the one above will display on the screen.
There are three Apache profiles available, as seen in the output screen and we are going to briefly explain as follows:
- Apache: This profile only allows access to port 80. (normal, unencrypted web traffic)
- Apache Full: This profile opens port 80 (non-encrypted web traffic) as well as port 443 (TLS/SSL encrypted web traffic).
- Apache Secure: Only port 443 (TLS/SSL encrypted traffic) is open with this profile.
It is recommended that you enable the most restrictive profile that will still allow the traffic you’ve configured. Since we haven’t configured SSL for our server yet in this guide, we will only need to allow traffic on port 80:
sudo ufw allow apache
To verify ufw status, type the following command below
sudo ufw status The output will provide a list of allowed HTTP traffic as shown below:
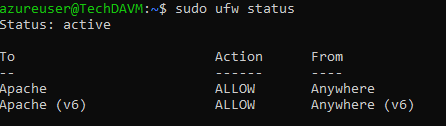
As the output indicates, the profile has activated access to the Apache web server.
Step 3- Checking your Web Server
Now, you have Install Apache Server on Ubuntu, your Ubuntu 20.04 should automatically start Apache at the end of the installation procedure. The web server should be up and operating at this point. To ensure that the service is up and running, use the systemd init command once again to verify the status:
sudo systemctl status apache2
The service has begun successfully, as indicated by the output above. However, requesting a page via Apache is the easiest method to test this. You can use your IP address to browse the default Apache landing page to verify that the program is working properly. If you don’t know your server’s IP address, you can retrieve it from the command line in a few different methods.
Try typing this at your server’s Terminal:
hostname -IYou can also use the Icanhazip tool to obtain your public IP address from another internet site.
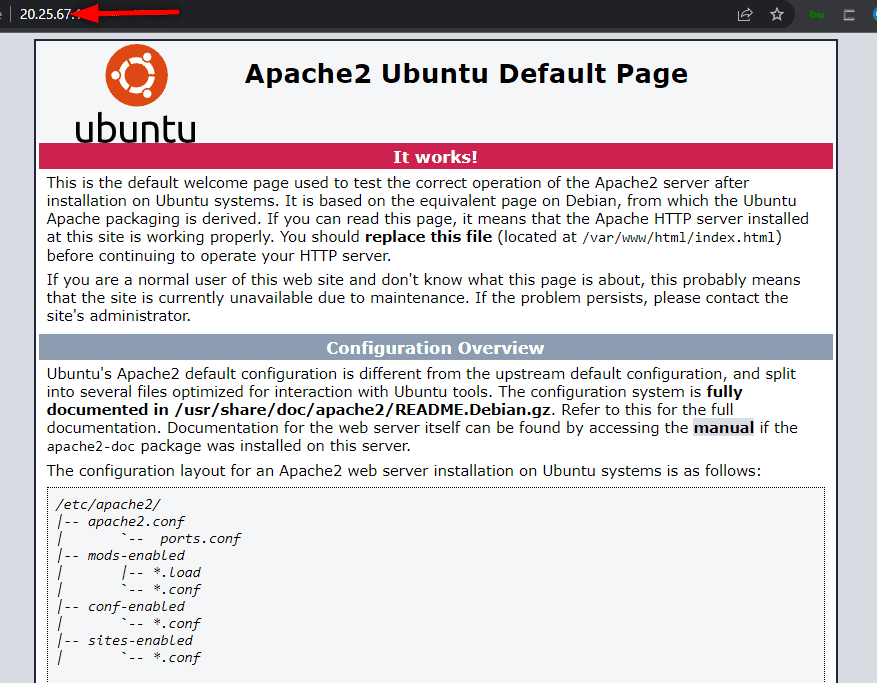
curl -4 icanhazip.comCopy the IP address of your server and paste it into the address bar of your browser, then hit Enter. In your browser, you should see the usual Apache Ubuntu page.
Step 4 – Managing the Apache Process
Now that your web server is up and running, let’s go through some basic systemctl management commands. To stop your web server, type:
sudo systemctl stop apache2Type the following to initiate the web server once it has stopped:
sudo systemctl start apache2Type the command below to restart the service:
sudo systemctl restart apache2Use the command below to reload the service without dropping the connection:
sudo systemctl reload apache2Apache could start automatically at server boot time, disable this behavior by typing:
sudo systemctl disable apache2To enable the service after disabling it to start at boot time, type:
sudo systemctl enable apache2Now, Apache should start automatically at the server boot time.
Finally, the Apache Web Server is a web server that accepts directory (HTTP) requests from Internet users and responds with files and Web pages containing the desired information. Many software and code on the Internet utilize the features provided by Apache.