
MongoDB is an open-source, cross-platform document-oriented database application. Furthermore, the database application is a NoSQL database application that uses JSON-like documents with optional schemas. This article will teach you how to install MongoDB on a Linux System or Ubuntu 22.04 server. Meanwhile, we set our environment in Azure. You’ll also learn how to set up a remote connection to your MongoDB database. You can access other useful and related tutorials and guides from here: How to Install Docker Portainer on Linux and How to install Zoom video conference software in Linux System and How to Set Up Flutter with Android Studio on Linux and How to install AnyDesk on a Linux Machine and How to install AnyDesk on a Linux Machine
Other insightful guides can be referenced here: How to install and configure Apache Cassandra on Linux Server and How to fix “An Attempt Was Made to Reference a Token That Does Not Exist” in Windows 10 and How to upgrade from Ubuntu 20.04 LTS to 22.04 LTS with Authentication: How to use a Fido Certified U2F Key
Prerequisites to Install MongoDB on a Linux Server
- A system running Ubuntu 22.04 or Higher
- A user account with sudo privileges
- Access to the command line/terminal
Step1: Initial Server Setup
Start by updating the server packages to the latest available:
sudo apt update
sudo apt dist-upgrade -y
Step2: Install Required Packages on your Linux Server
To import the key, you may need to install gnupg. It is rarely required because it may be installed by default. If you don’t already have it, you may install it using the following command.
sudo apt install gnupg
Install Libssl1
You need to install libssl1 to install MongoDb on Ubuntu 22.04 otherwise you will receive an error like the one below.
To install libssl1 follow the below steps
echo "deb http://security.ubuntu.com/ubuntu impish-security main" | sudo tee /etc/apt/sources.list.d/impish-security.list
sudo apt update
sudo apt install libssl1.1
You may now install MongoDB because you have installed all the prerequisite packages.
Step3: Install MongoDB
Using the apt package manager, we will install MongoDB Community Edition with LTS.
Import the public key using the following command.
wget -qO - https://www.mongodb.org/static/pgp/server-5.0.asc | sudo apt-key add -Add the MongoDB repository to the sources list.

echo "deb [ arch=amd64,arm64 ] https://repo.mongodb.org/apt/ubuntu focal/mongodb-org/5.0 multiverse" | sudo tee /etc/apt/sources.list.d/mongodb-org-5.0.list
Update the packages and install MongoDB
sudo apt update
sudo apt install -y mongodb-org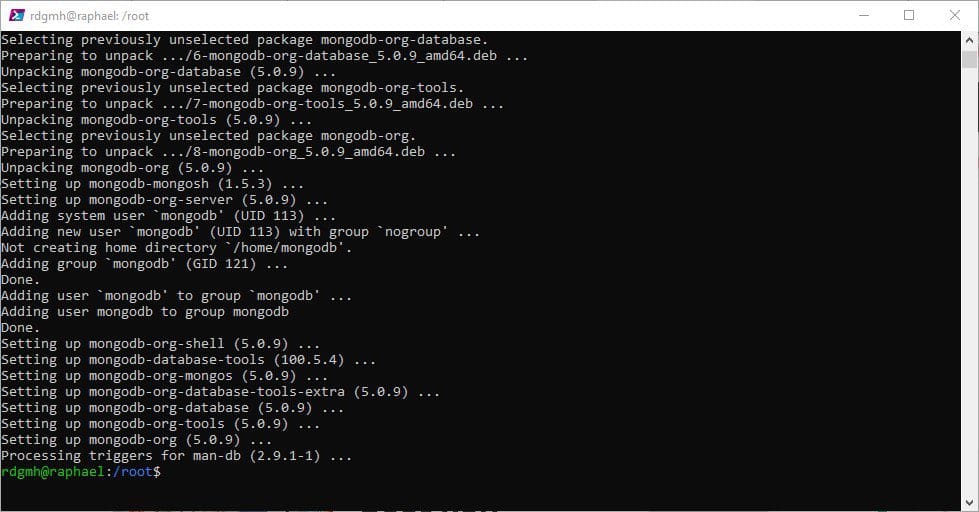
Once the setup is finished, enable MongoDB to start automatically when the machine boots.
sudo systemctl enable mongod
Start MongoDB server.
sudo service mongod startThe status may be seen by using the following command.
sudo service mongod status
Configure MongoDB on Your Linux Server
We can now configure MongoDB to continue installing it on our Linux system, set it up to allow remote connections, and build a new database.
Secure MongoDB
Edit MongoDB config file.
sudo vim /etc/mongod.confUncomment the security section #security and enable authorization. The finished version should look like this.

security:
  authorization: enabled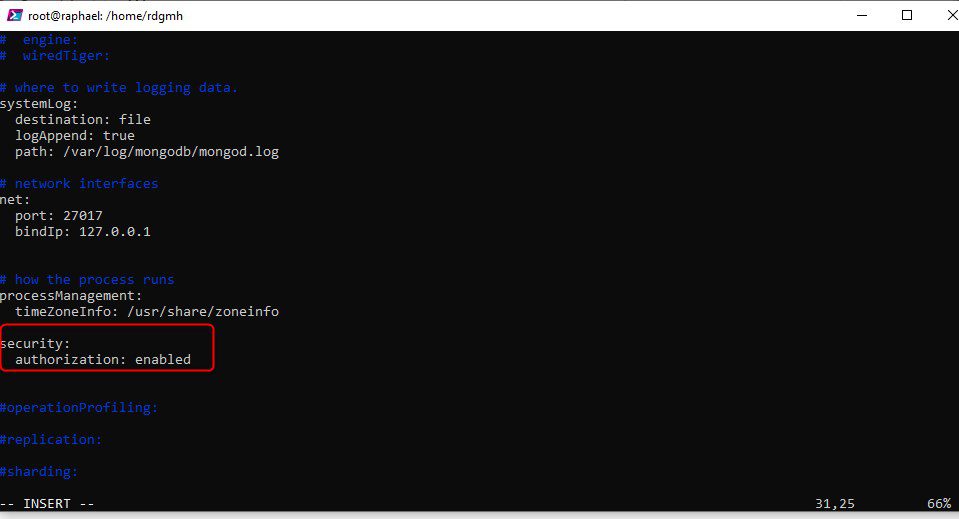
Enable Remote Connections From Your Linux Command Line
You must change the same file and add your internal or private IP address to the network interfaces to enable remote connections. Nonetheless, your setup should be like the one shown below.
net:
  port: 27017
  bindIp: 127.0.0.1,192.168.42.51,20.127.236.51
Replace 192.168.142.51 with your IP address.
If you have a firewall, enable it for port 27017.
Because I am using an Azure Vm for this, I had to go to the networking section and added port 27017
Restart MongoDB for the changes to take effect.
sudo systemctl restart mongodUsing the following command, confirm whether MongoDB allows remote connections.
sudo lsof -i | grep mongomongod 3866 mongodb 12u IPv4 33773 0t0 TCP instance-1.c.project_id.internal:27017 (LISTEN)
mongod 3866 mongodb 13u IPv4 33774 0t0 TCP localhost:27017 (LISTEN)Create MongoDB Admin User from Linux Server
Connect to MongoDB shell using mongosh command.
mongoshCurrent Mongosh Log ID: 62948cd79def2ce0319469d5
Connecting to: mongodb://127.0.0.1:27017/?directConnection=true&serverSelectionTimeoutMS=2000&appName=mongosh+1.4.2
Using MongoDB: 5.0.8
Using Mongosh: 1.4.2Change to admin database.
use adminCreate admin user with all privileges and setup password.
db.createUser({user: "admin" , pwd: passwordPrompt() , roles: [{ role: "userAdminAnyDatabase" , db: "admin"}]})When required, type your password.
Enter exit to exit the shell.
You may now connect to MongoDB using the connection string below.
mongodb://admin:password@External-IP:27017/databaseMongoDB Service Commands in Linux Command Line
Start MongoDB
sudo systemctl start mongodbStop MongoDB
sudo systemctl stop mongodbDisable MongoDB
sudo systemctl disable mongodbRestart MongoDB
sudo systemctl restart mongodbSummary
You’ve now learned how to install MongoDB on a Linux System or Ubuntu server, as well as how to configure it for remote connections.


