Azure-managed disks are block-level storage volumes that are managed by Azure and used with Azure Virtual Machines. This guide discusses steps to create a new Azure Disk: How to create and attach an extra Disk to Azure Virtual Machine. Therefore, I’ll be showing you how to create and attach a managed disk to a Windows Azure VM through the Azure portal. You can create and attach a new lab data disk for a lab Azure virtual machine (VM). Please see how to install Kerberos packages in Windows via Cygwin, how to configure a remote server (windows) to Support Ansible, and how to deploy Azure VMware solution private cloud, how to create a Traffic Manager profile in Azure, and how to improve website response using Traffic Manager.
The data disk can then be detached, either: deleted, reattached, or attached to a different lab virtual machine that you deployed. Kindly refer to some of these related guides: How to manage azure resource manager resource groups by using Azure CLI, how to configure Azure resources with tools, and how to automate infrastructure deployments in the cloud with ansible and azure pipelines.
Create an Azure Managed Disk
Go to the Azure Portal. Here is how this is done on AWS. In the search bar, type and then select virtual machines. Select & click the Virtual Machine which you have created. Click on this link to see how to create a virtual machine in Azure
Under settings, select disks. On the Disks section, click the + Create and attached a new disk button then create a virtual network. Create a Manage disk wizard, type the disk name(Extra Disk), select the storage type, the size, specifies the IOPS size.

Under Host caching choose Read/Write and to attach the data disk, click on Save option.

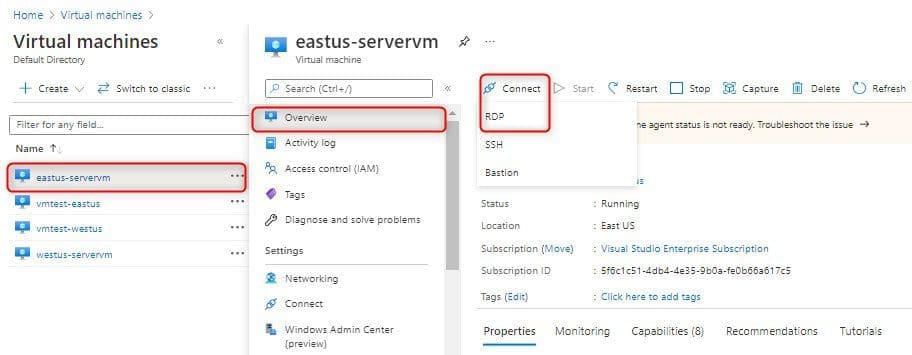
Connect to the VM via RDP
Then go back to your created virtual machine. From the Overview page, Select Connect and click on RDP, and click download RDP file.
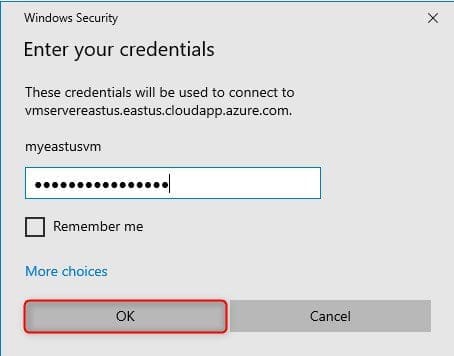
On local pc. Go to your downloaded folder. Click the downloaded RDP file, and enter your credentials and then click OK, this will connect to your remote desktop environment
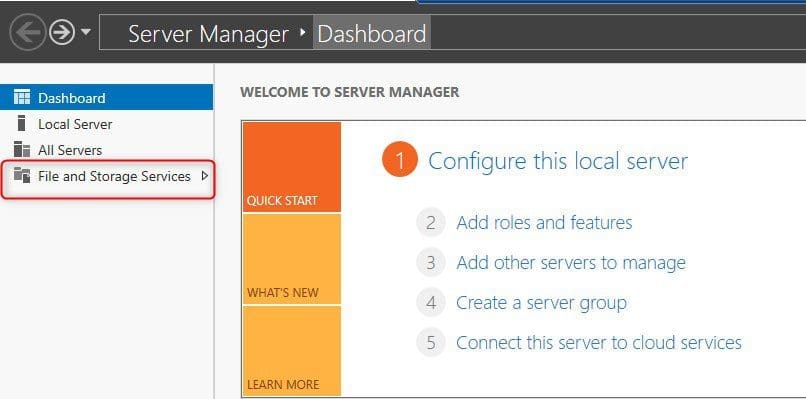
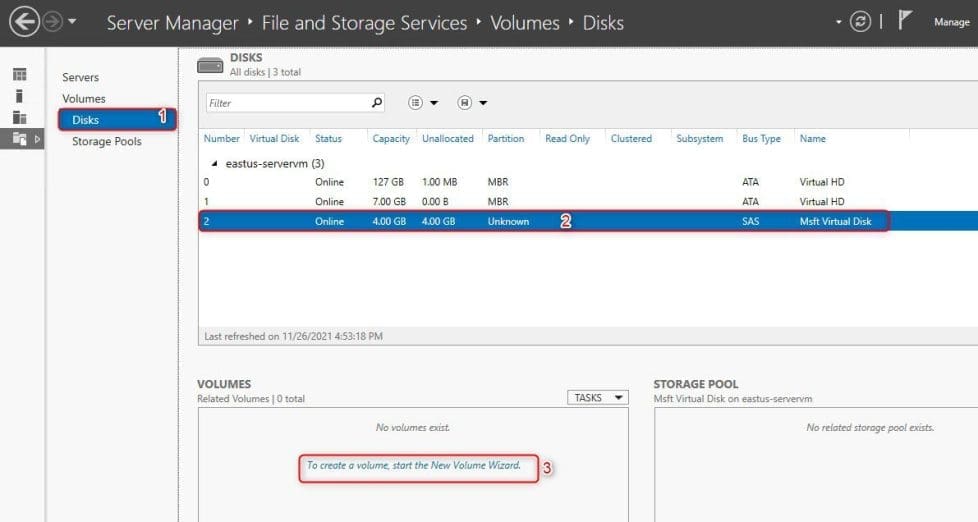
Access the File and Storage Services
Once you logged into the VM, under Server Manager click File and Storage Services.
Select Disks option, select your 4GB unknown disk, under Volumes to create a volume start the new volume wizard.
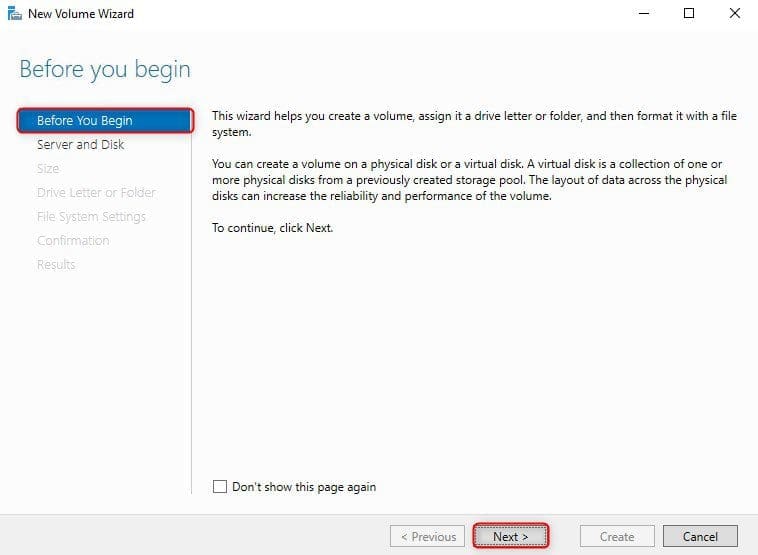
New volume wizard click next.
Select server and disk, click Next.

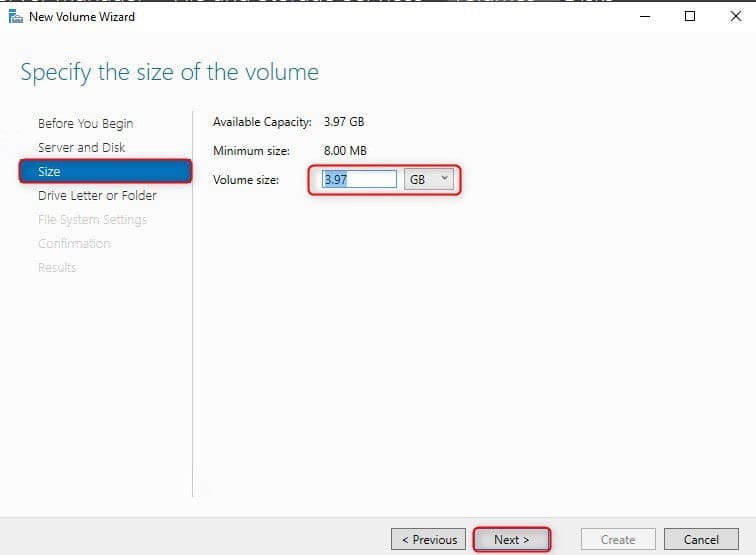
The selected disk will be brought online click OK. Choose a volume size as per your requirement and then click next.
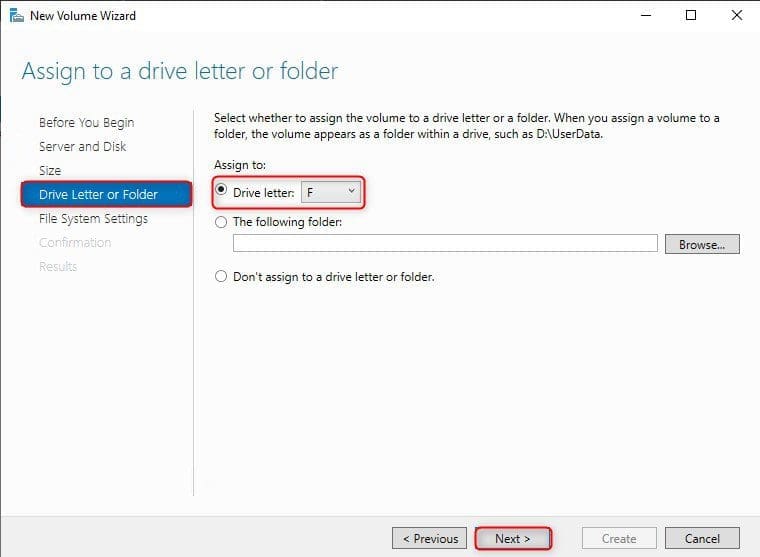
Assign a drive letter and then click next.
Enter a volume label and then click next.
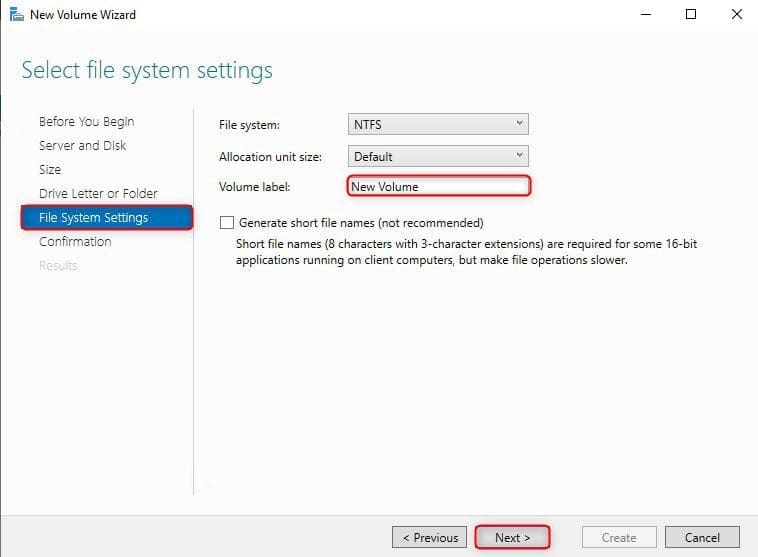
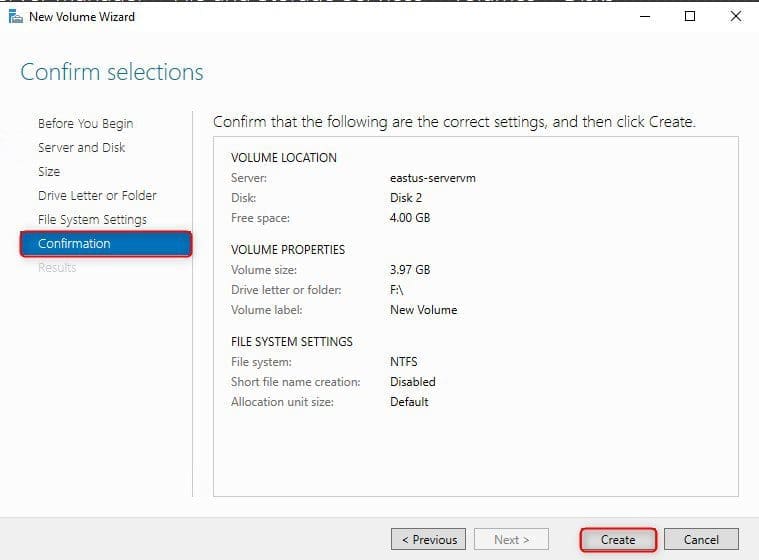
Lastly, Verify the settings and then click create.
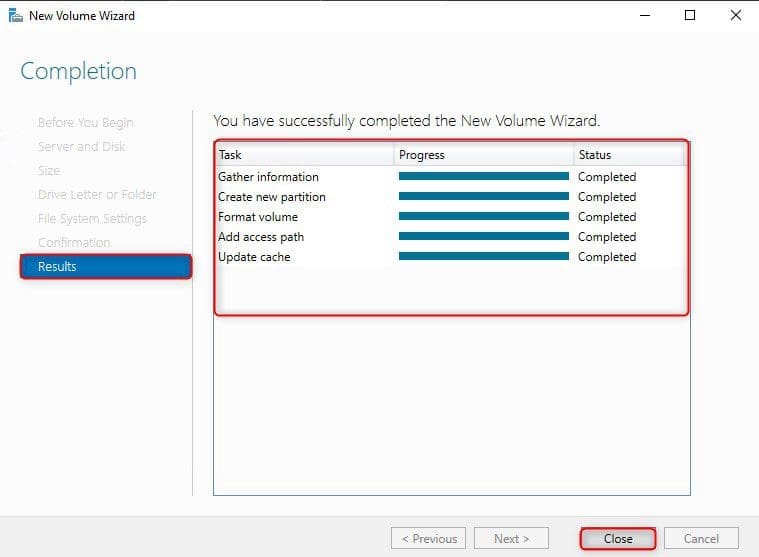
Result Completed
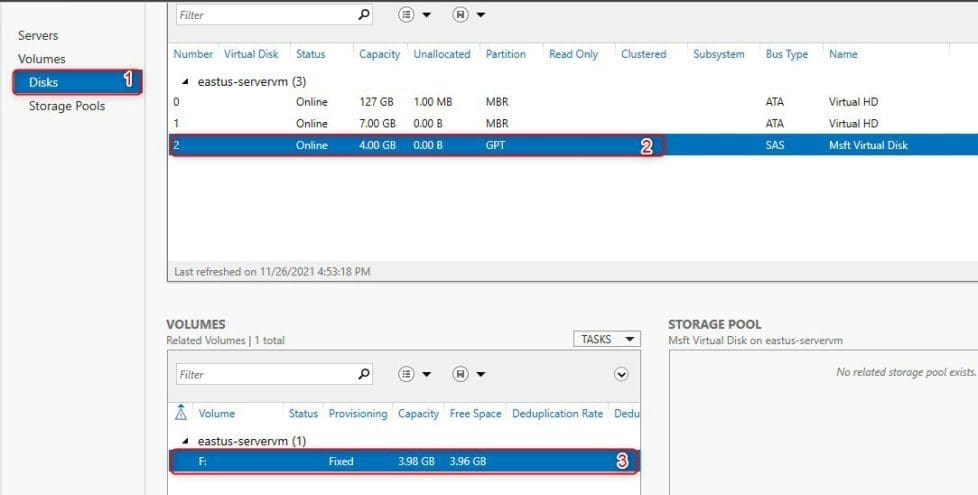
The new disk is now online, as shown below:
Open MY PC from the virtual machine, so you can able to see the newly attached managed disk as (F) drive as shown below. For similar steps on adding and formatting disks, kindly refer to these guides: How to add and remove a new virtual disk from a VM on VMware Workstation, and how to extend a VM’s Hard Disk on VMware Workstation

I hope you found this blog post helpful on steps to create a new Azure Disk: How to create and attach an extra Disk to Azure Virtual Machine. If you have any questions, please let me know in the comment session.